Tutorials
Track tickets and review calls
Find tickets and open their details, and review the calls your AI Agent handled.
In this tutorial you find tickets by status or by staff member, read every tab of a ticket's details, then review calls in the Call Log (سجل المكالمات). It is meant for customer-service staff and team leads.
Before you start:
- A staff account with access to the Workspace (مساحة العمل) group.
- Tickets opened from conversations by your AI Agent's functions (see Functions and handoff), and calls handled by your AI Agent (see Voice and calls setup).
A. Tickets
Open Tickets
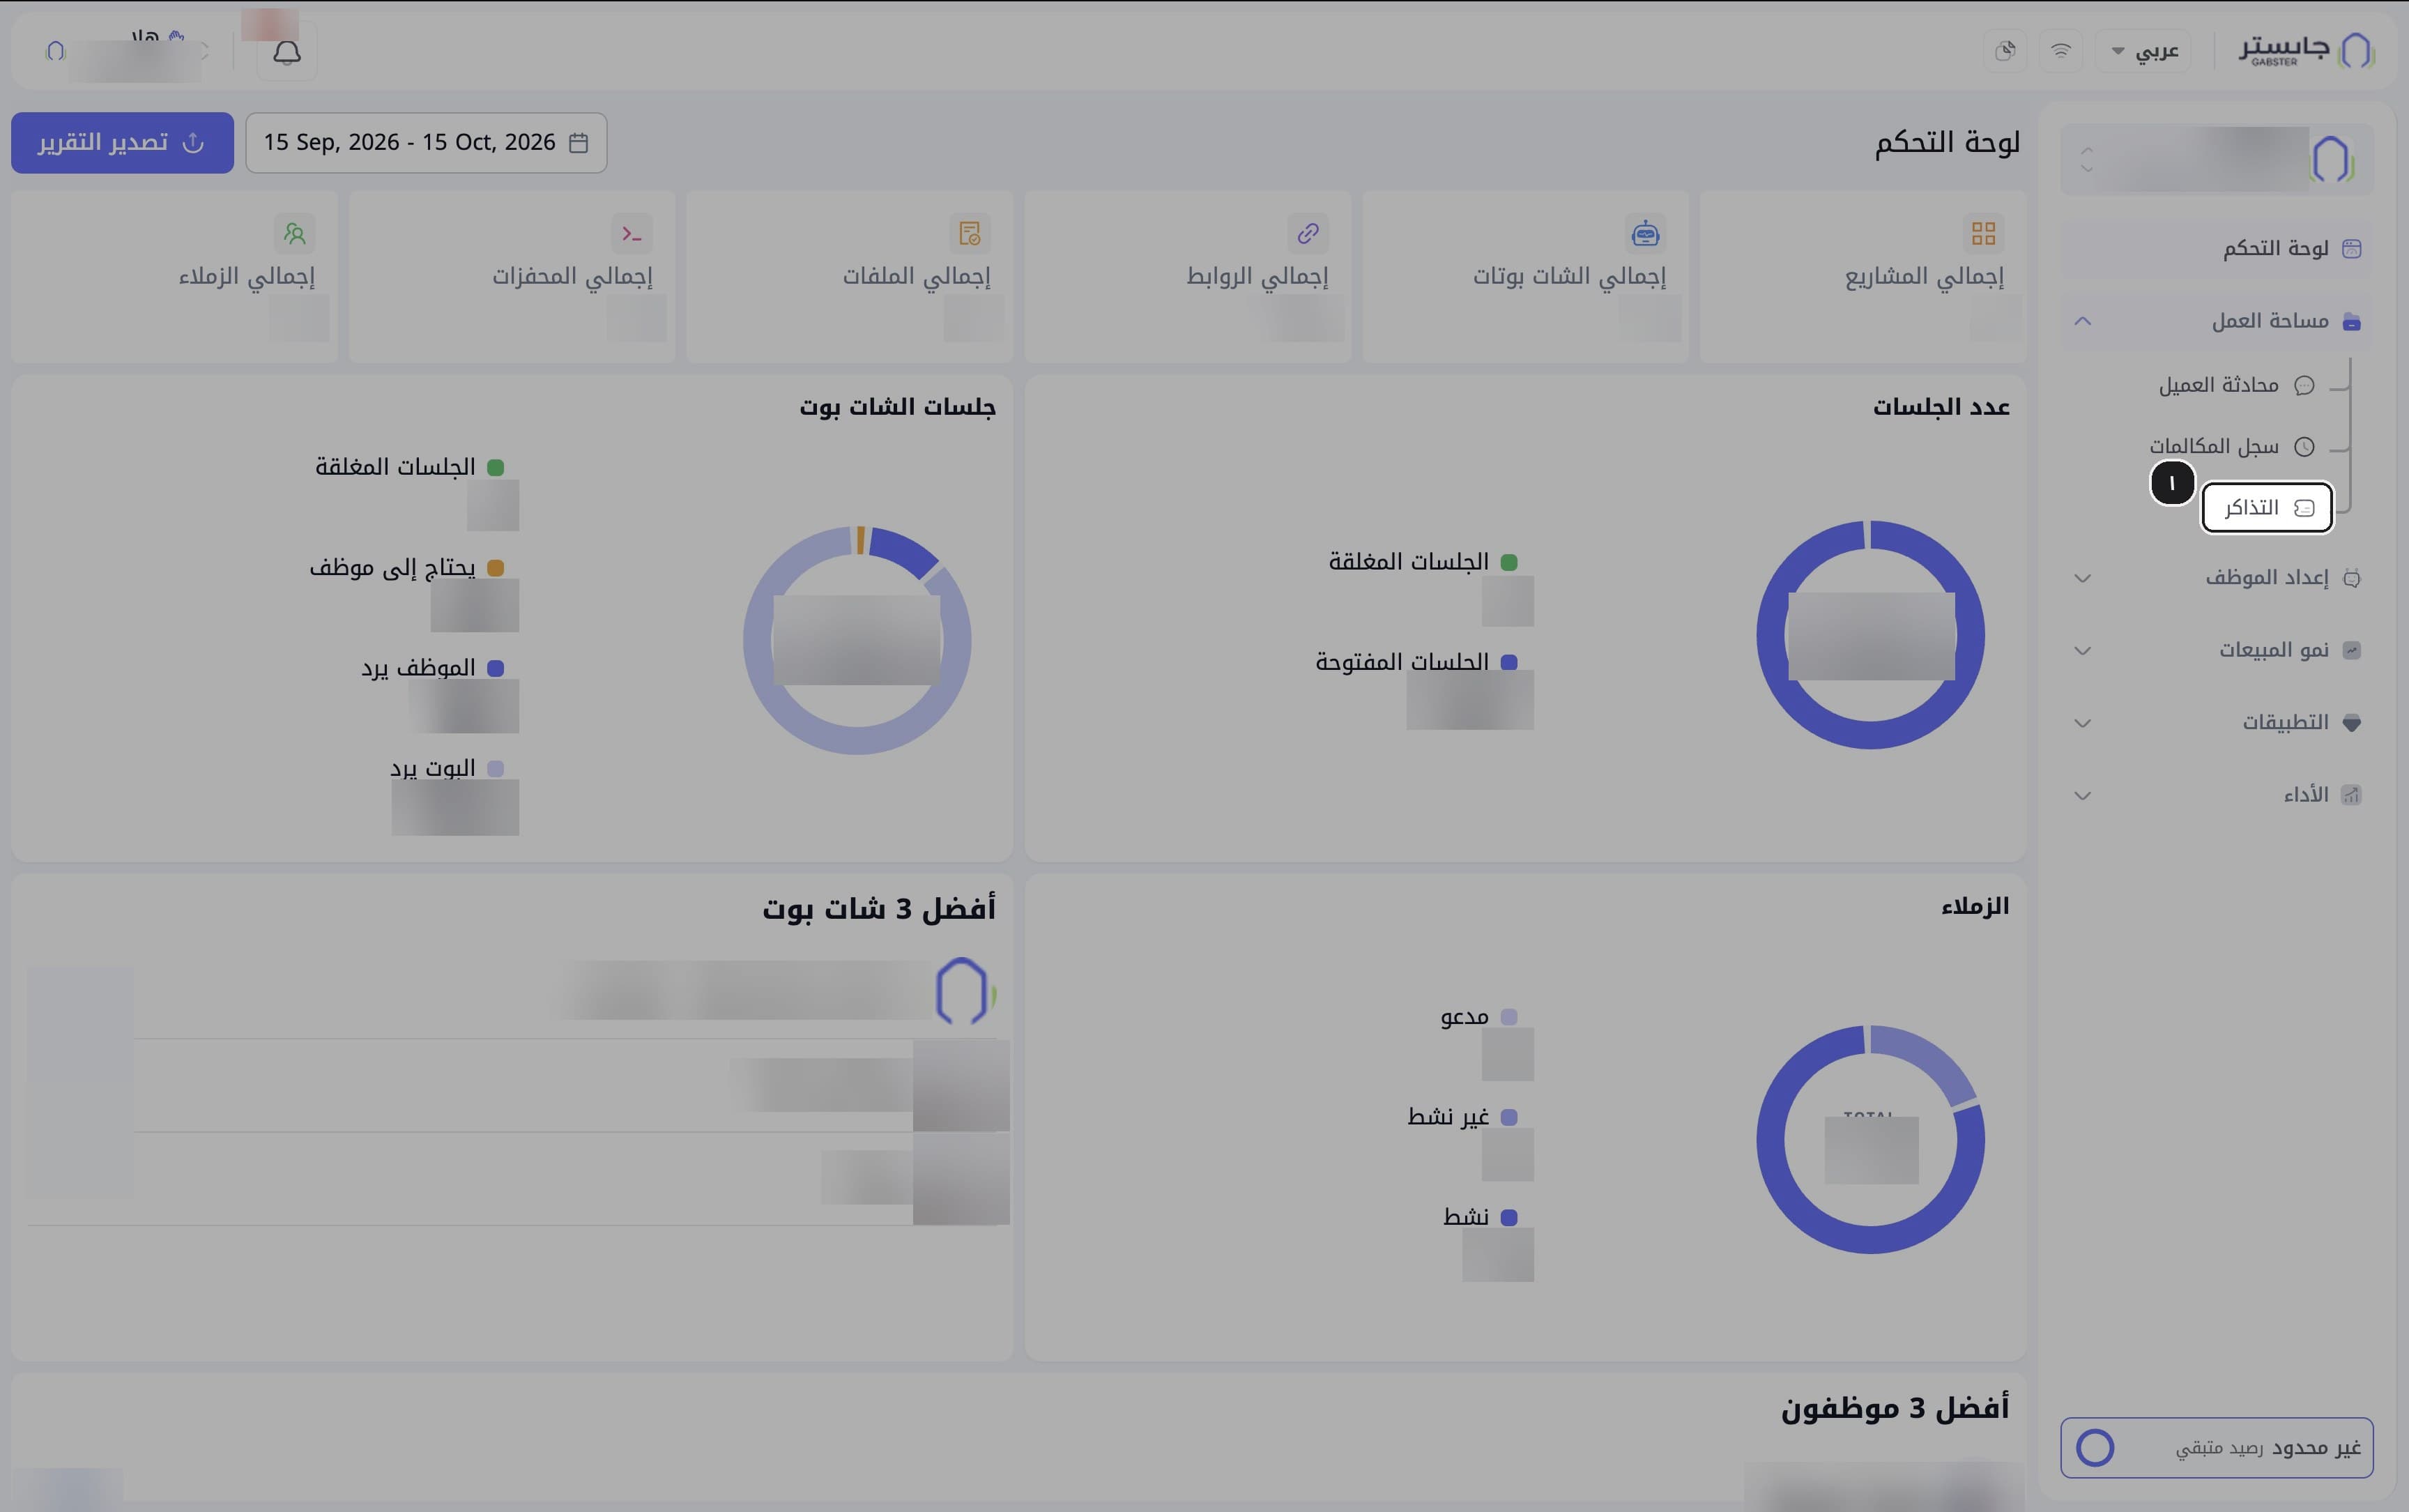
In the sidebar, open the Workspace group and choose Tickets (التذاكر).
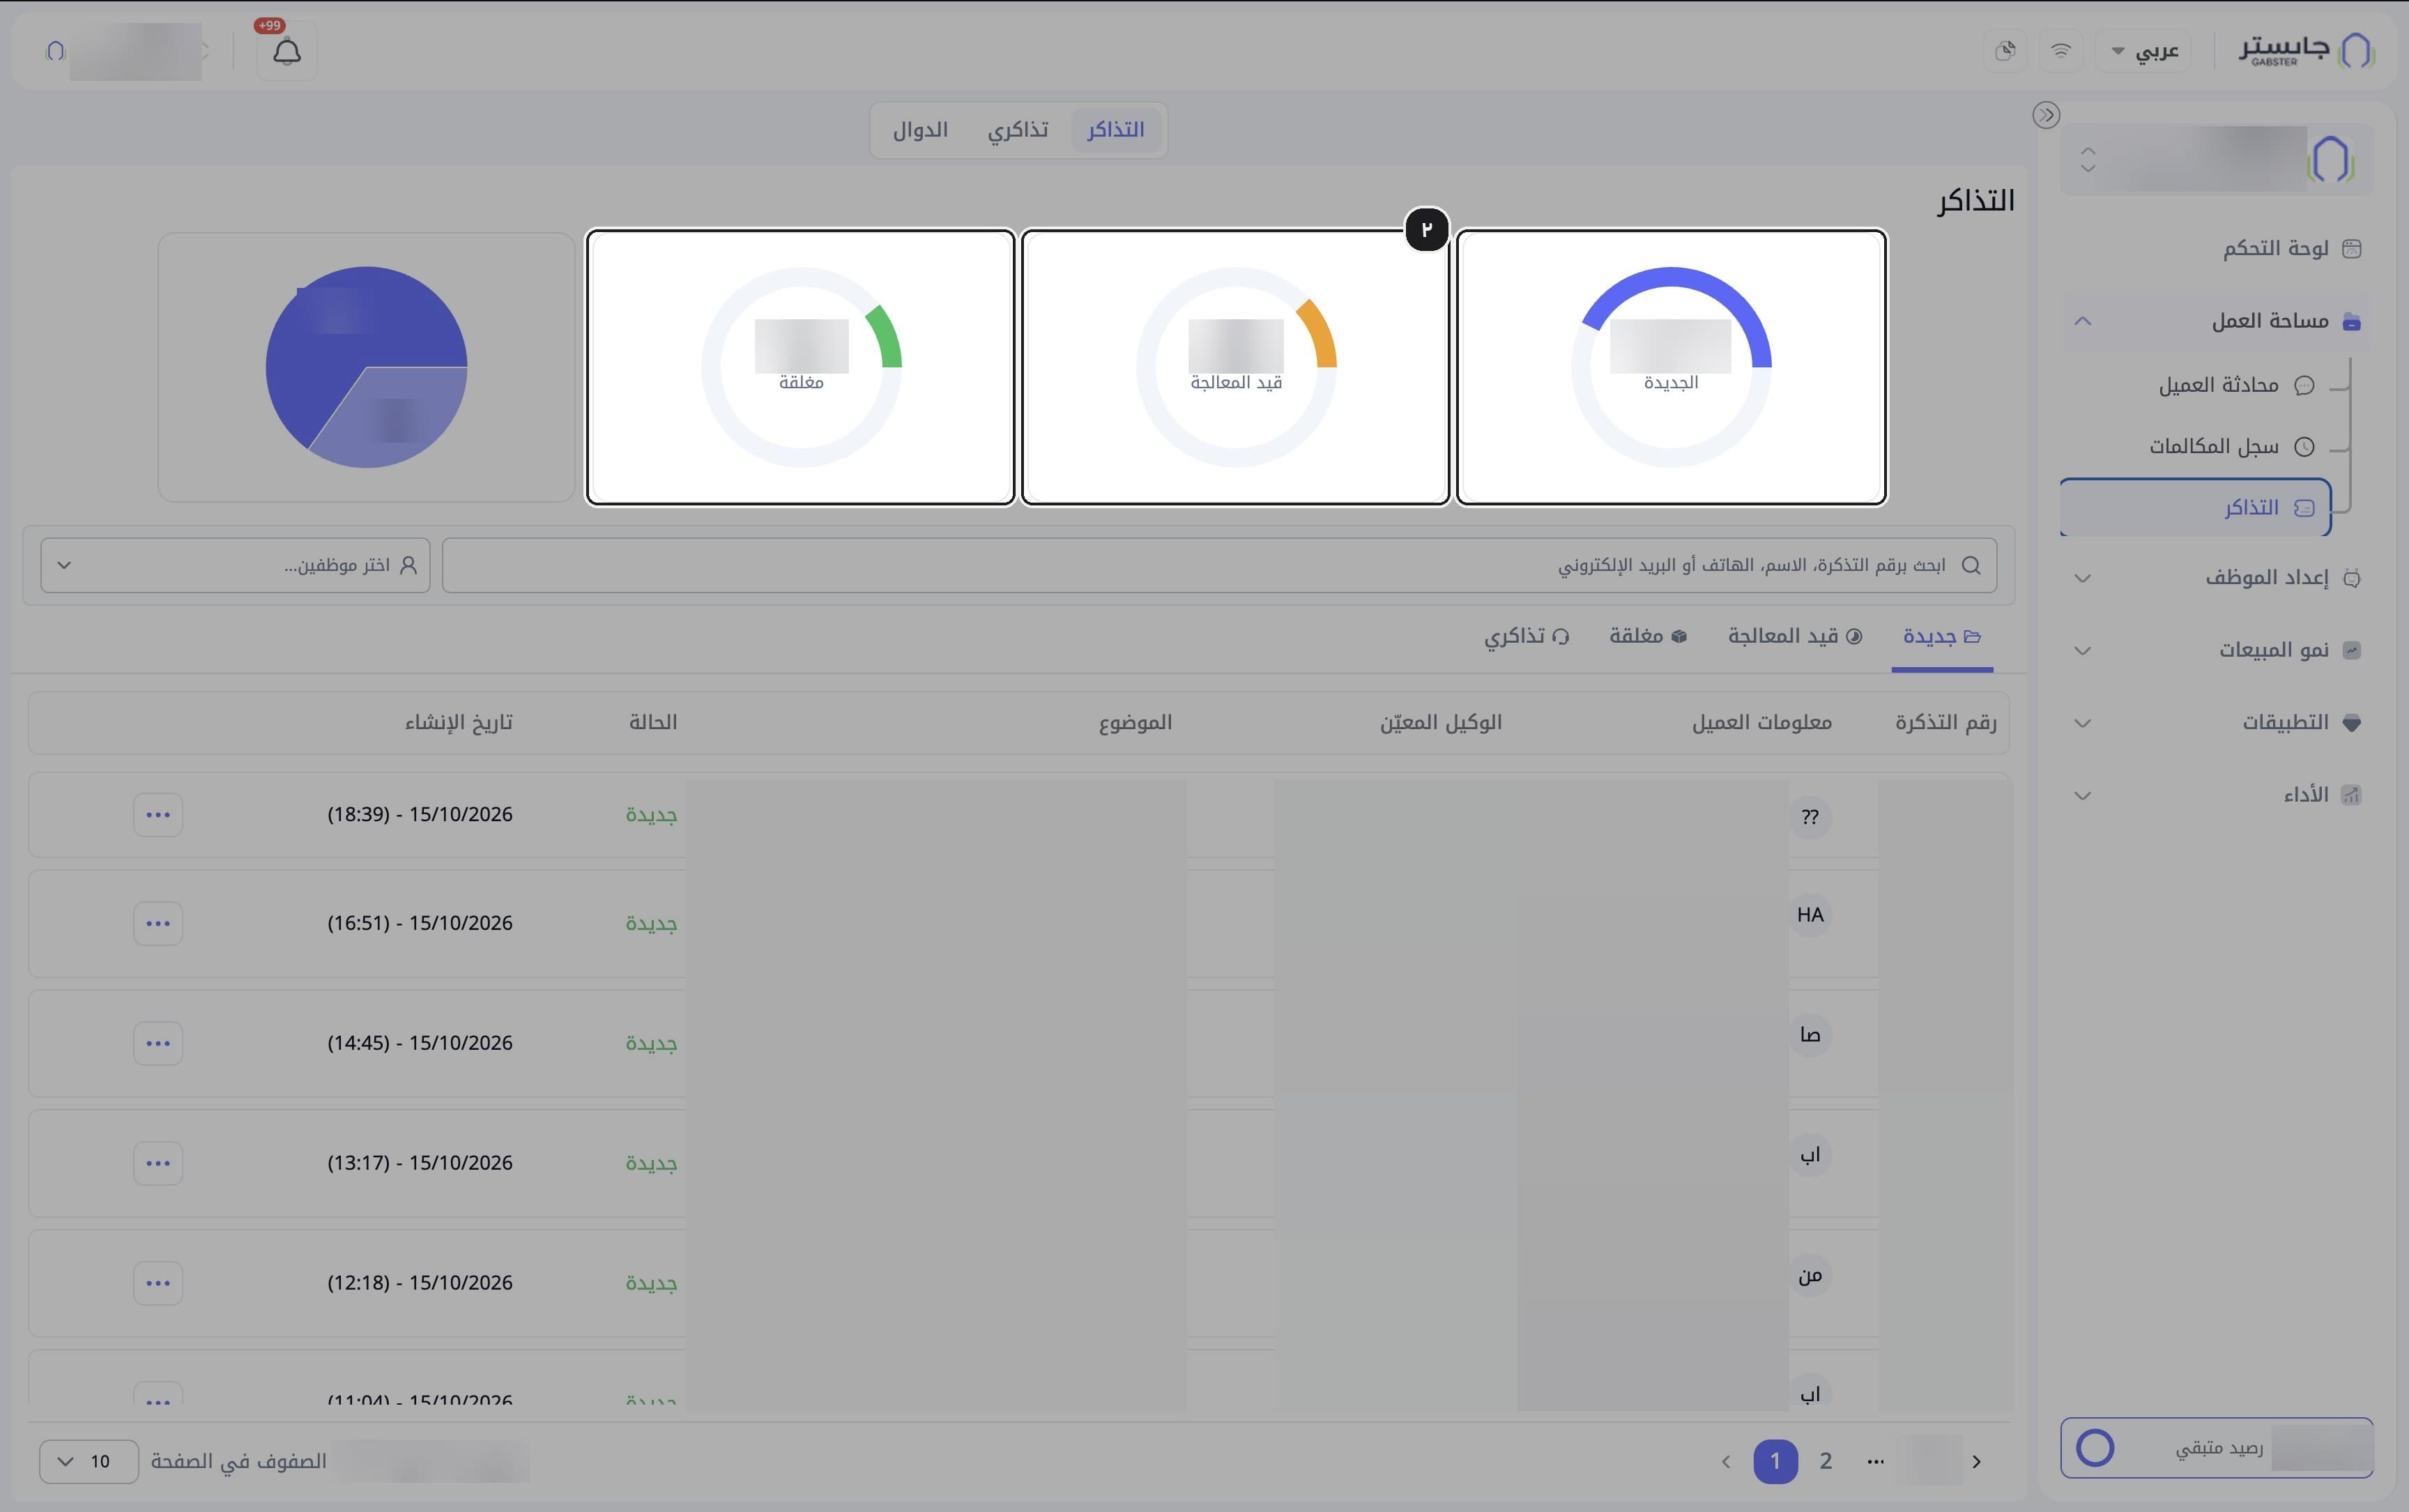
Result: the Tickets page opens with counters for New (الجديدة), In progress (قيد المعالجة) and Closed (مغلقة).
Read the counters
Read the ring gauges; each shows how many tickets have that status.
Pick a status tab
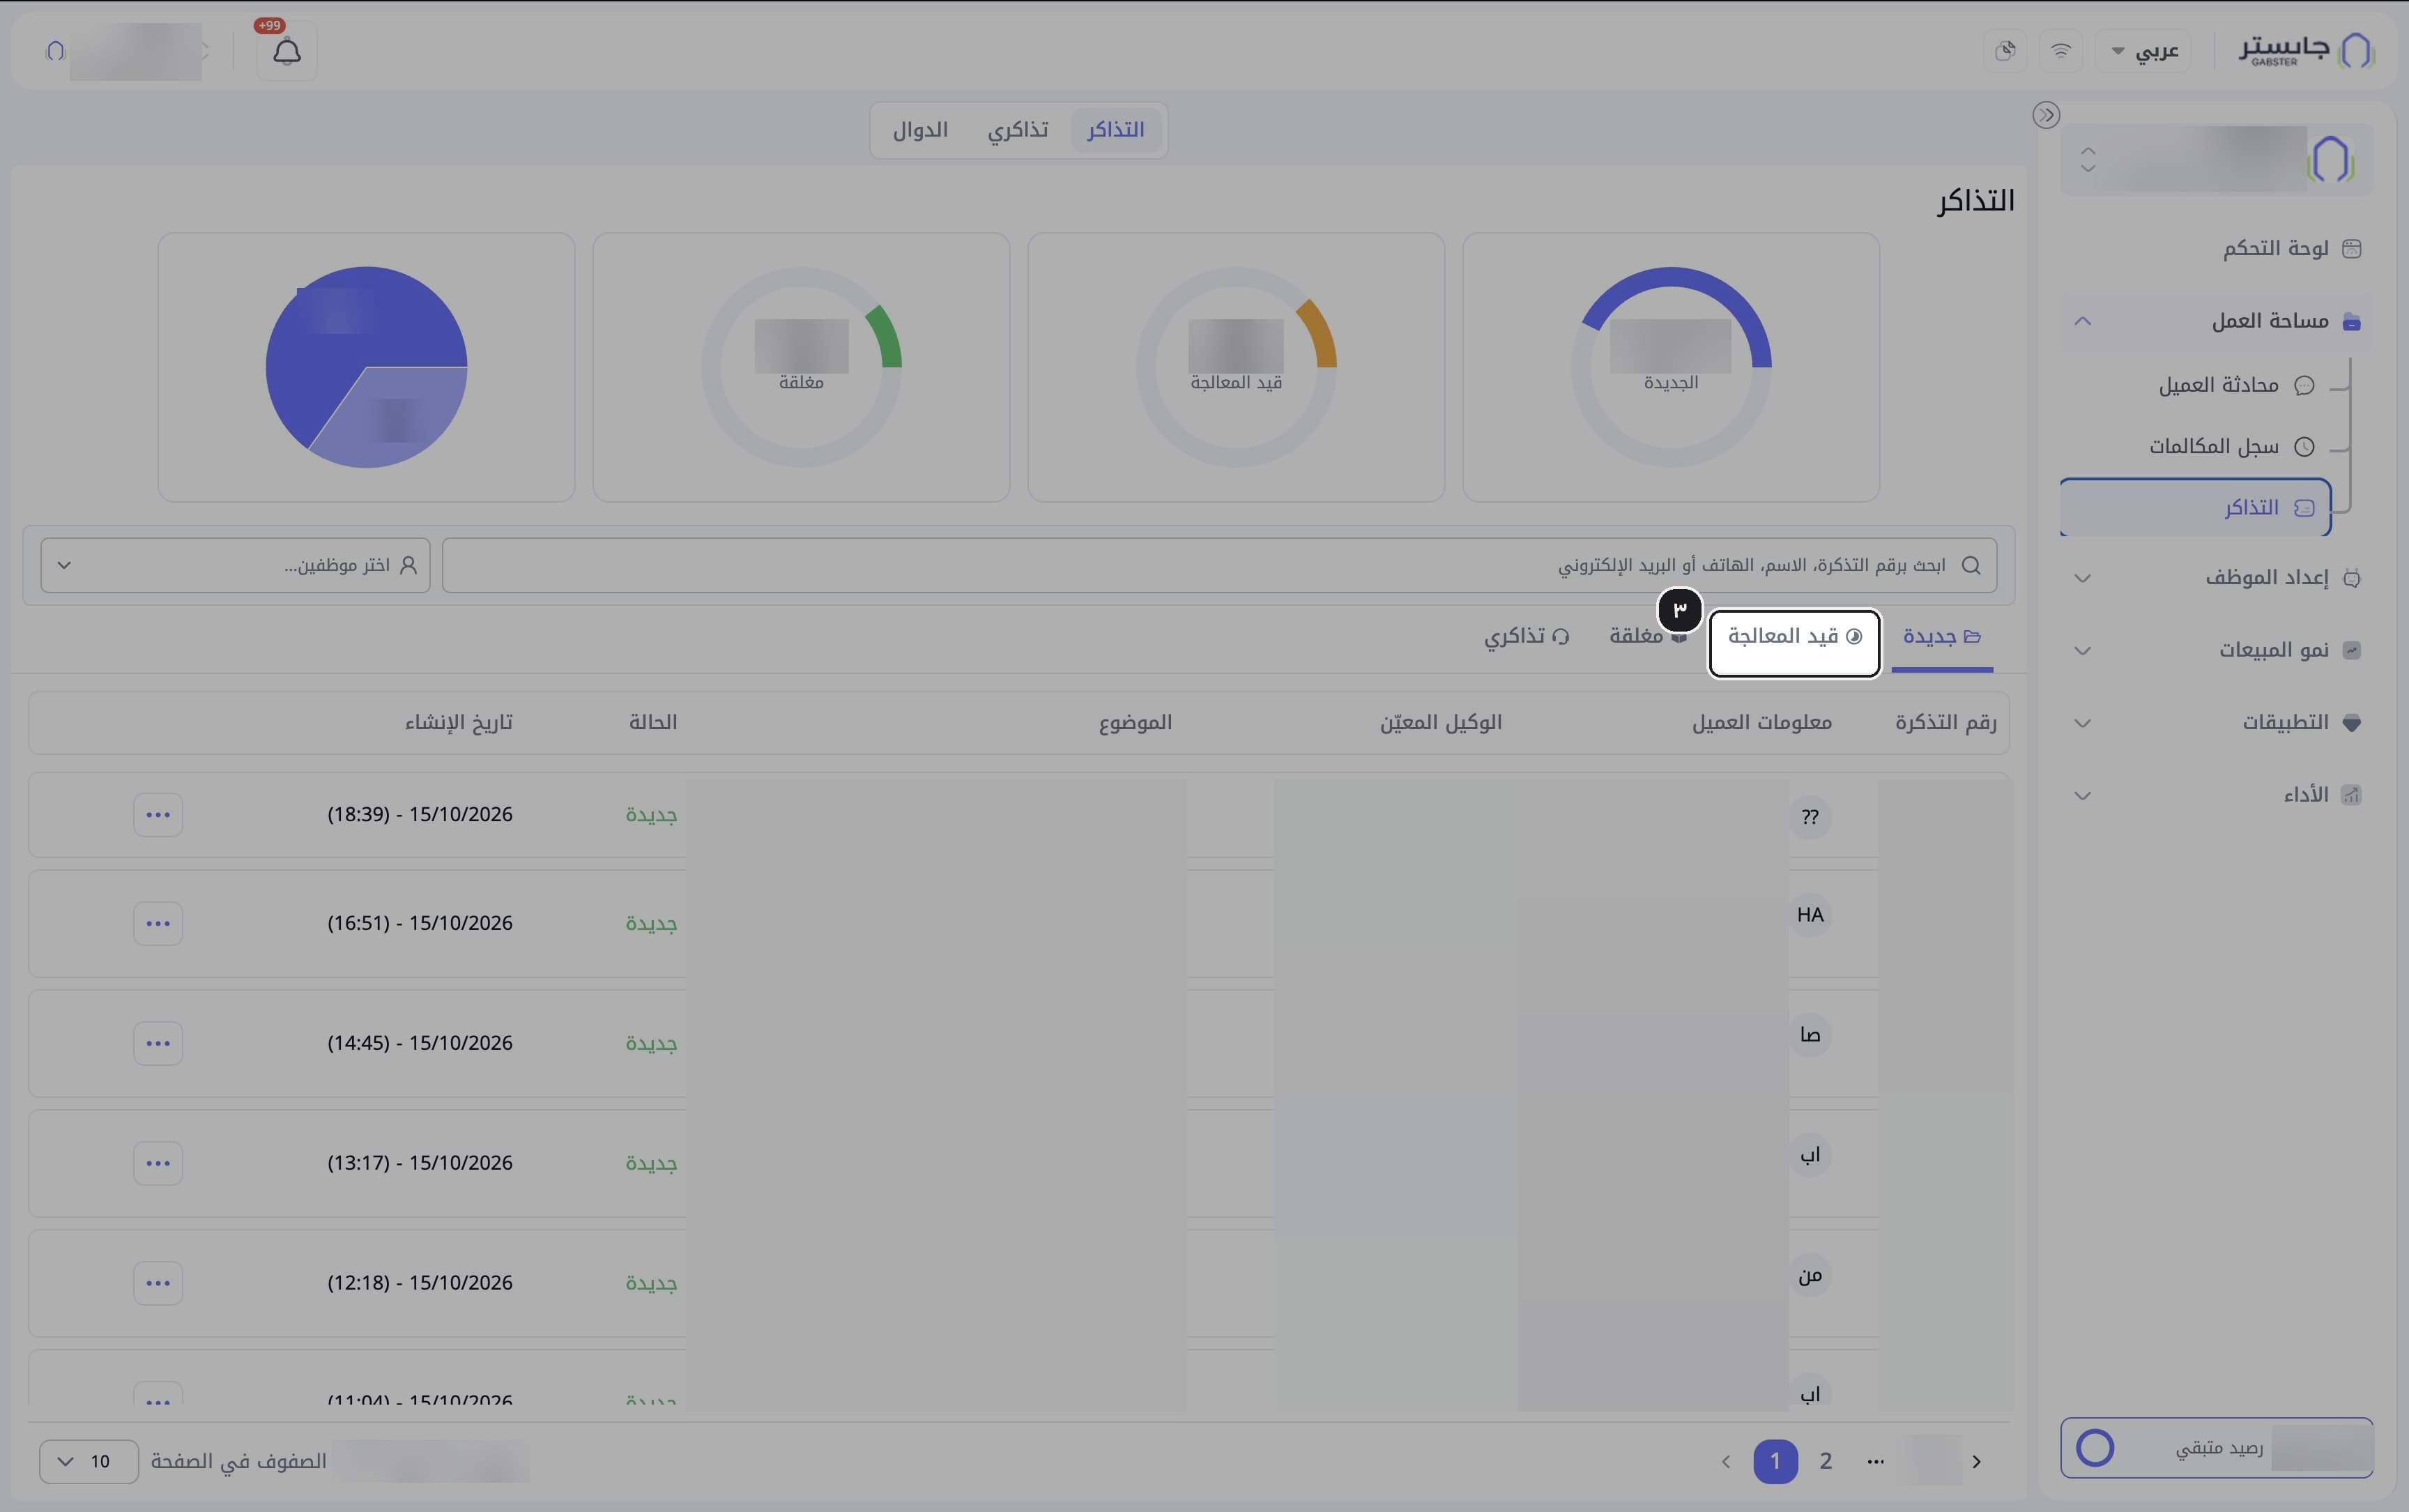
Pick a status tab: New (جديدة), In progress (قيد المعالجة), Closed (مغلقة) or My tickets (تذاكري).
Search for a ticket
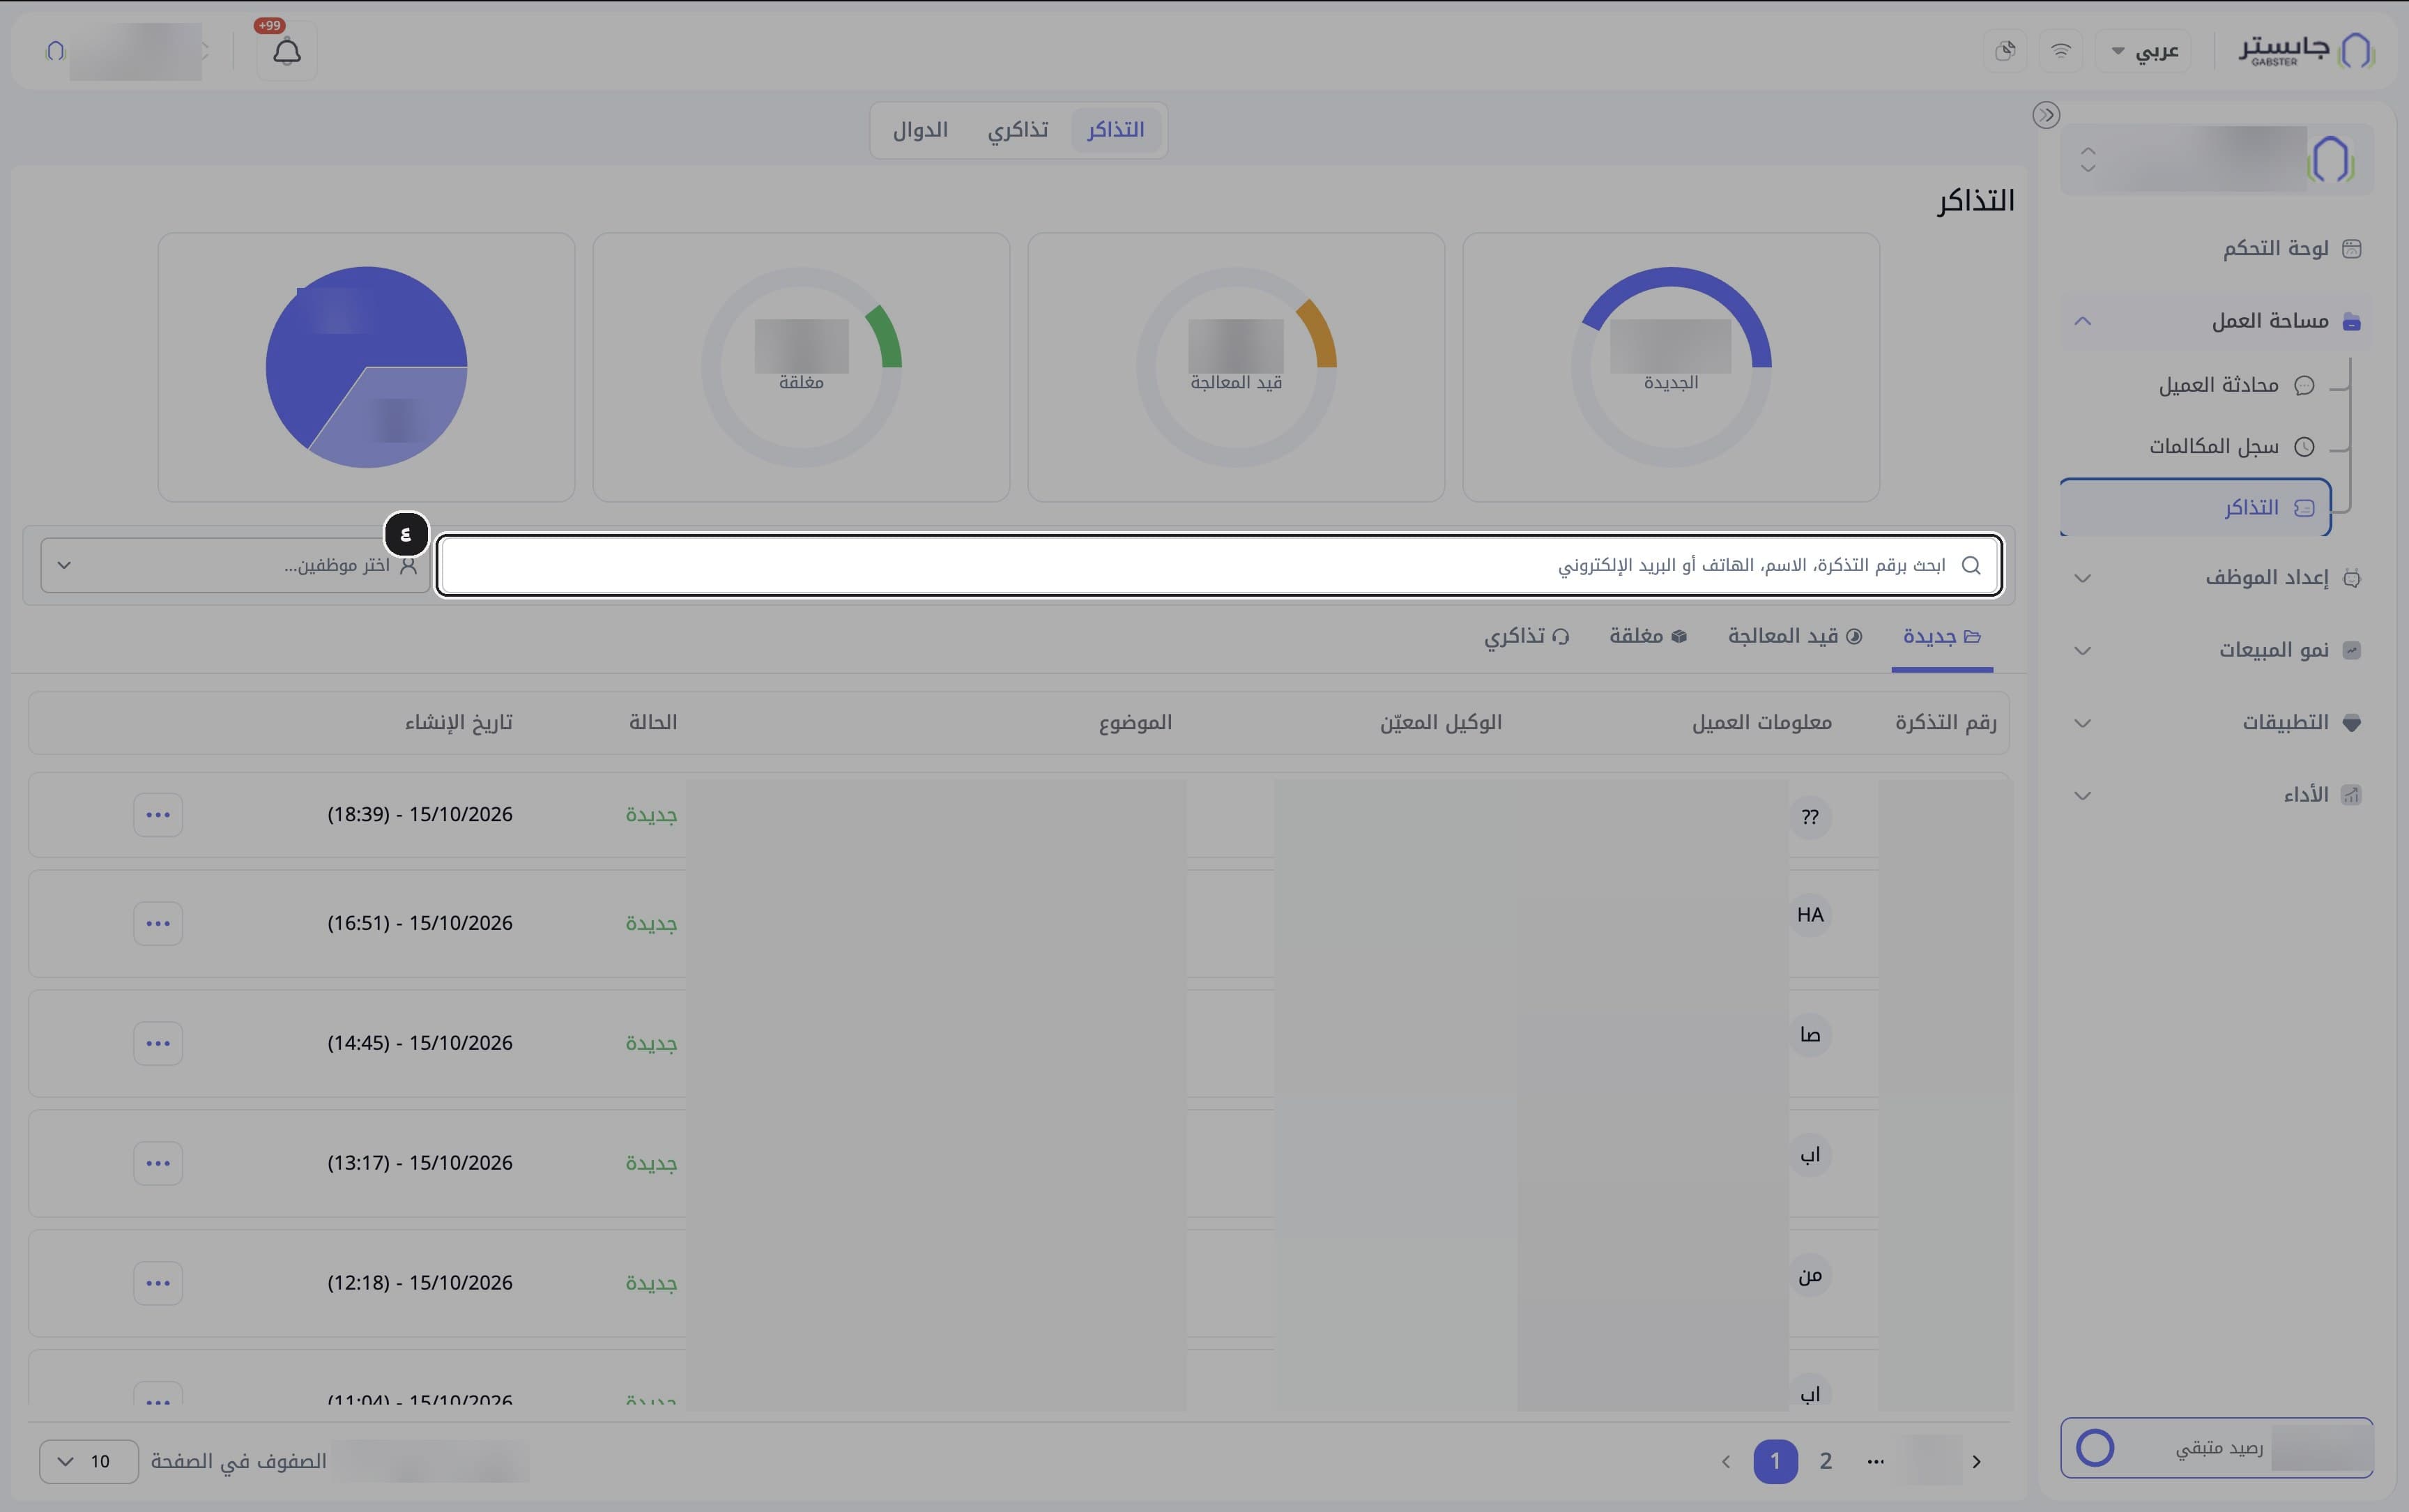
In Search by ticket number, name, phone or email (ابحث برقم التذكرة، الاسم، الهاتف أو البريد الإلكتروني), type a ticket number or the customer's name, phone number or email.
Filter by staff member
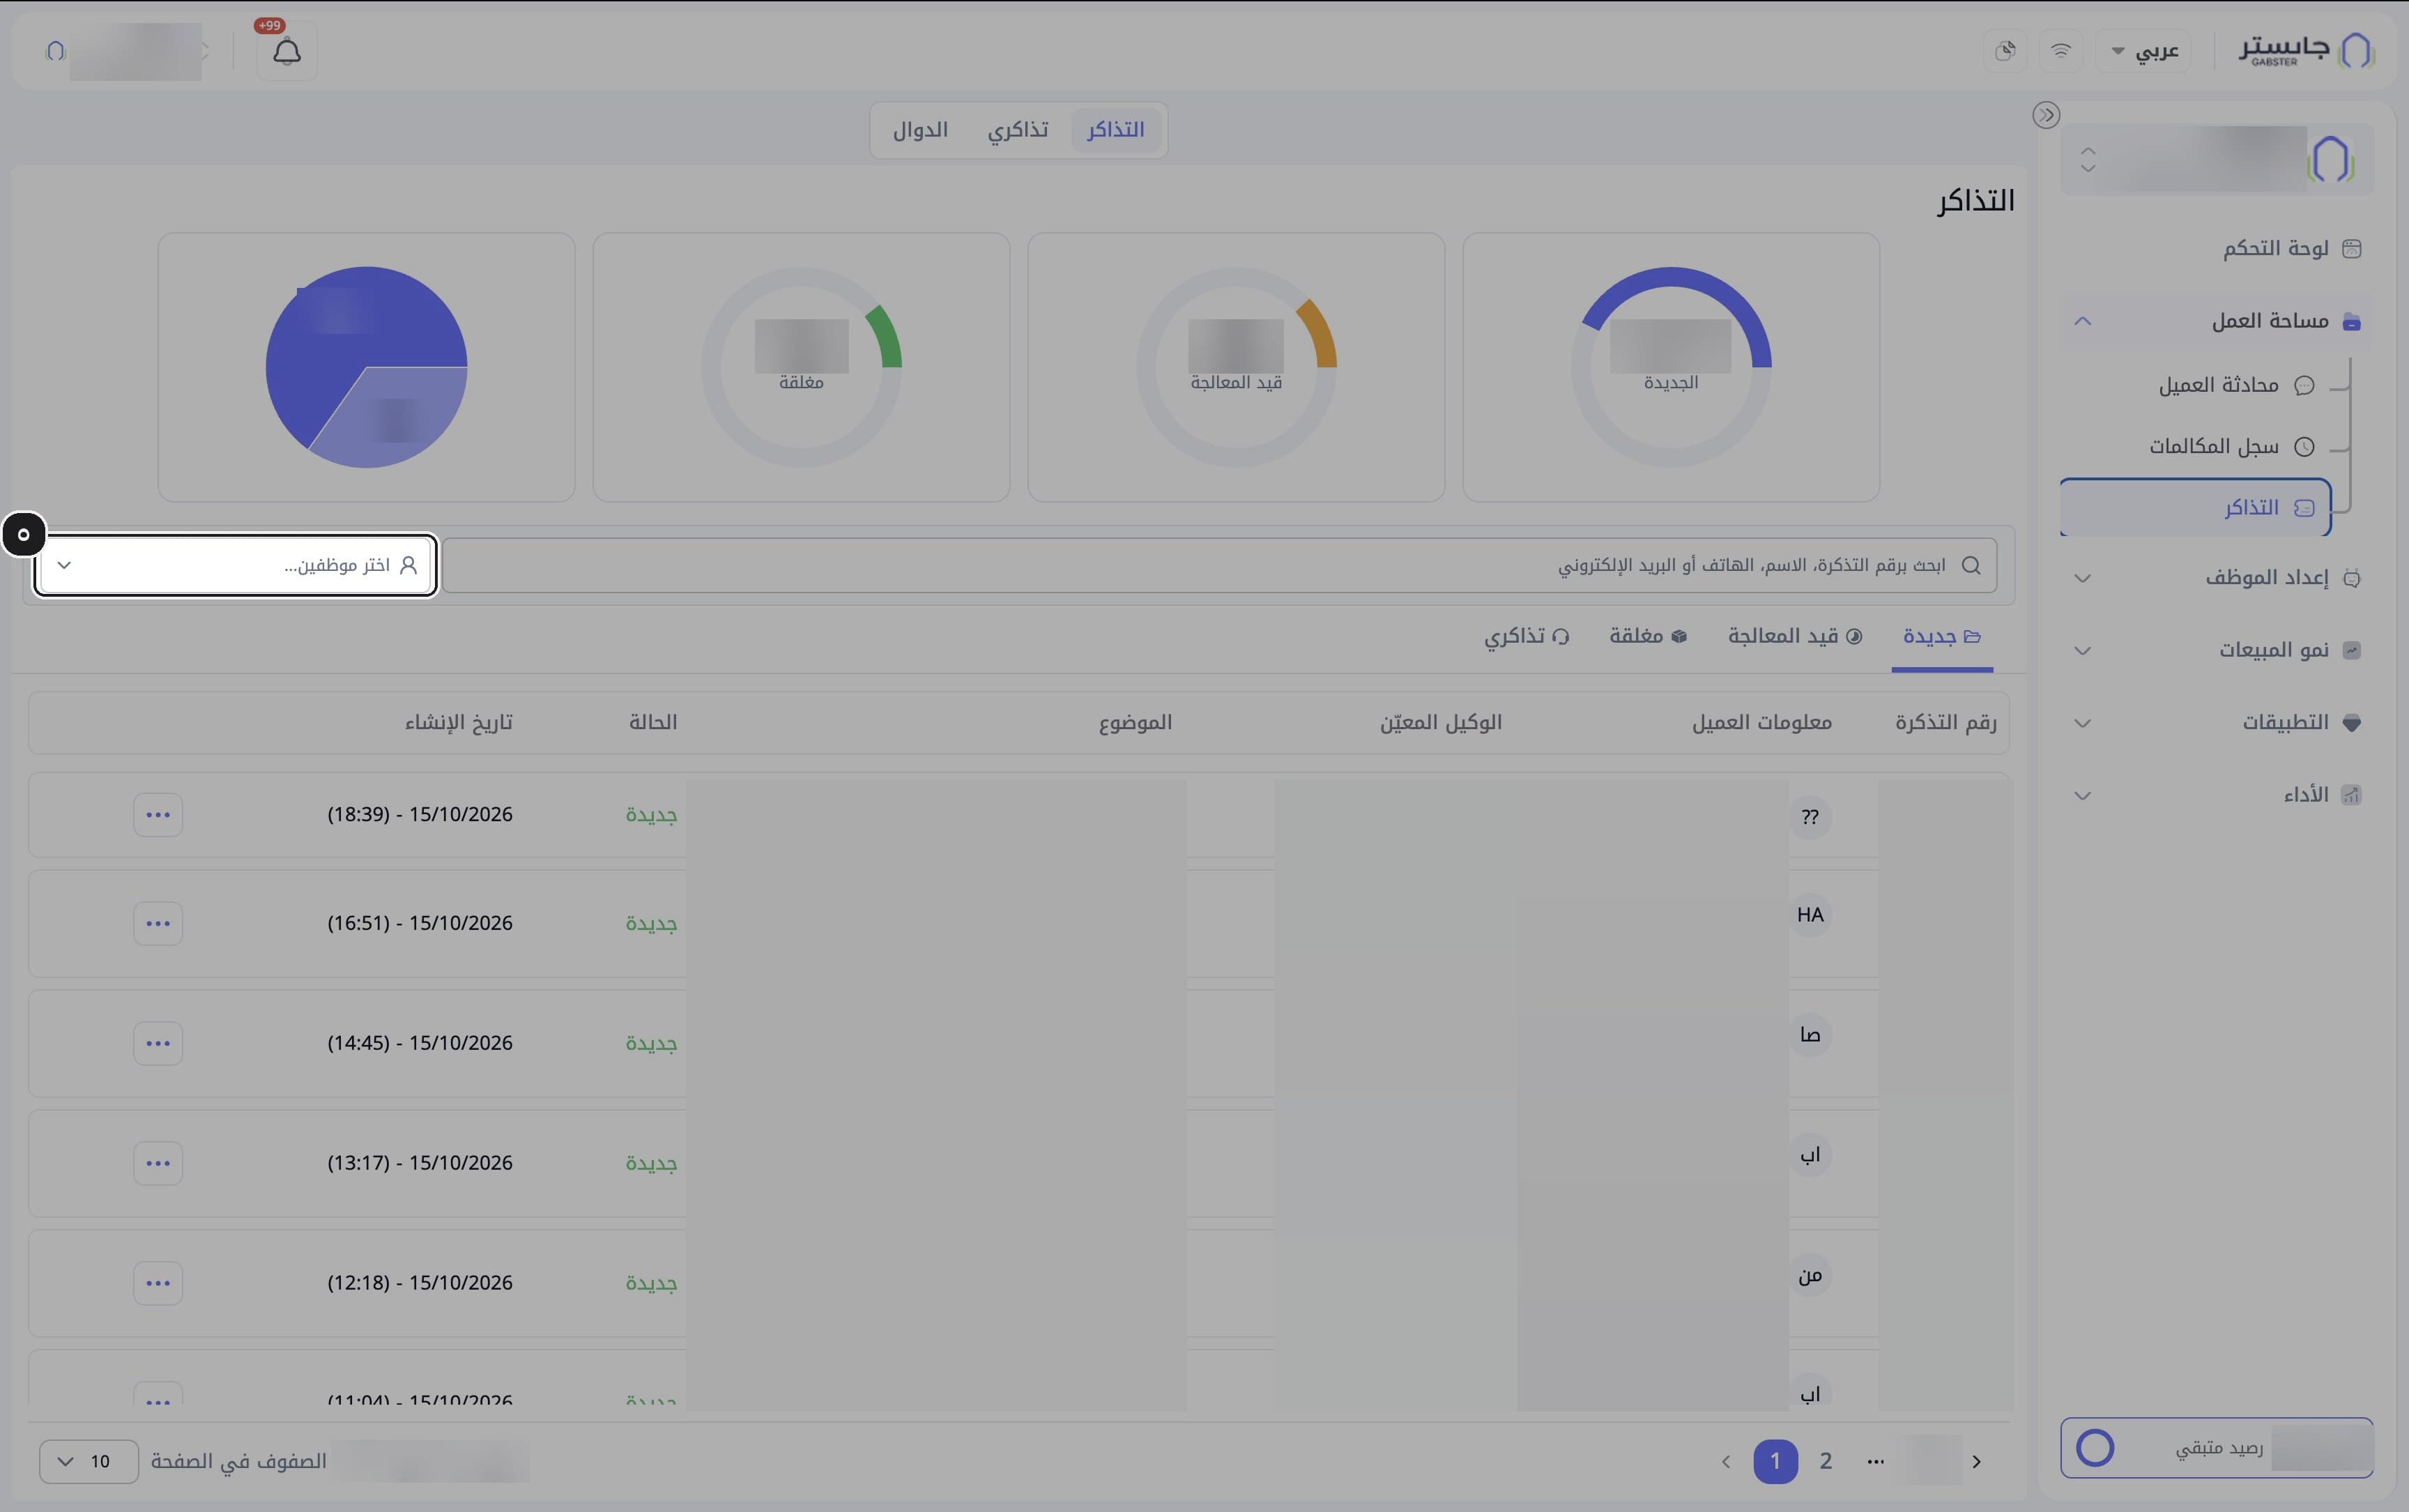
Open Select staff… (اختر موظفين...) and choose the staff member whose tickets you want to see.
Open the ticket's actions menu
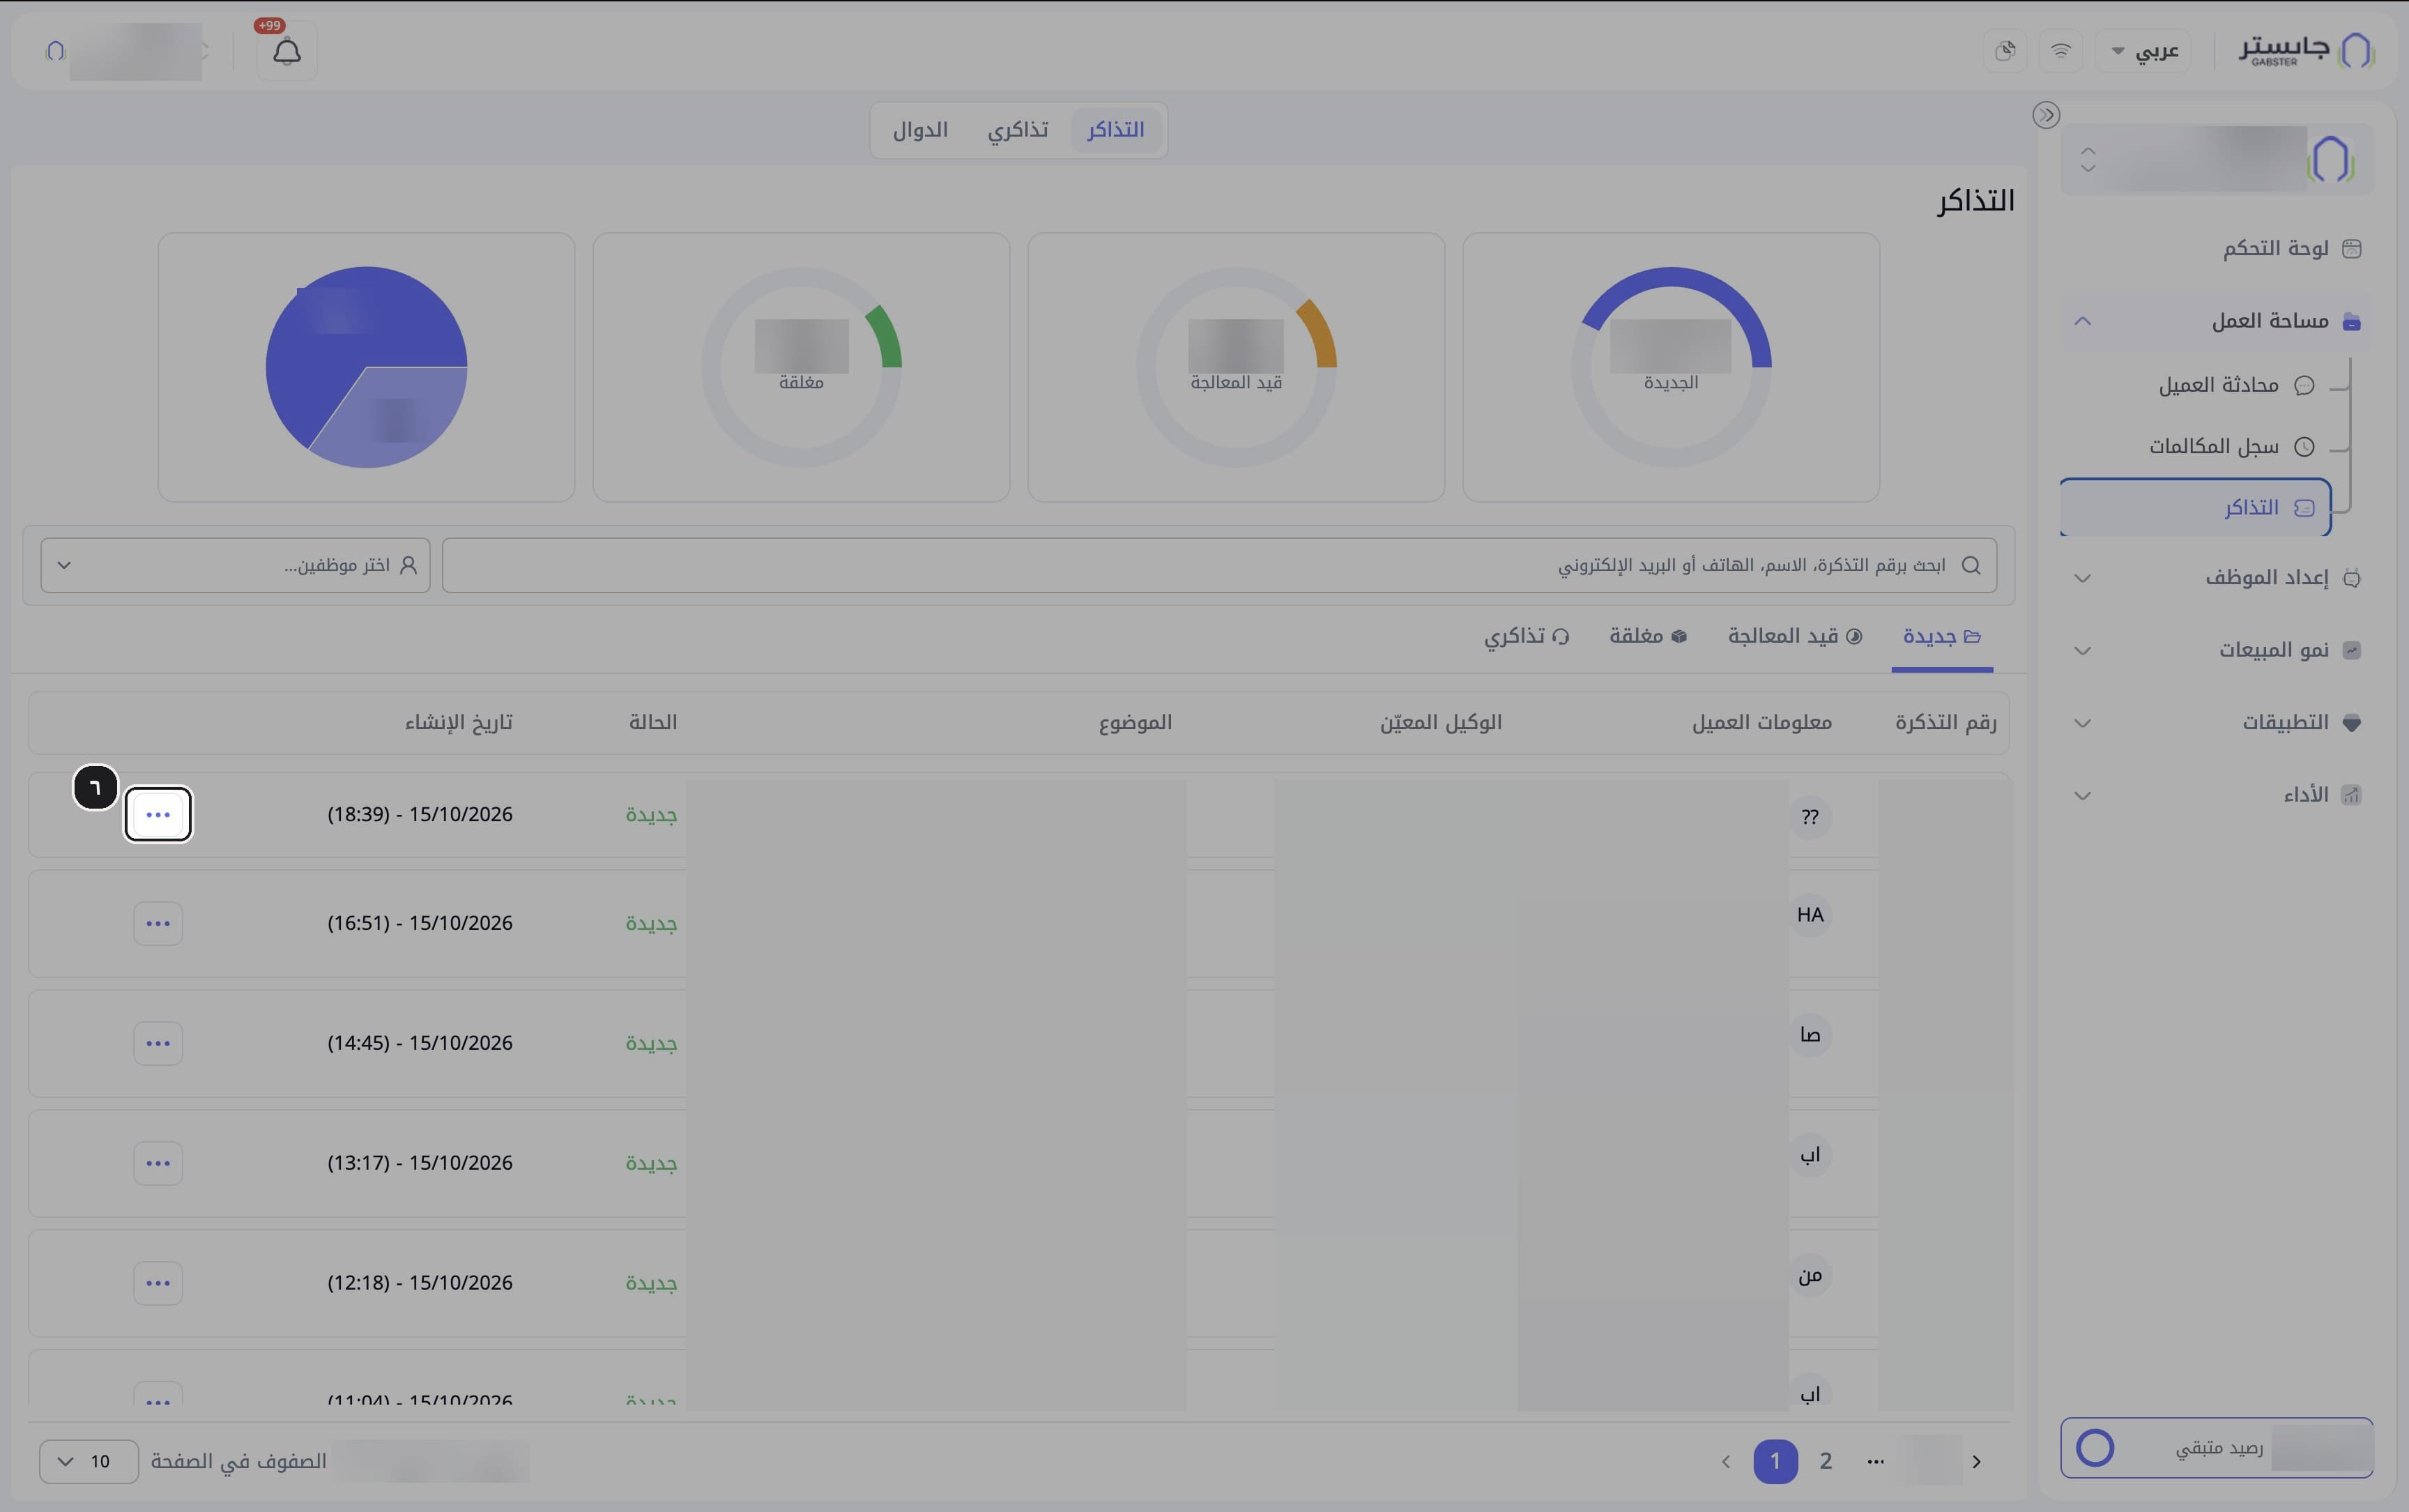
Click the three-dot icon on the ticket's row.
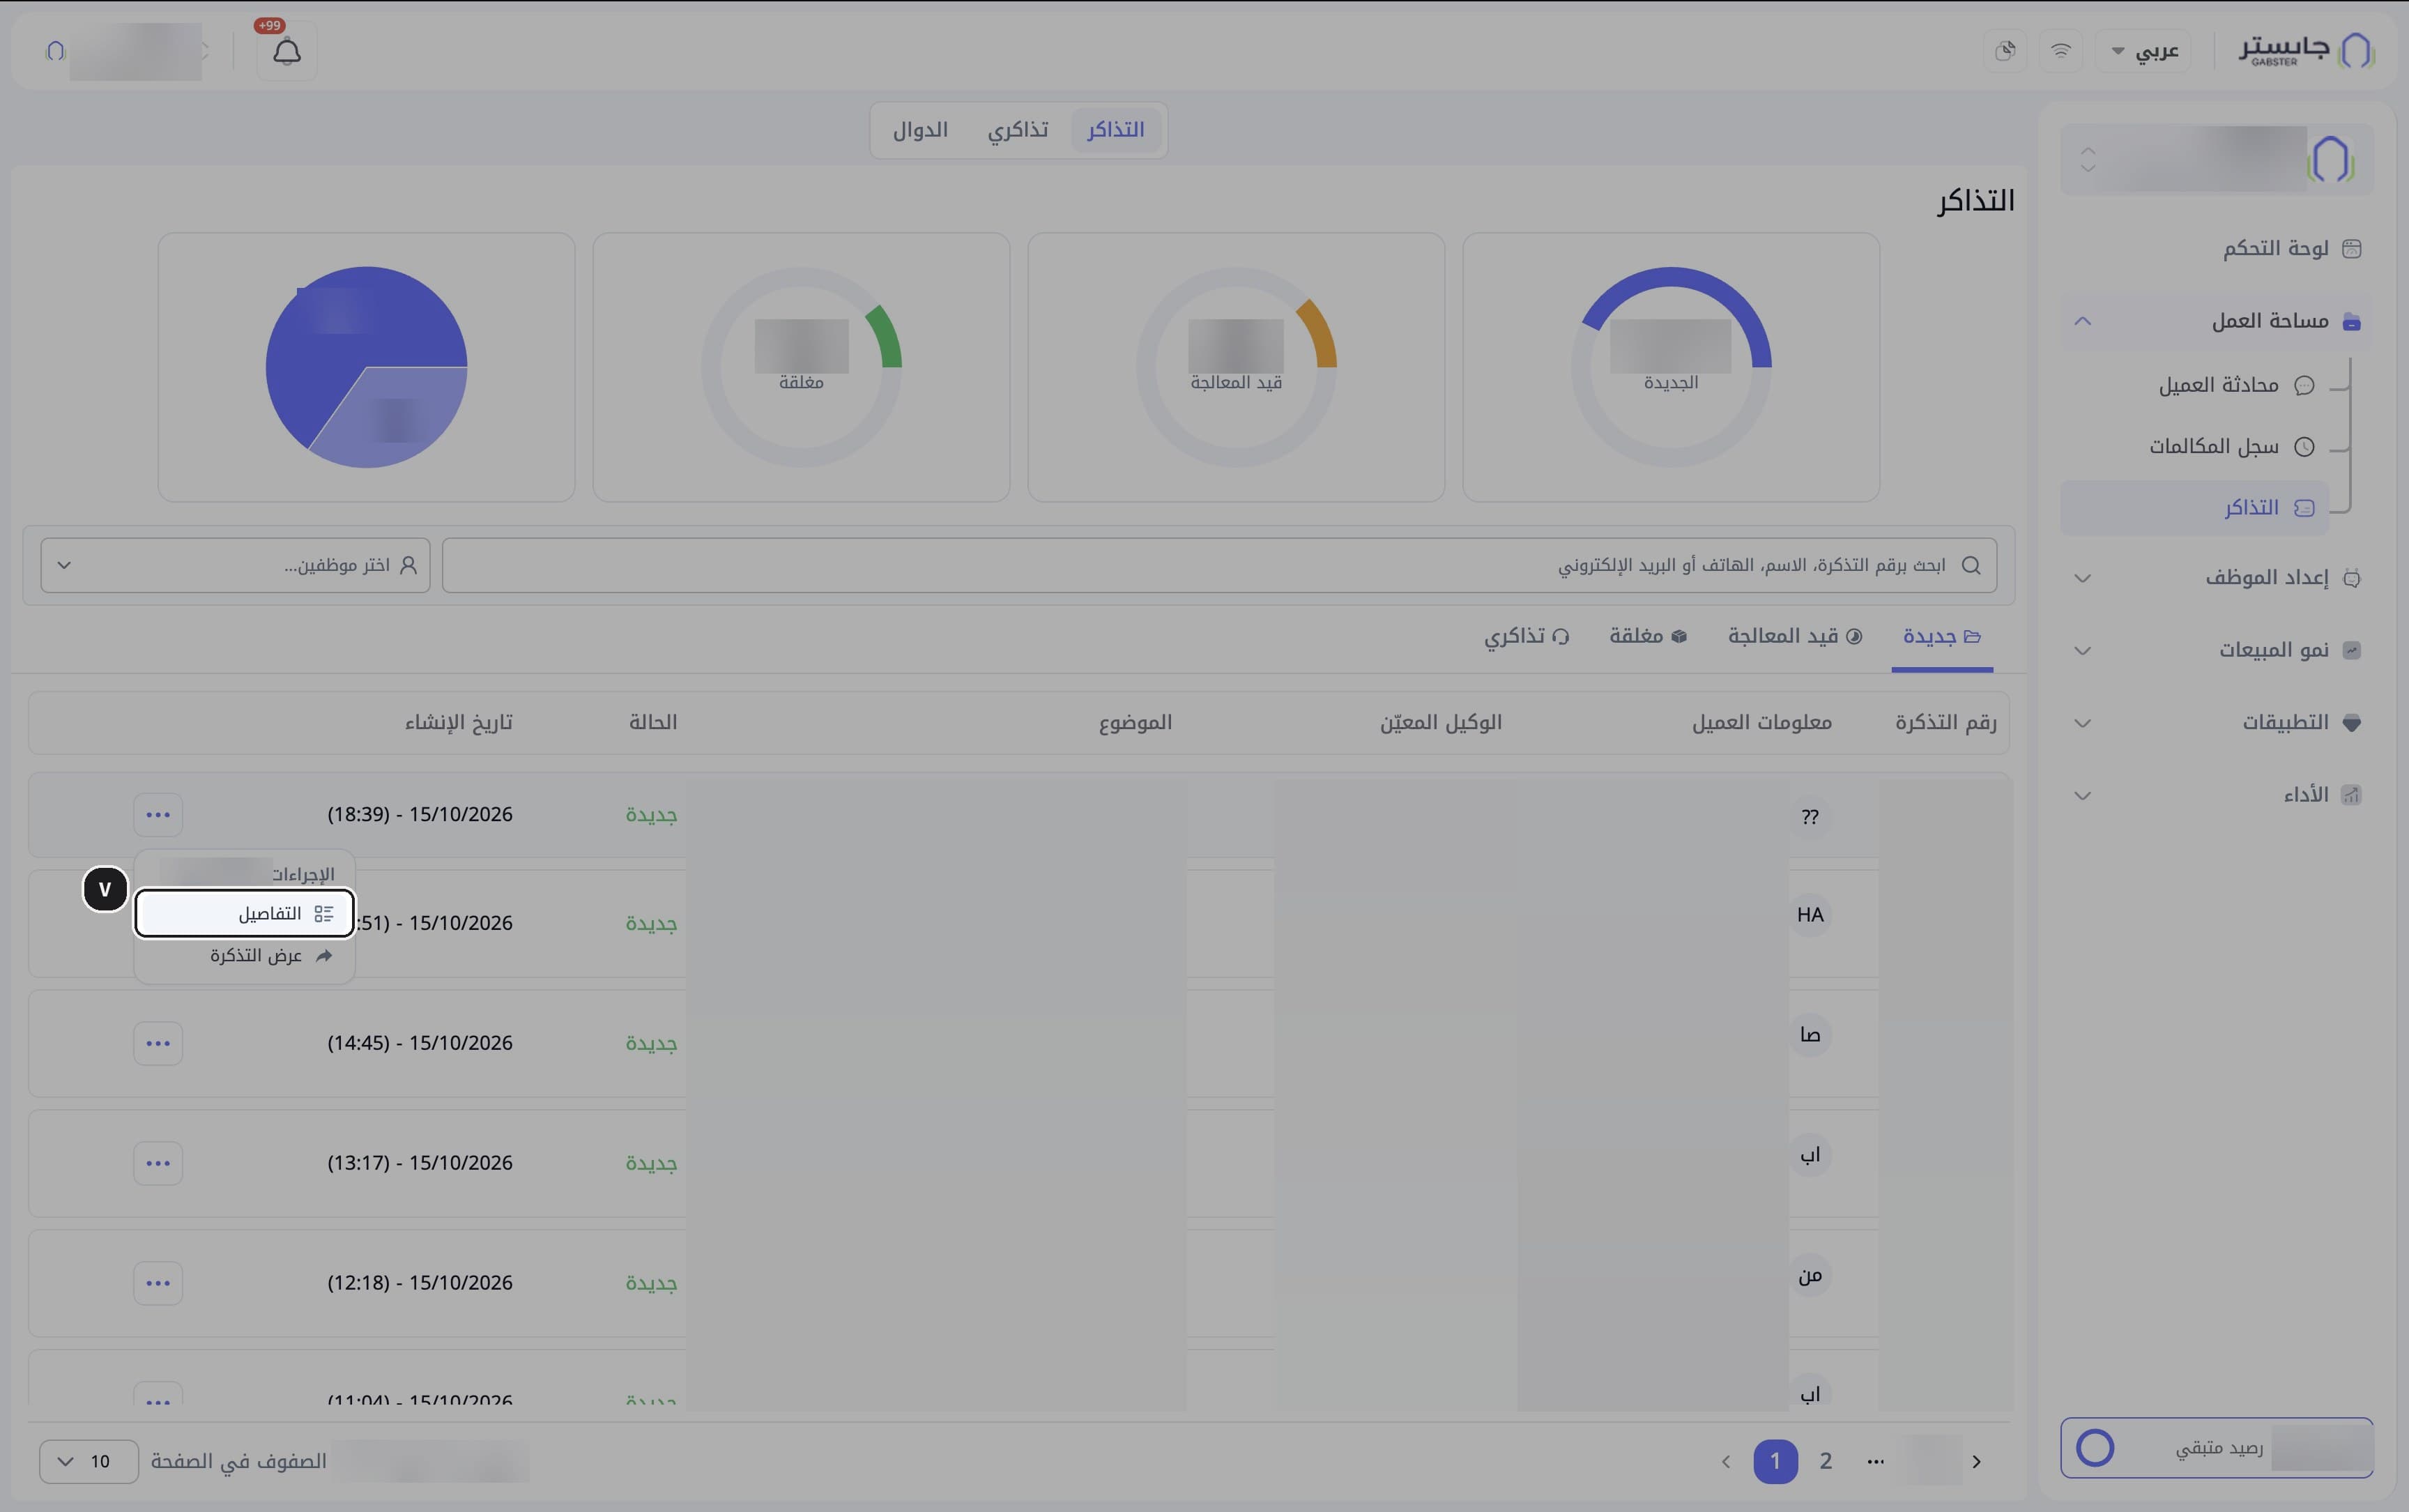
Result: the row is shaded and the Actions (الإجراءات) menu appears with Details (التفاصيل) and View ticket (عرض التذكرة).
Open the details
Choose Details.
Result: the Ticket Details window opens.
Read the status and stages
Read the status badge (such as New) and the stage bar: Created (تم الإنشاء) → In progress (قيد المعالجة) → Closed (مغلقة). The Created stage shows its date and time.
A ticket moves to In progress when the assigned staff member opens it, and to Closed when they close it. Closing a ticket doesn't close its conversation.
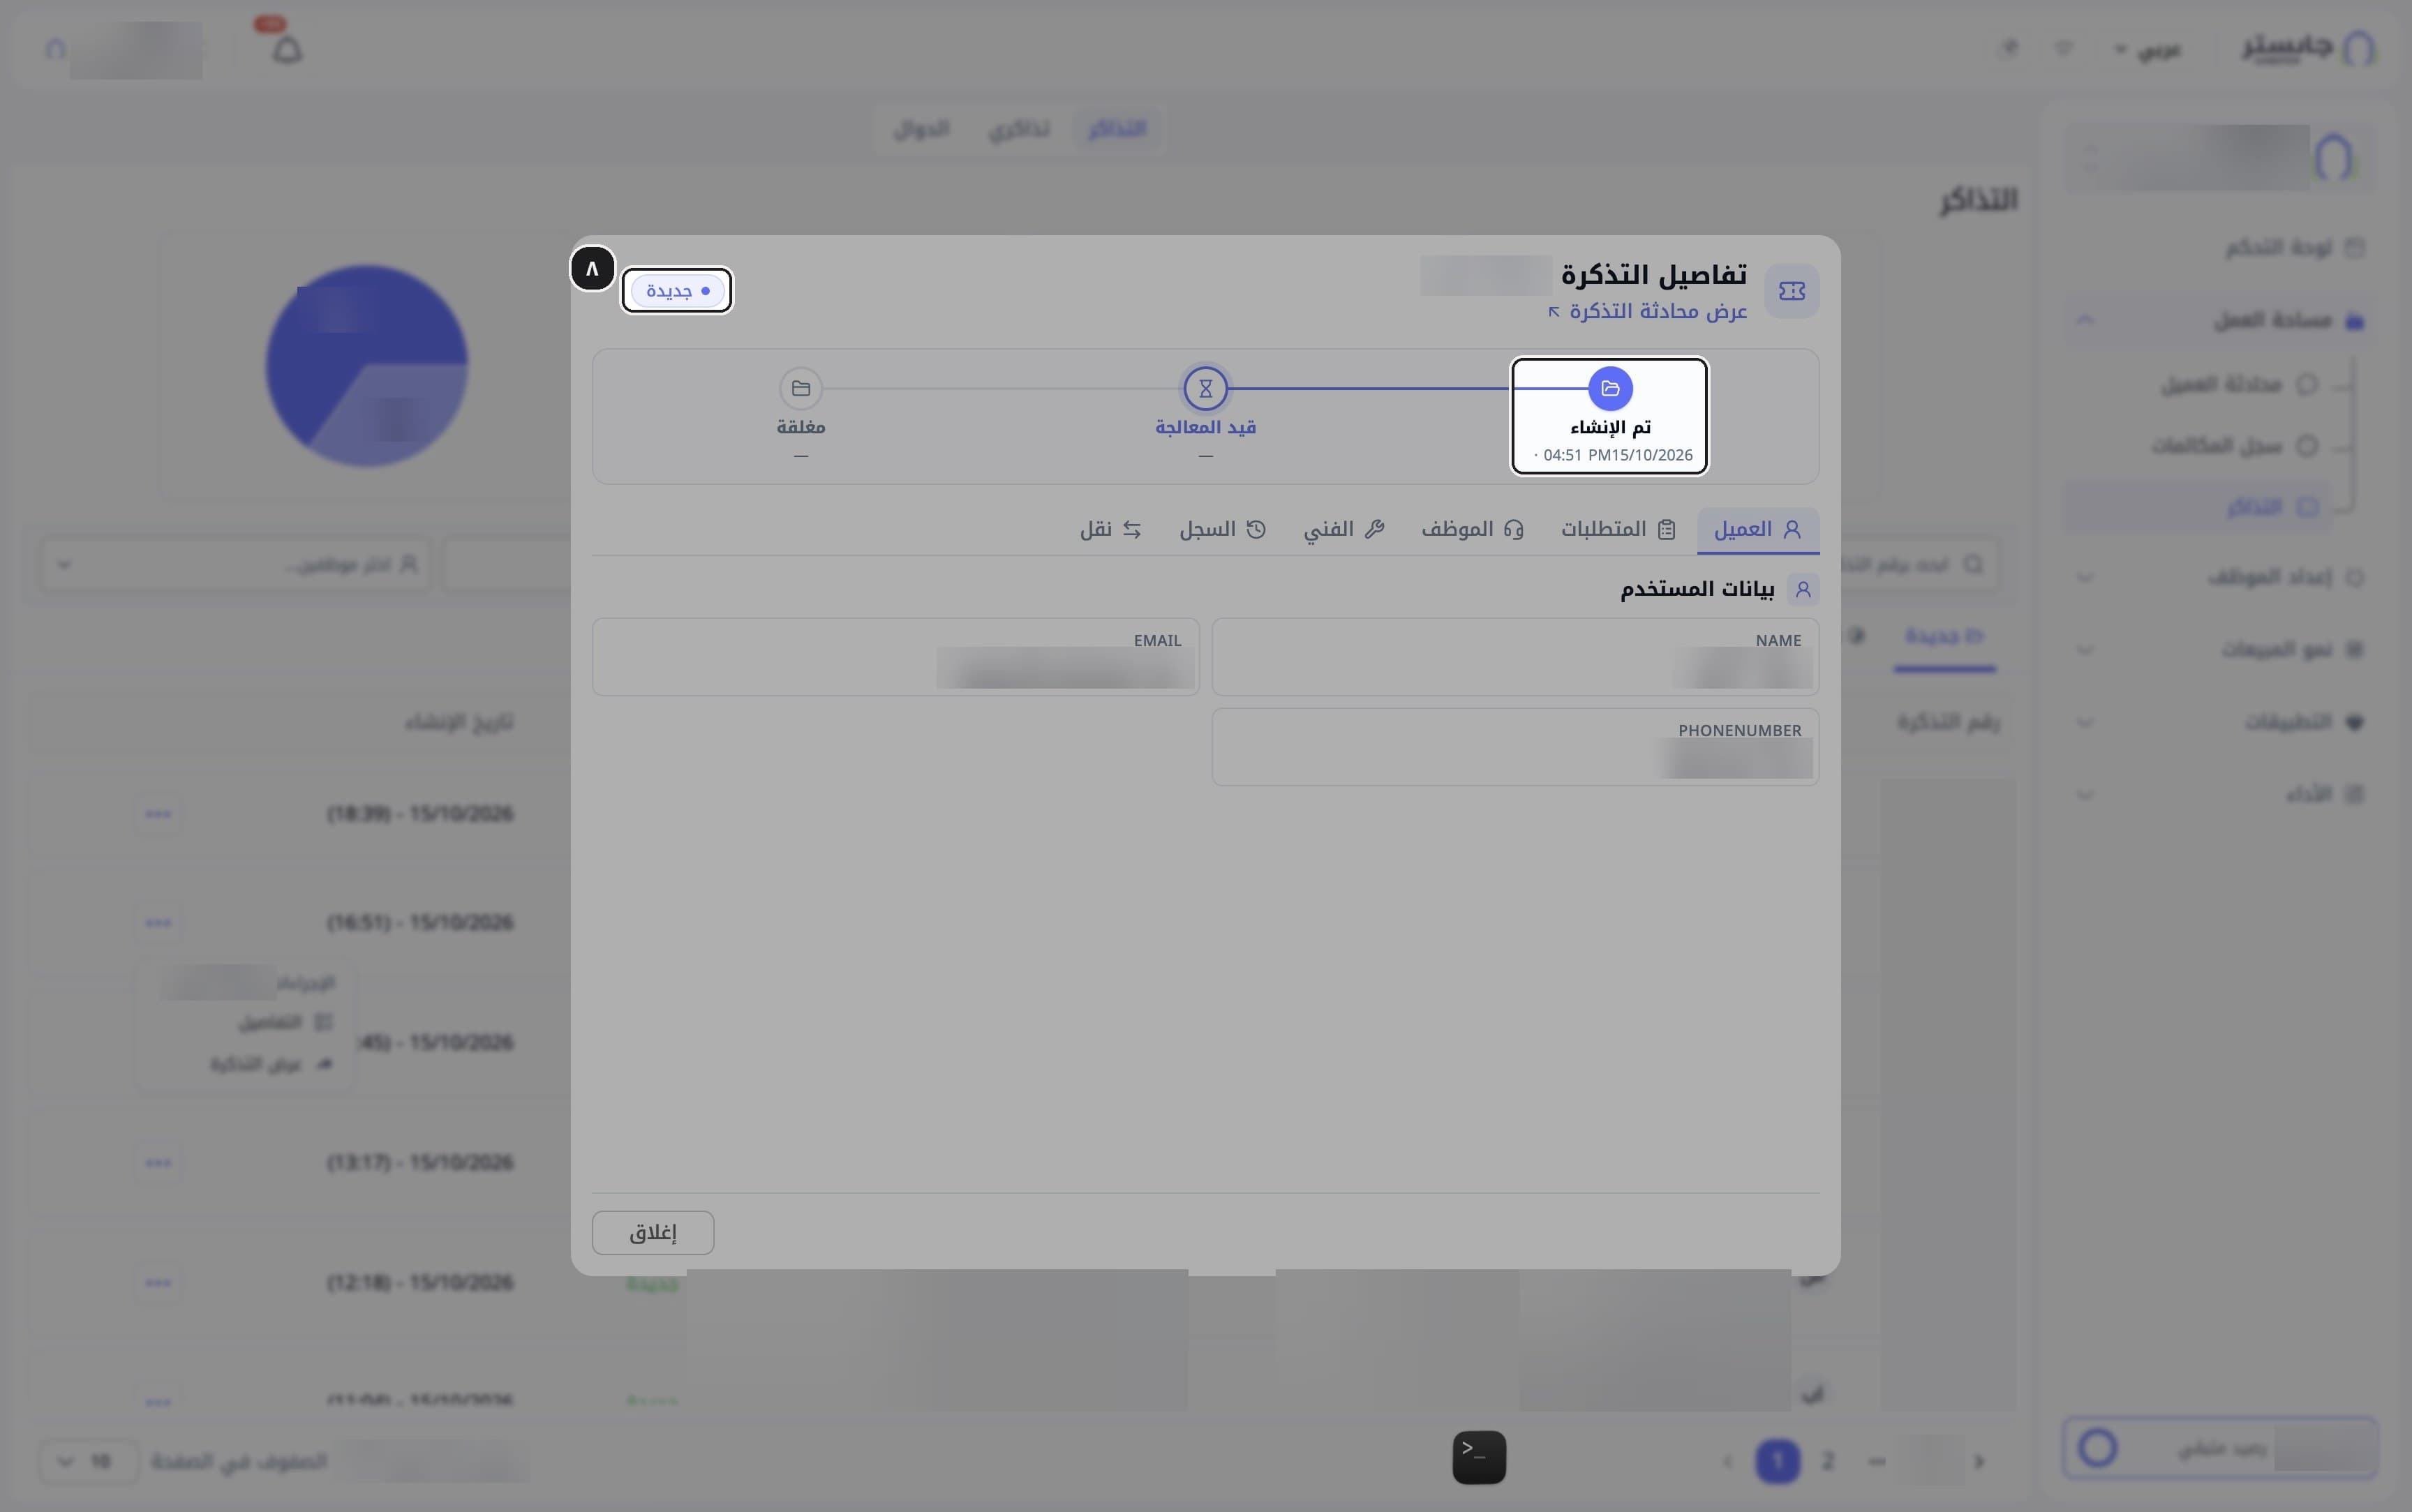
Customer tab
The Customer (العميل) tab shows the customer's name, email and phone number under User data (بيانات المستخدم). This data is read-only.
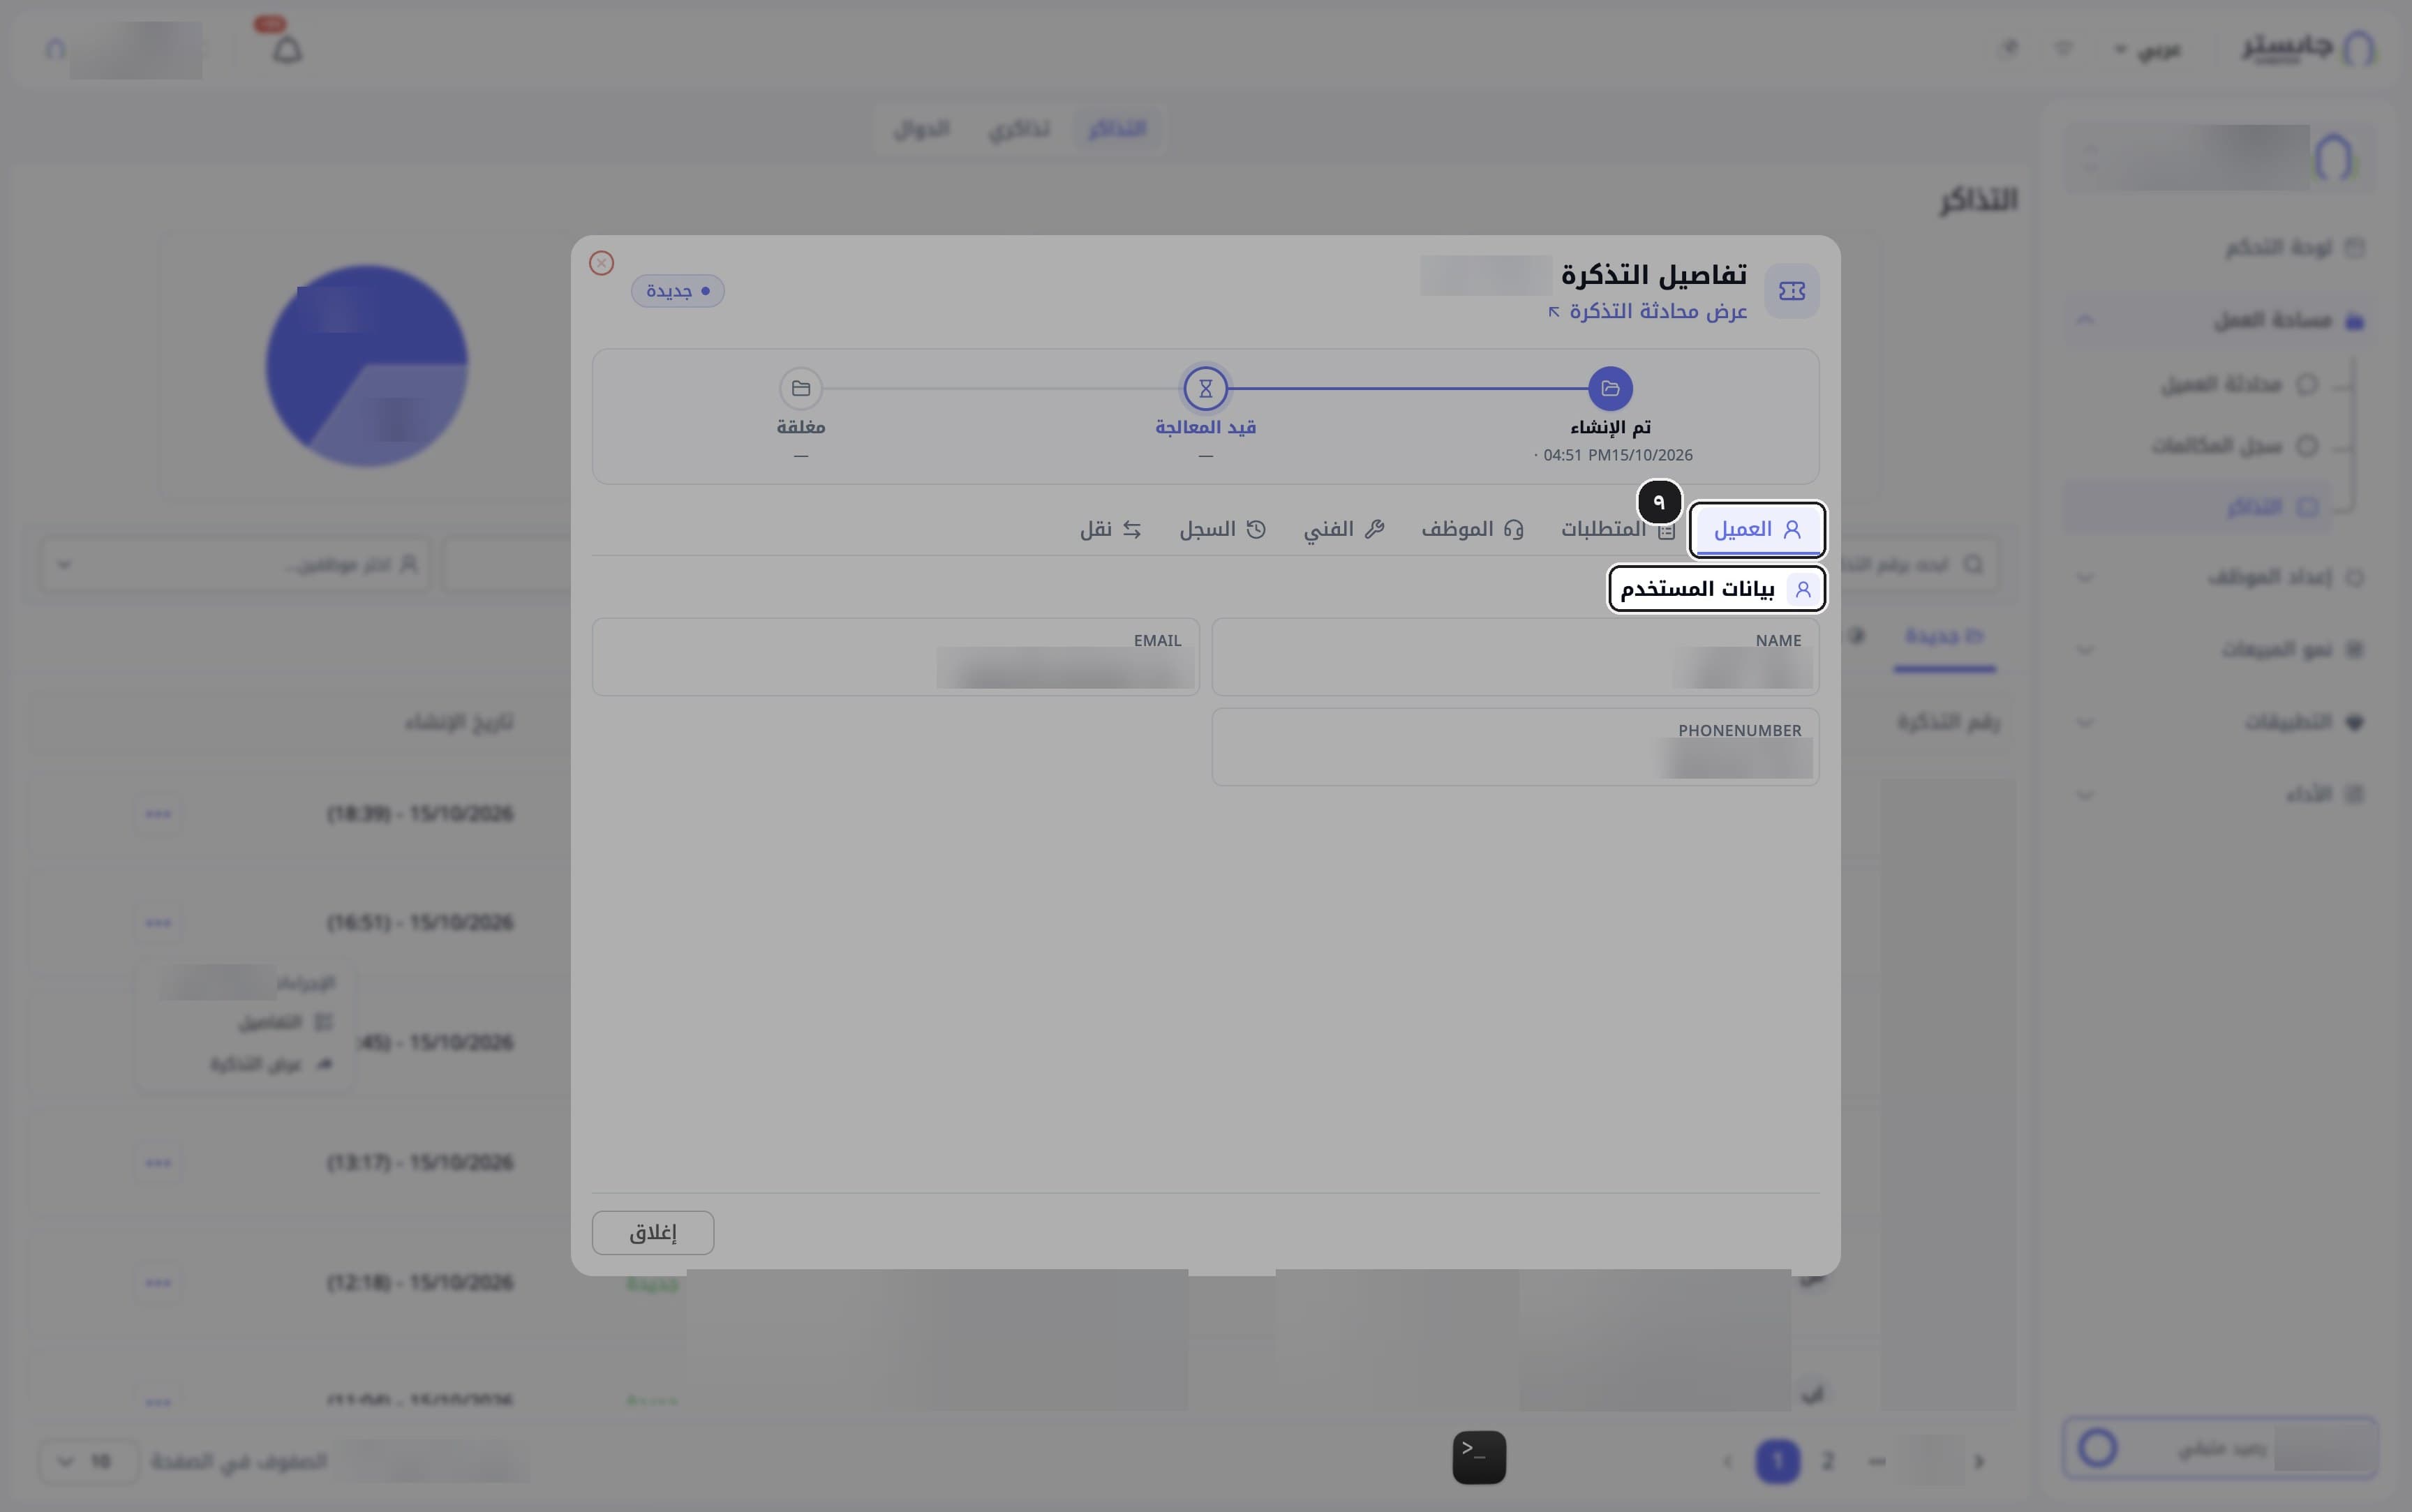
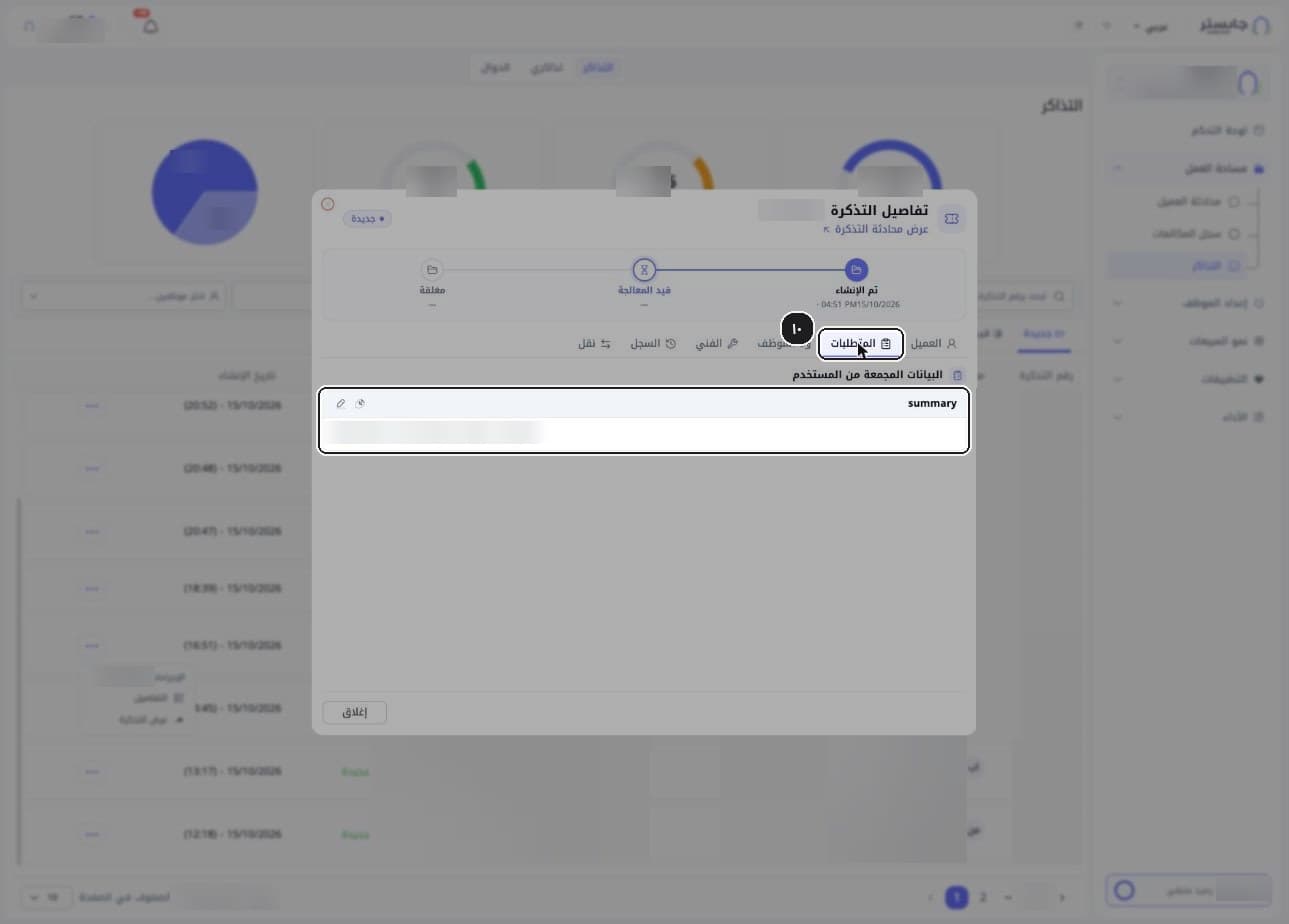
Requirements tab
Open the Requirements (المتطلبات) tab to see the data your AI Agent collected from the customer; each field has a card with its value. These fields are defined by the function that opened the ticket.
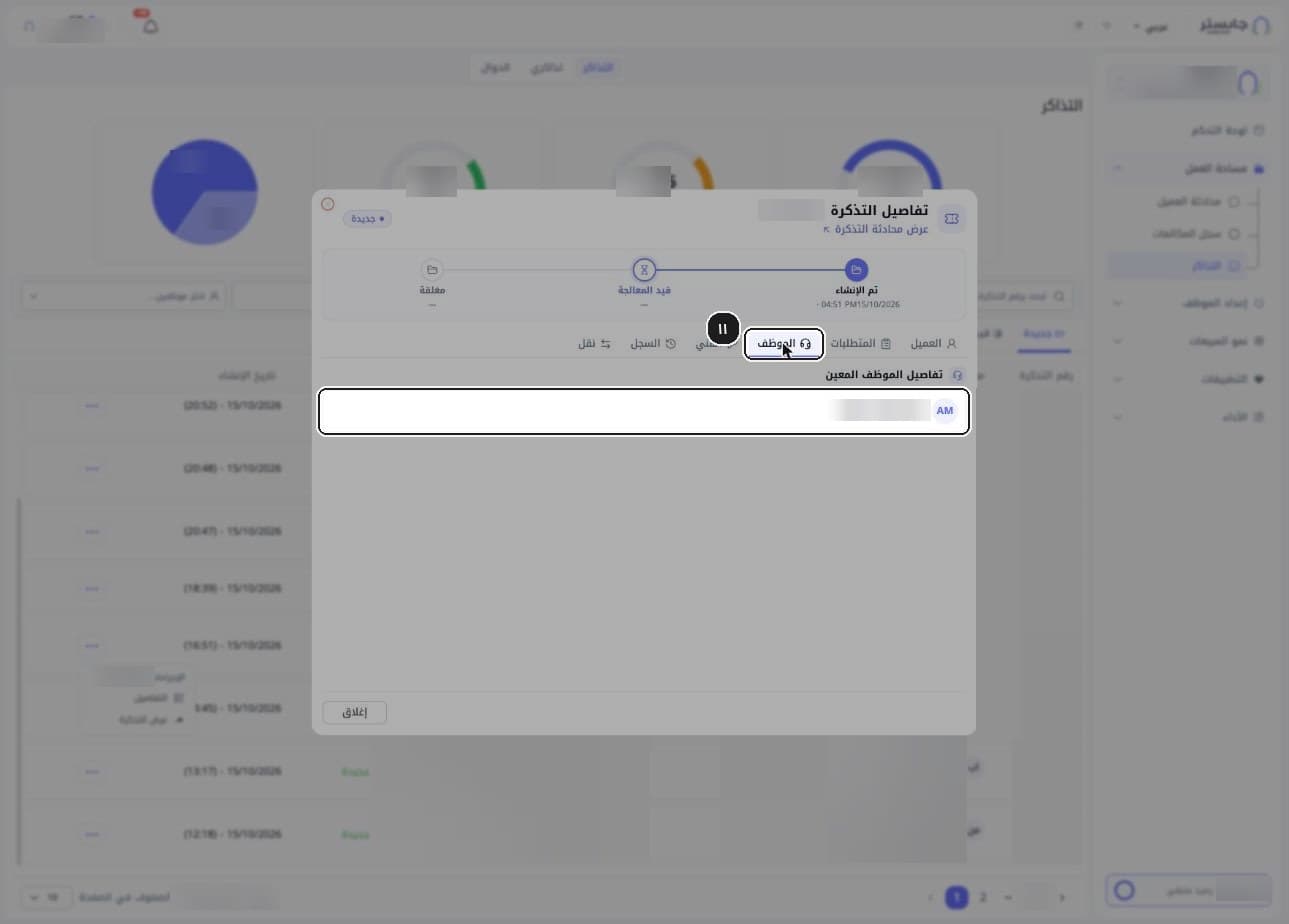
Staff tab
Open the Staff (الموظف) tab to see the staff member the ticket is assigned to.
To hand the ticket on, transfer it to a department: the least-busy member there gets it, and the ticket goes back to New.
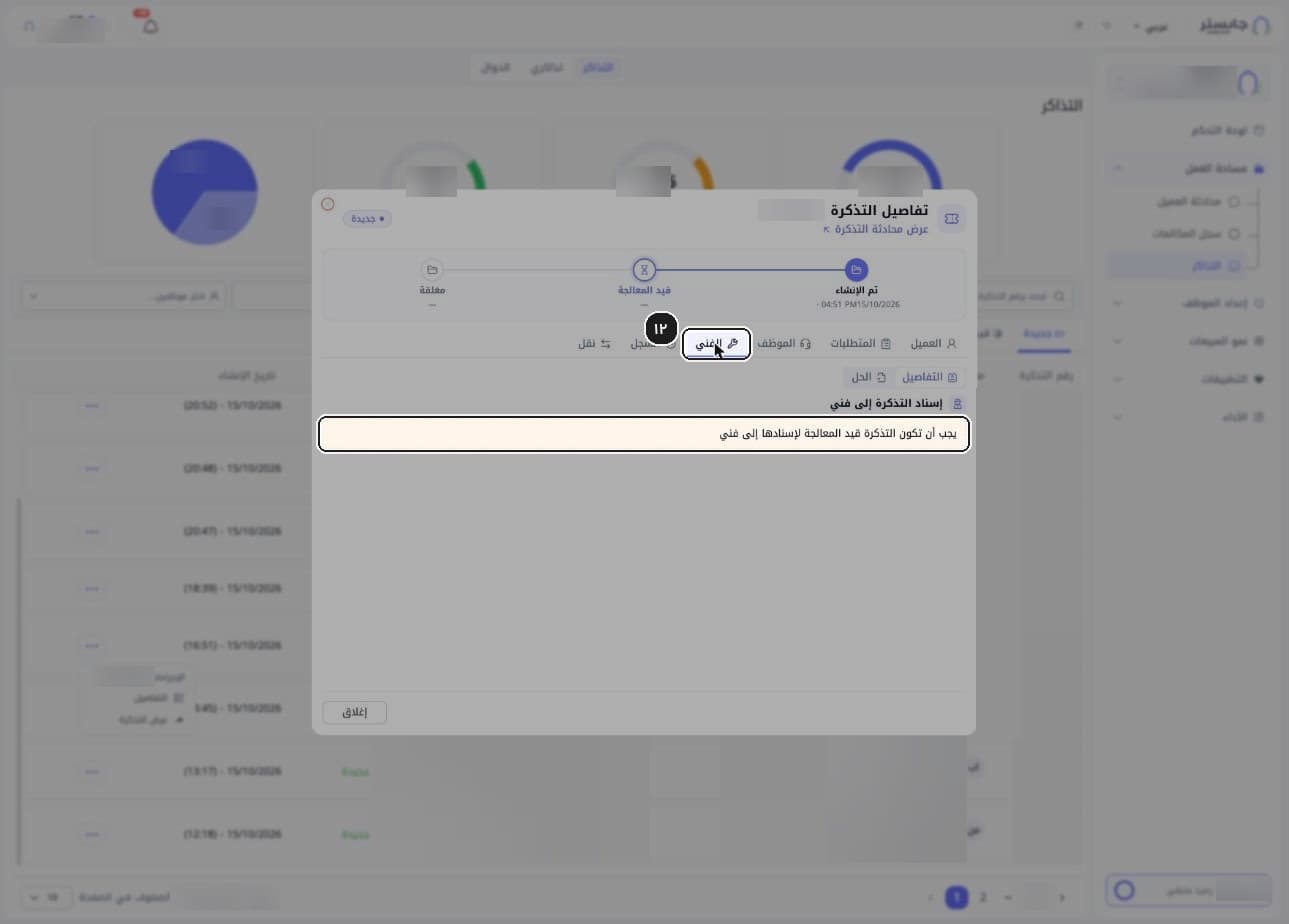
Technical tab
Open the Technical (الفني) tab to assign the ticket to a technician. It has two sub-tabs: Details (التفاصيل) and Solution (الحل).
A technician can only be assigned when the ticket is In progress; until then you see The ticket must be in progress to assign it to a technician (يجب أن تكون التذكرة قيد المعالجة لإسنادها إلى فني).
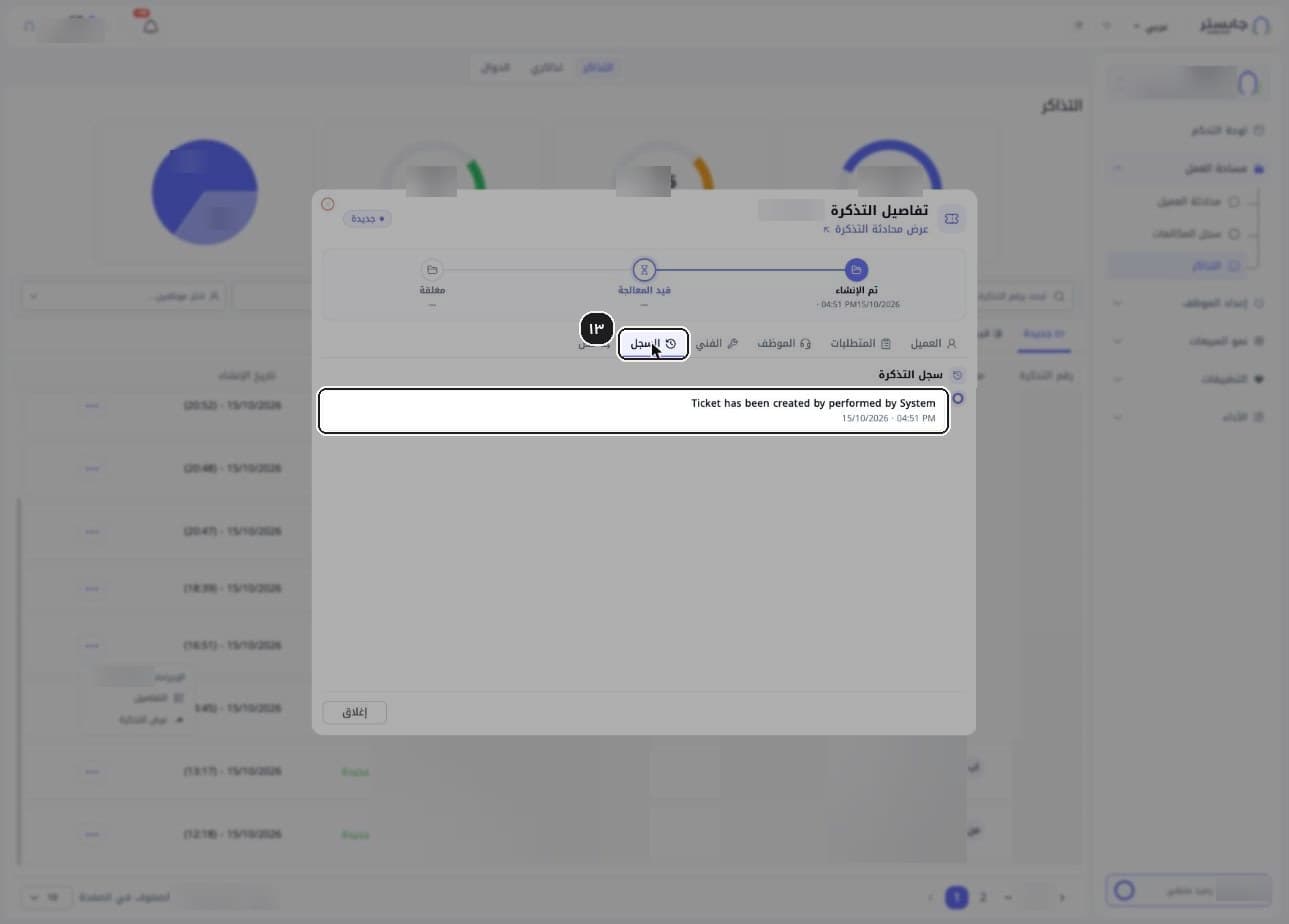
History tab
Open the History (السجل) tab to see the ticket's timeline; each event, such as the ticket's creation, appears with its date and time.
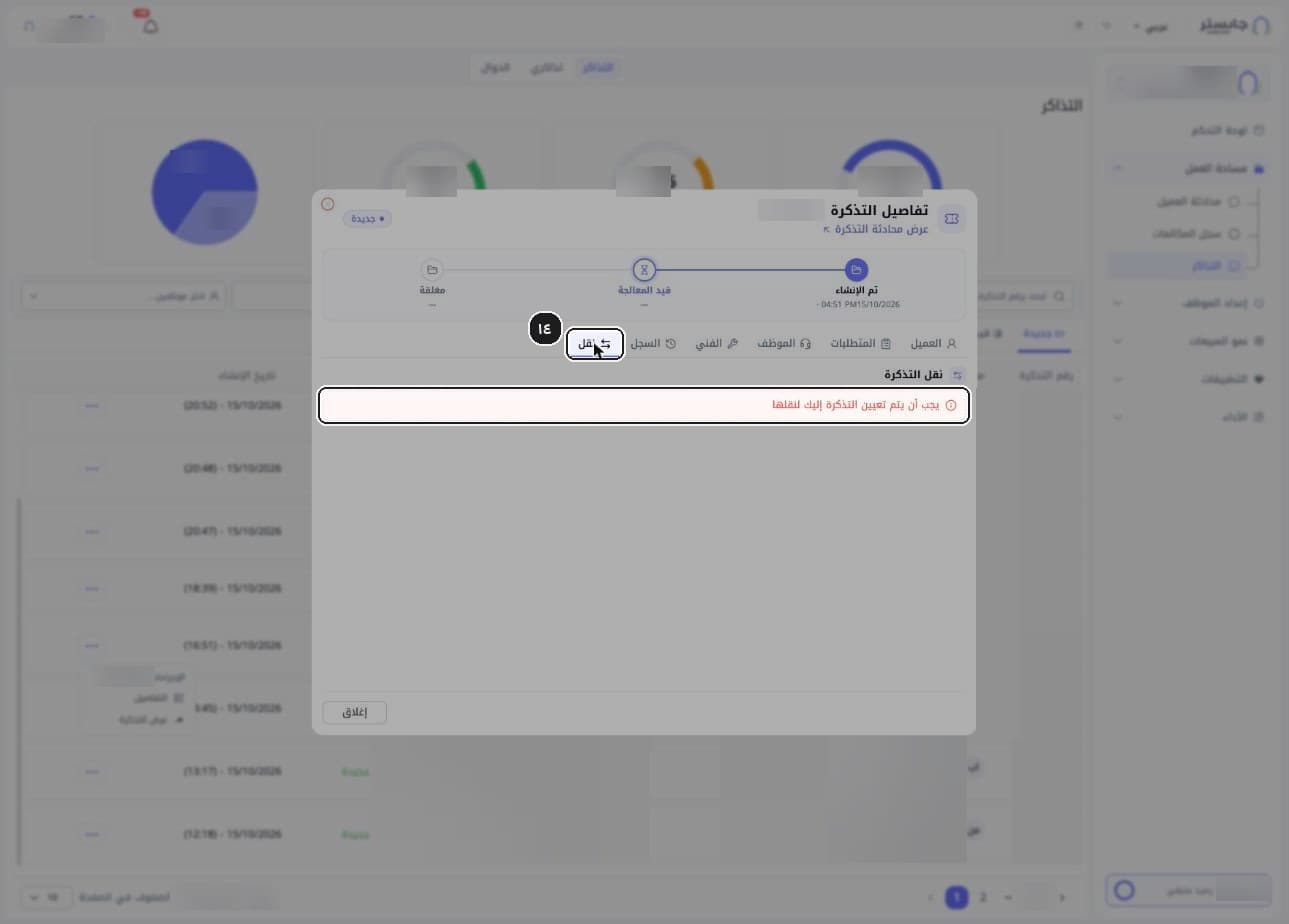
Transfer tab
Open the Transfer (نقل) tab to transfer the ticket.
Only the staff member the ticket is assigned to can transfer it; otherwise you see The ticket must be assigned to you to transfer it (يجب أن يتم تعيين التذكرة إليك لنقلها).
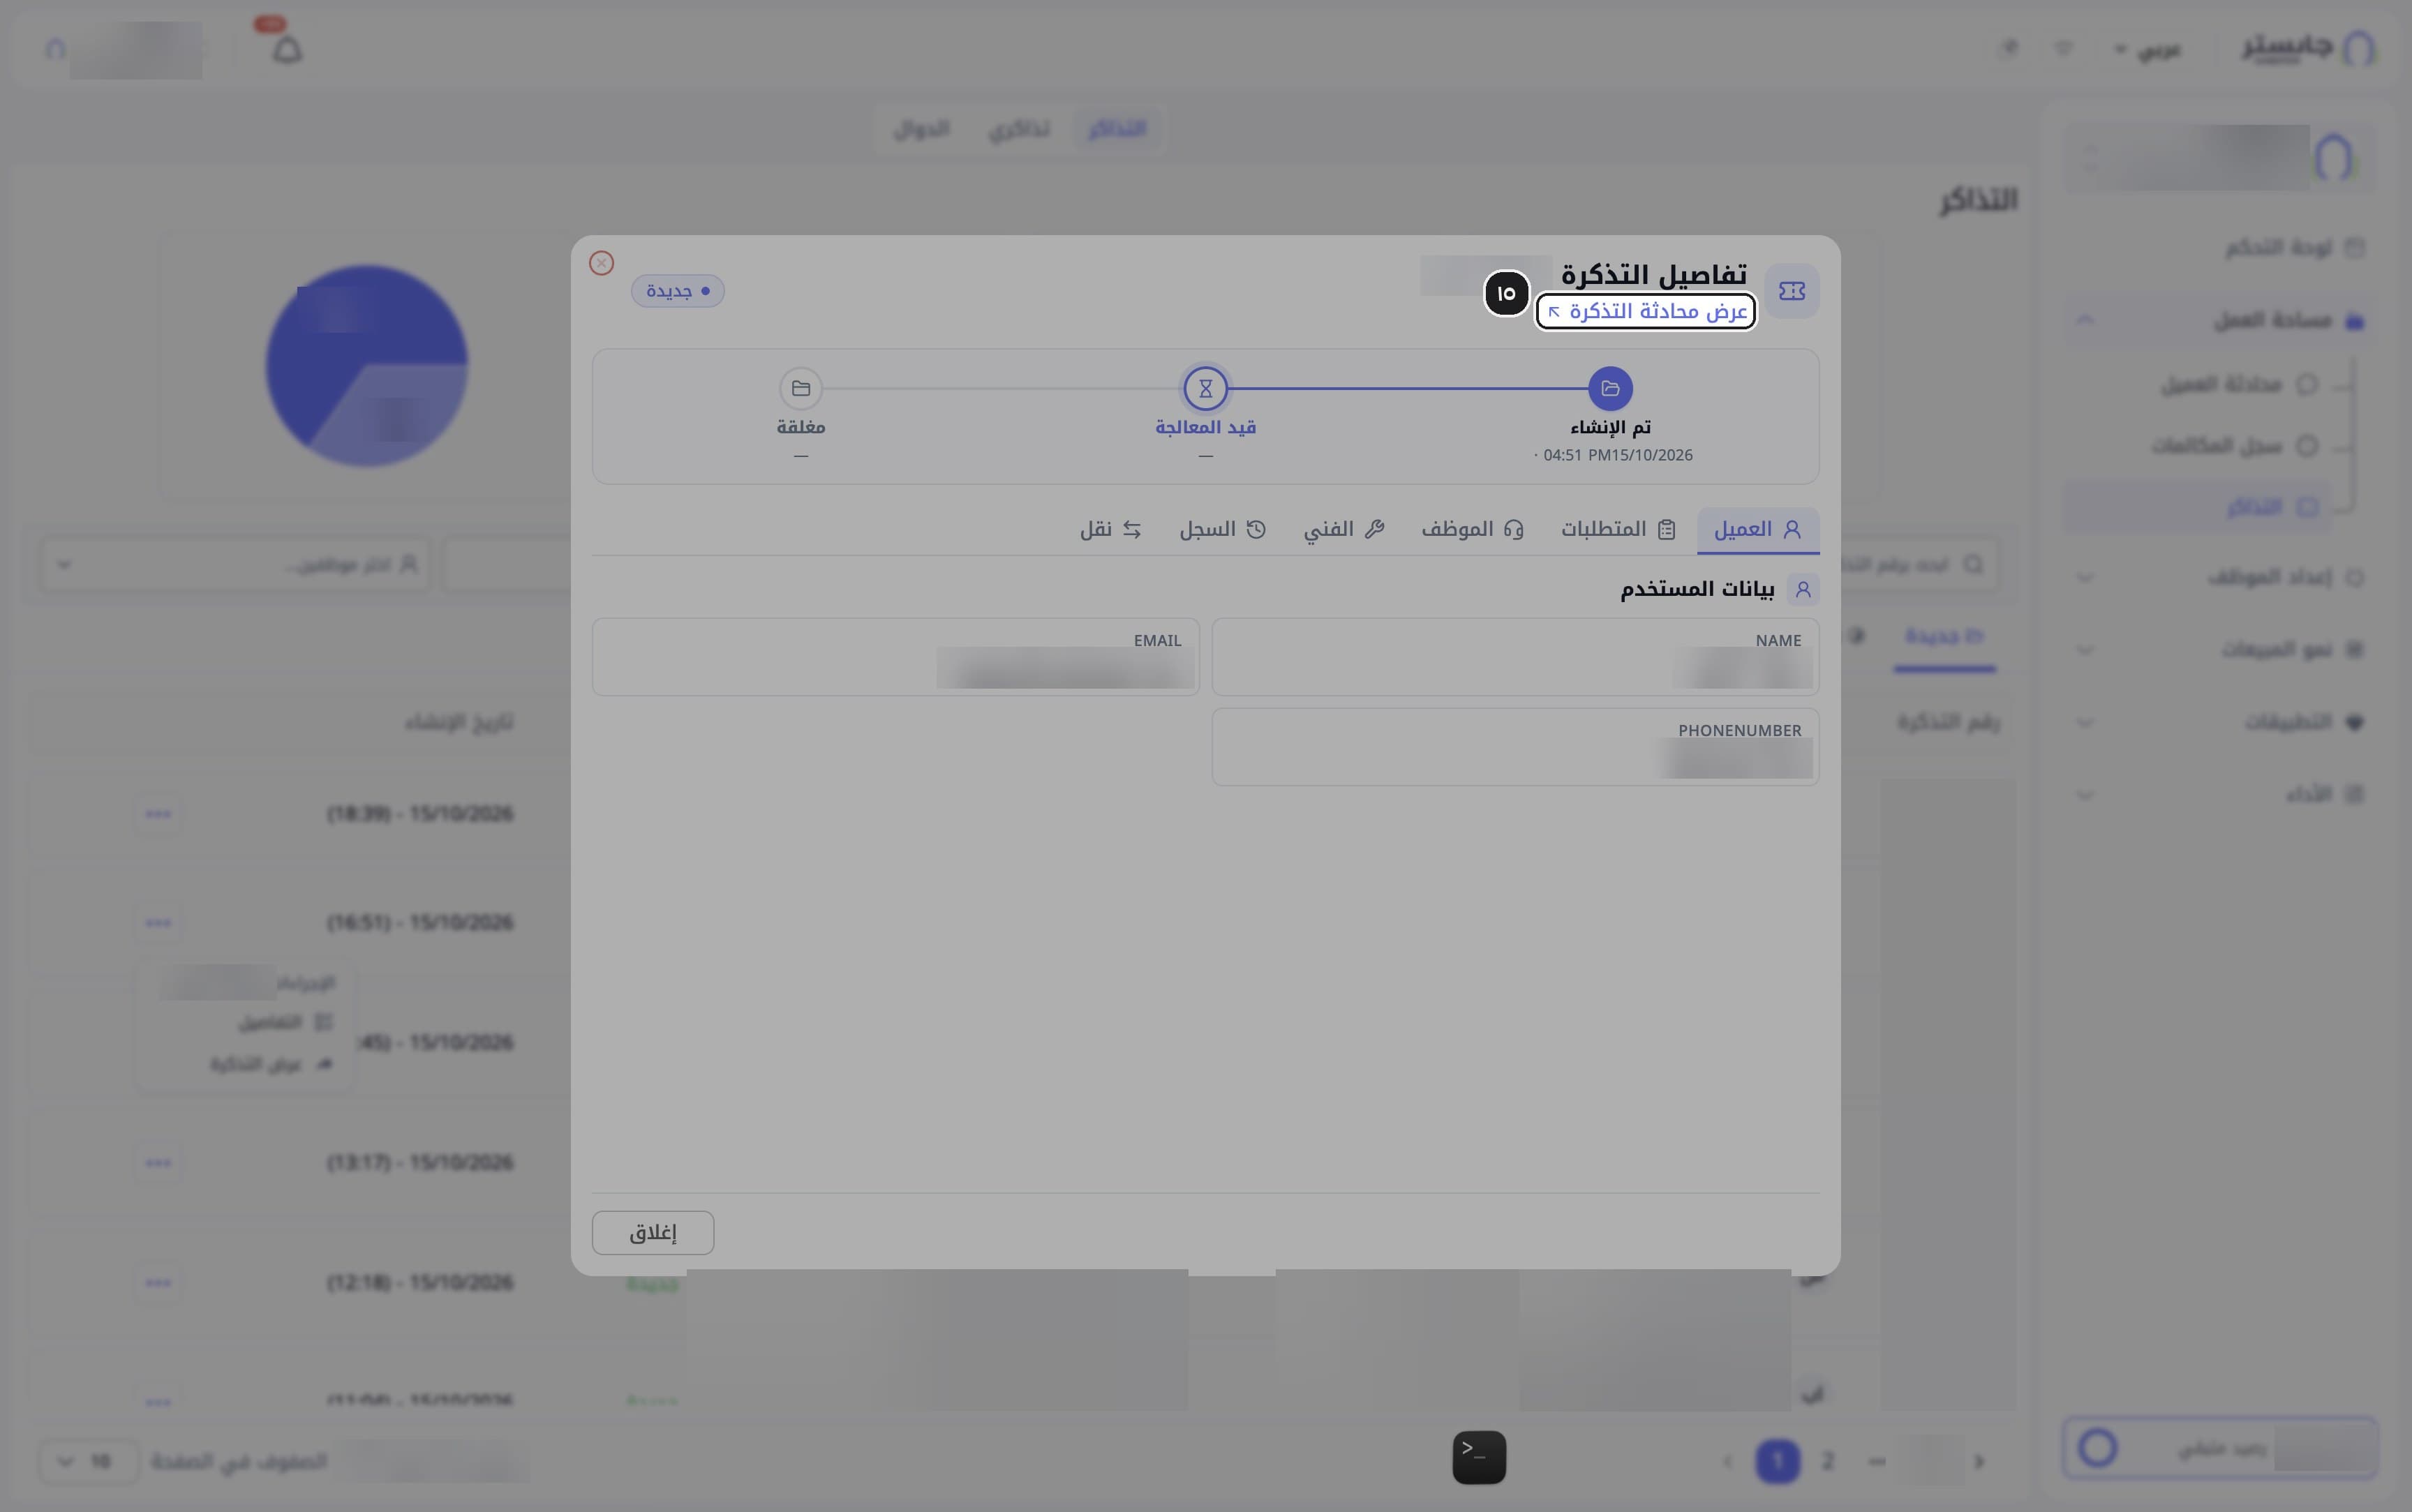
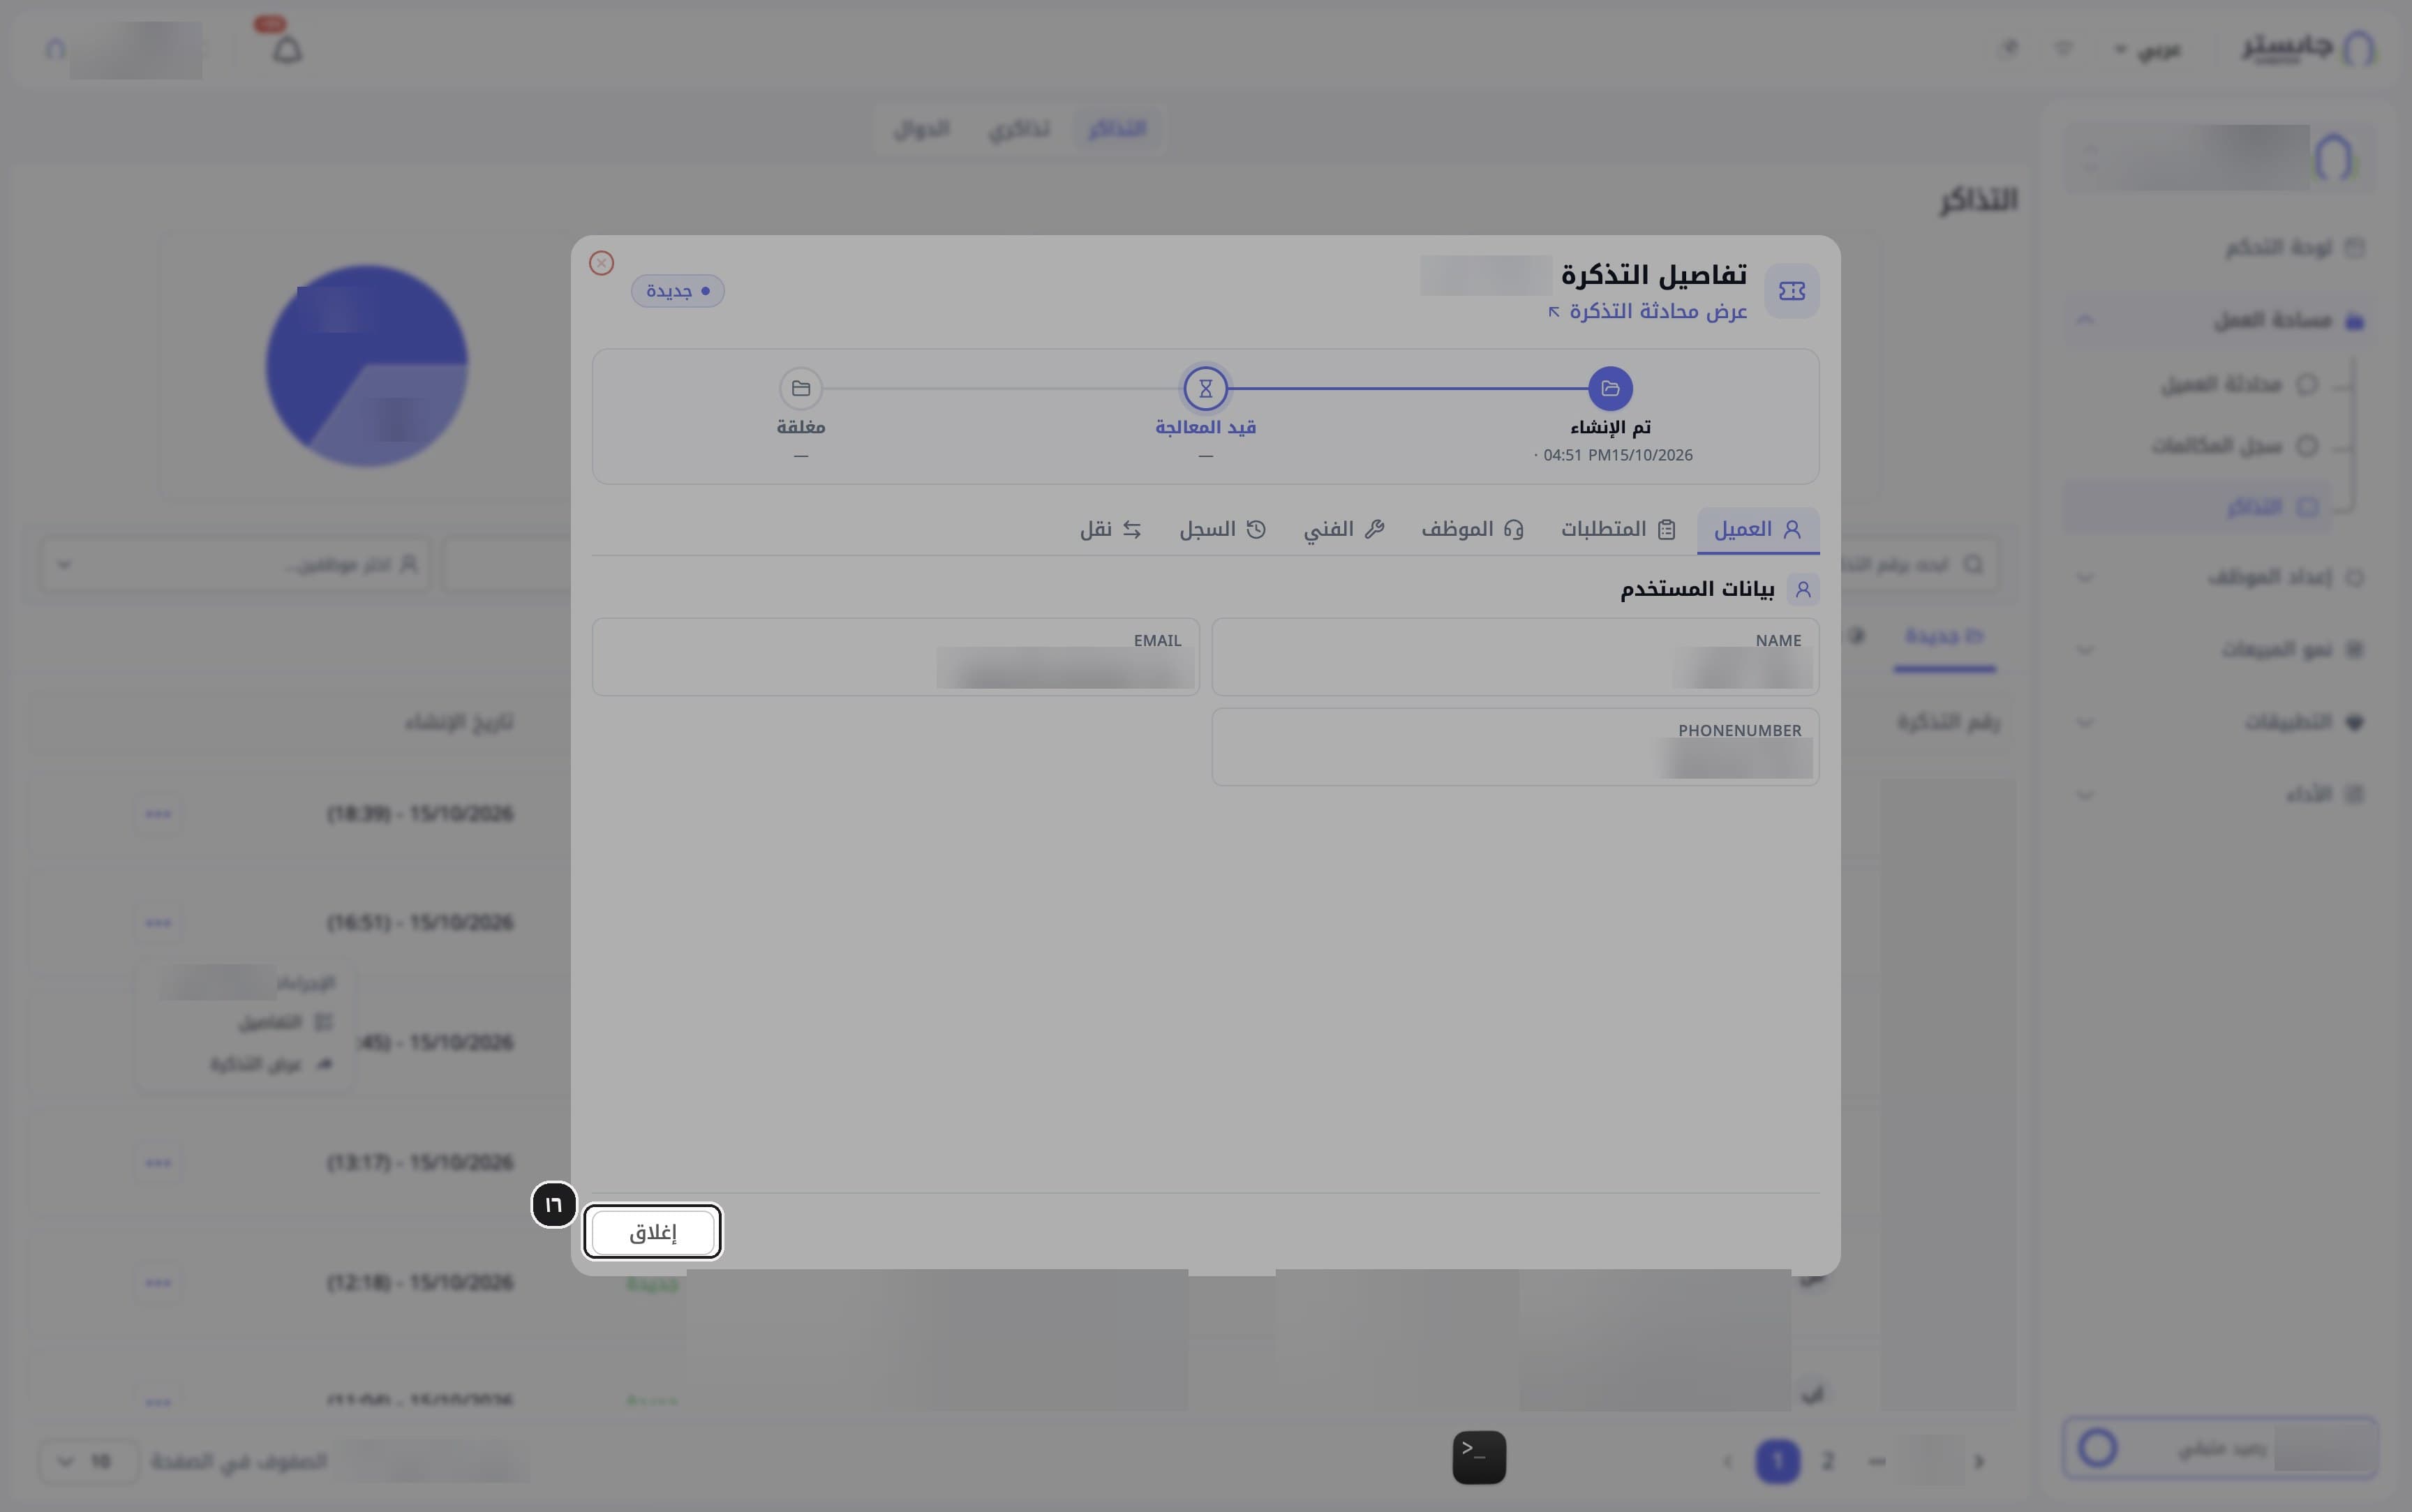
Open the ticket's conversation
Click View ticket conversation (عرض محادثة التذكرة).
Close the window
Click Close (إغلاق).
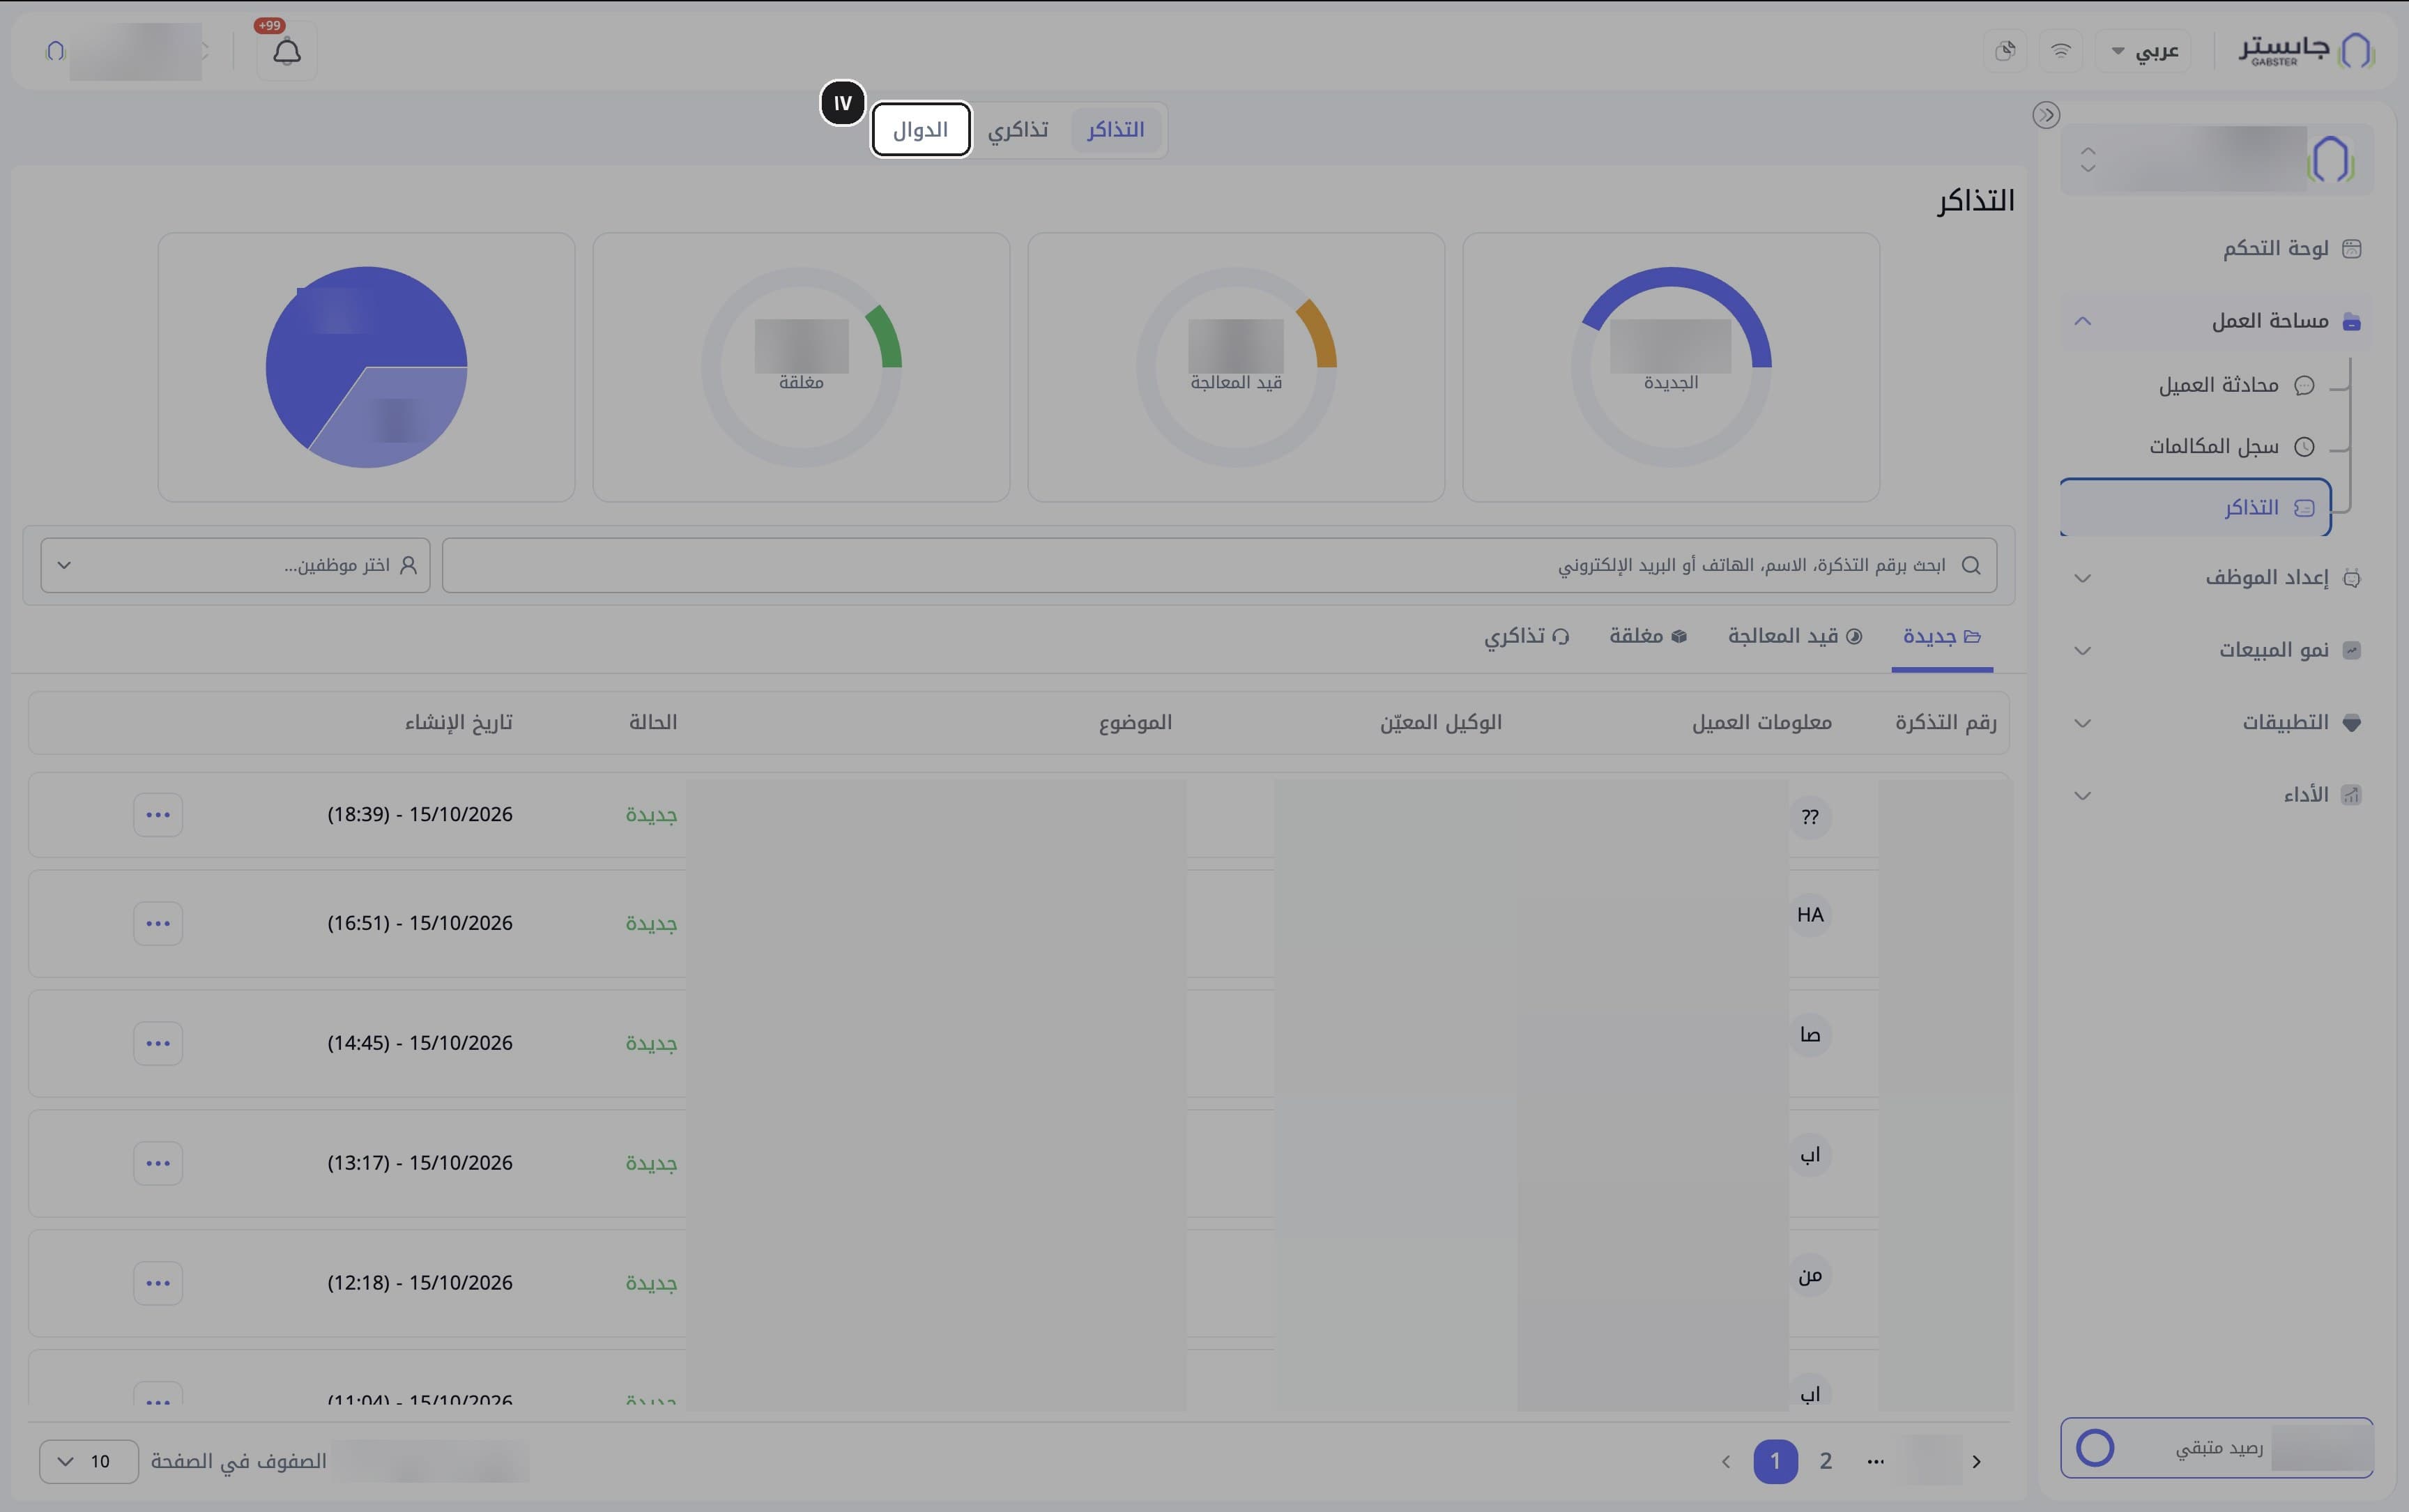
Look at the functions
Click the Functions (الدوال) tab at the top of the Tickets page.
Result: the Functions page opens, with the built-in handoff function and your own functions that your AI Agent uses to collect data and open tickets. Functions and handoff explains how to set them up.
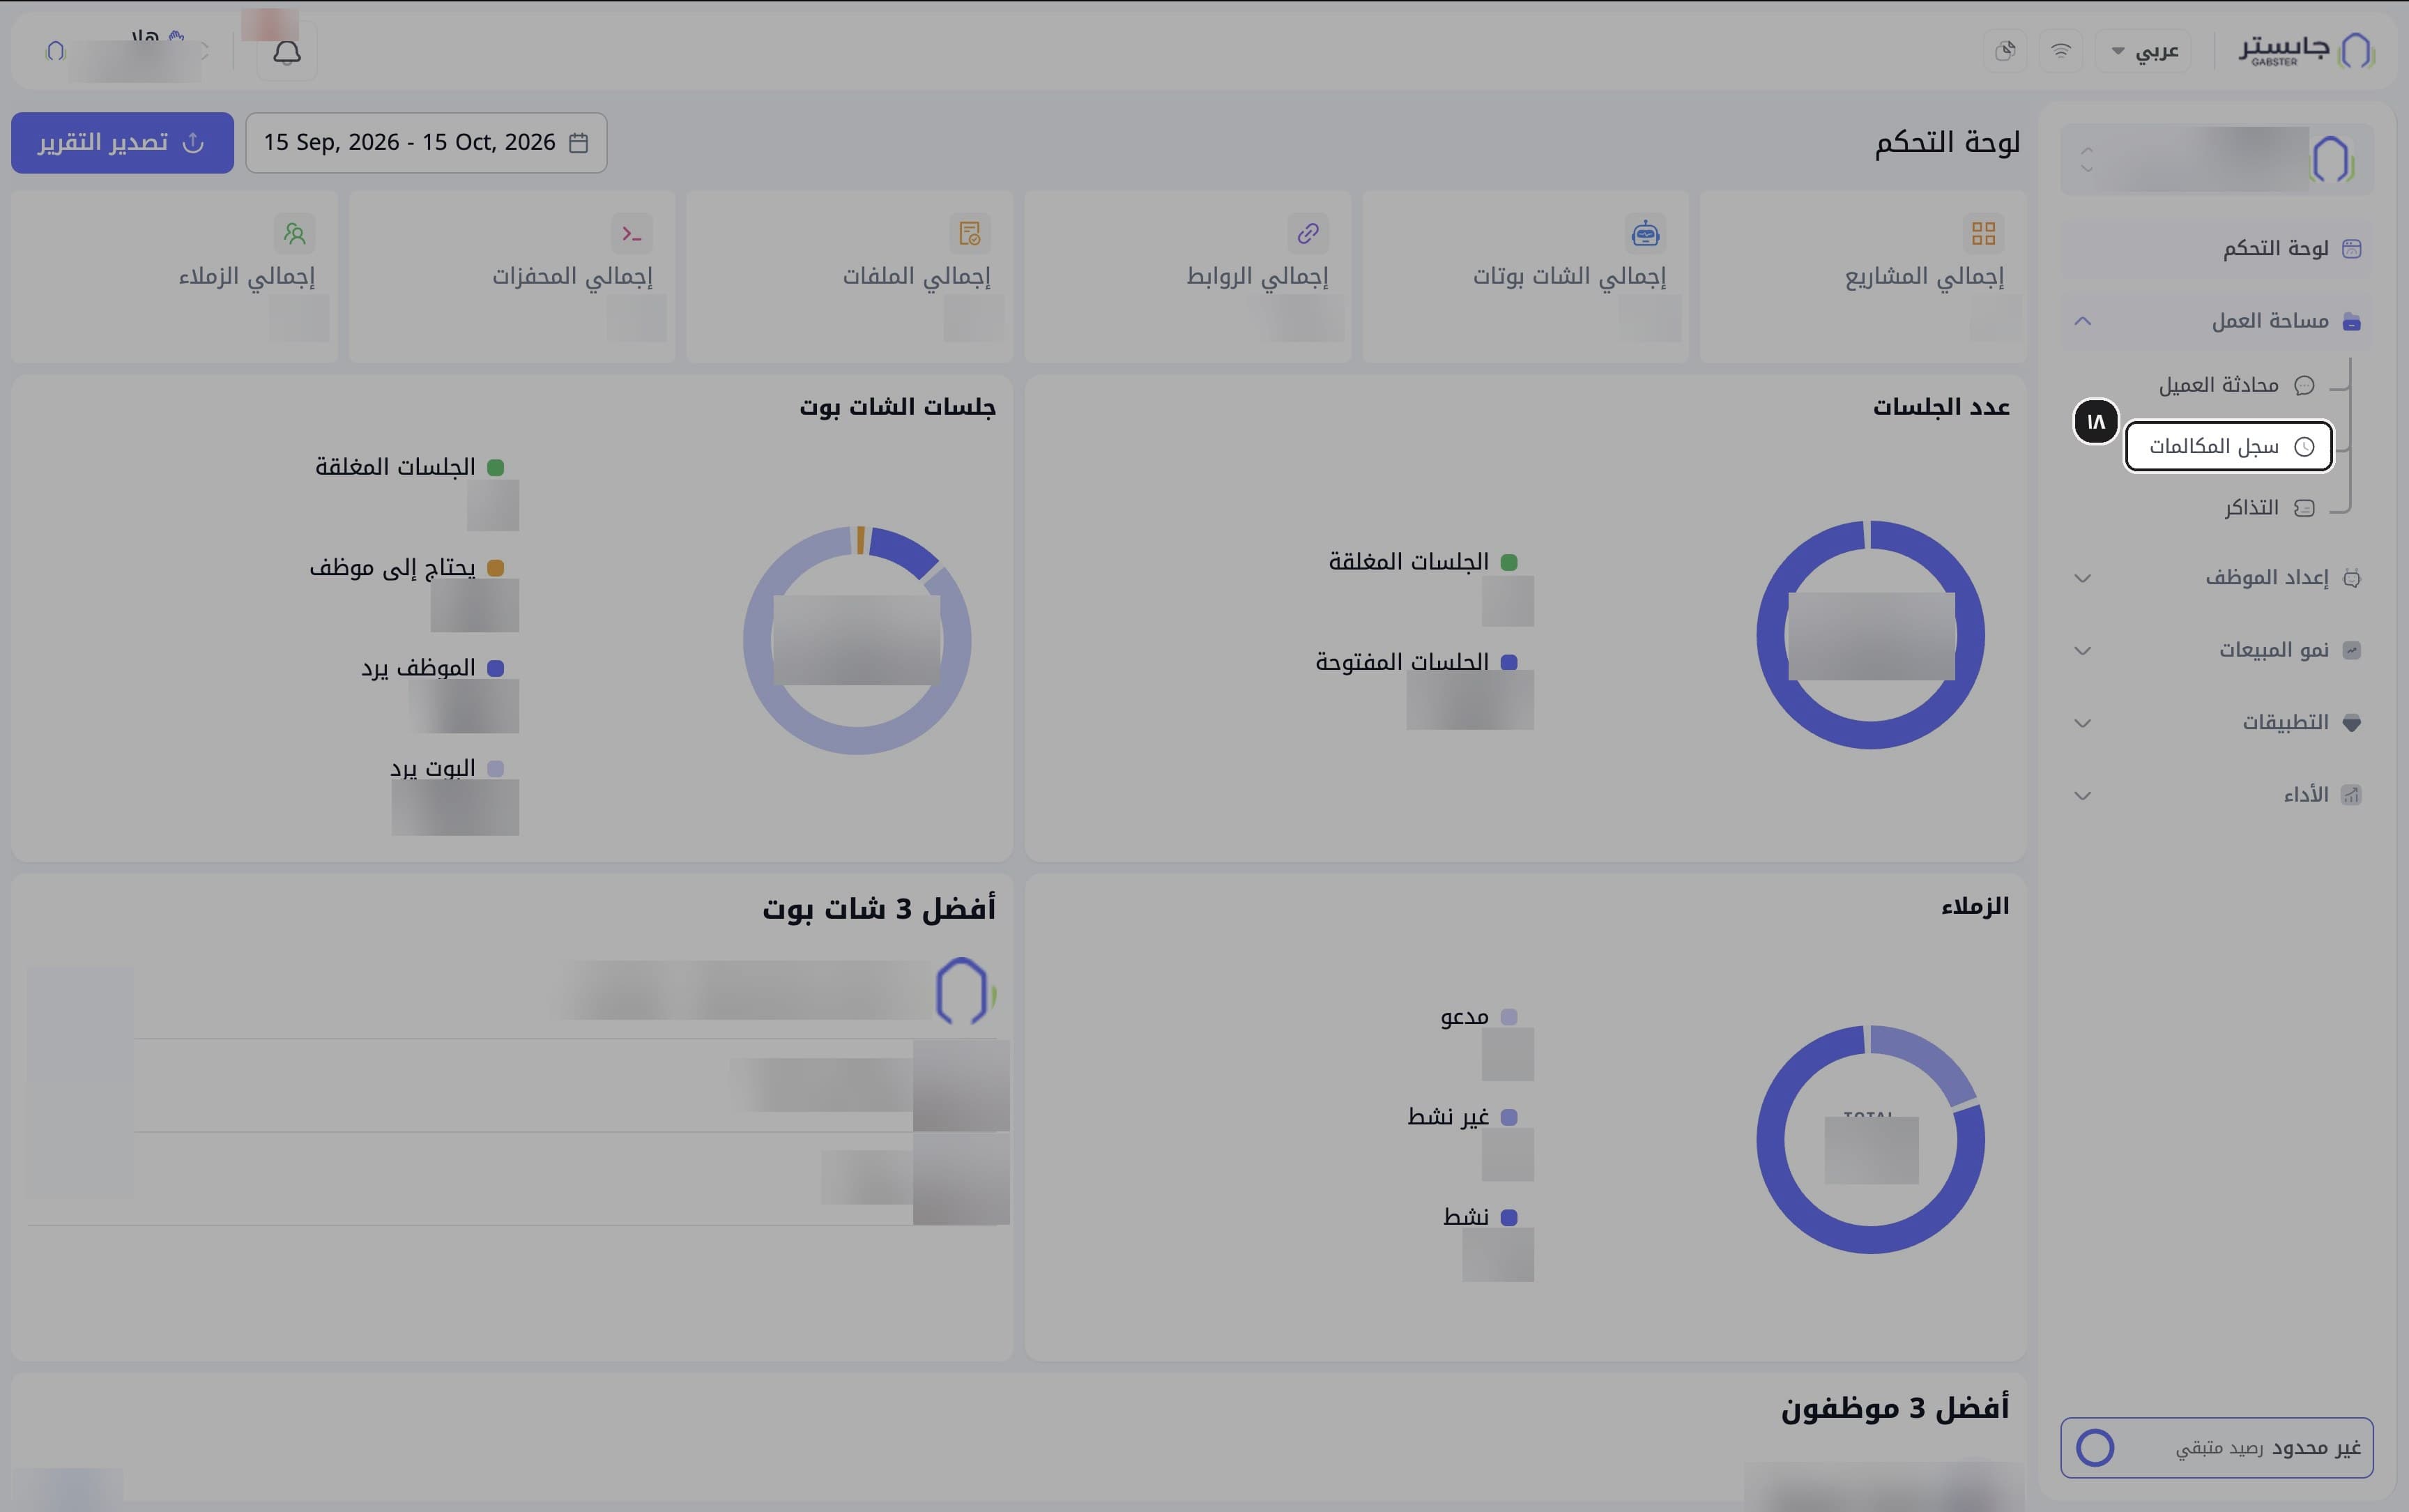
B. Call Log
Open the Call Log
In the Workspace group, choose Call Log (سجل المكالمات).
Result: the Call Log opens with five summary cards and the calls table.
Read the cards
Read the cards: Total calls (إجمالي المكالمات), Missed calls (المكالمات الفائتة), Completed (المكتملة), Recorded (المسجلة) and Average duration (متوسط المدة).
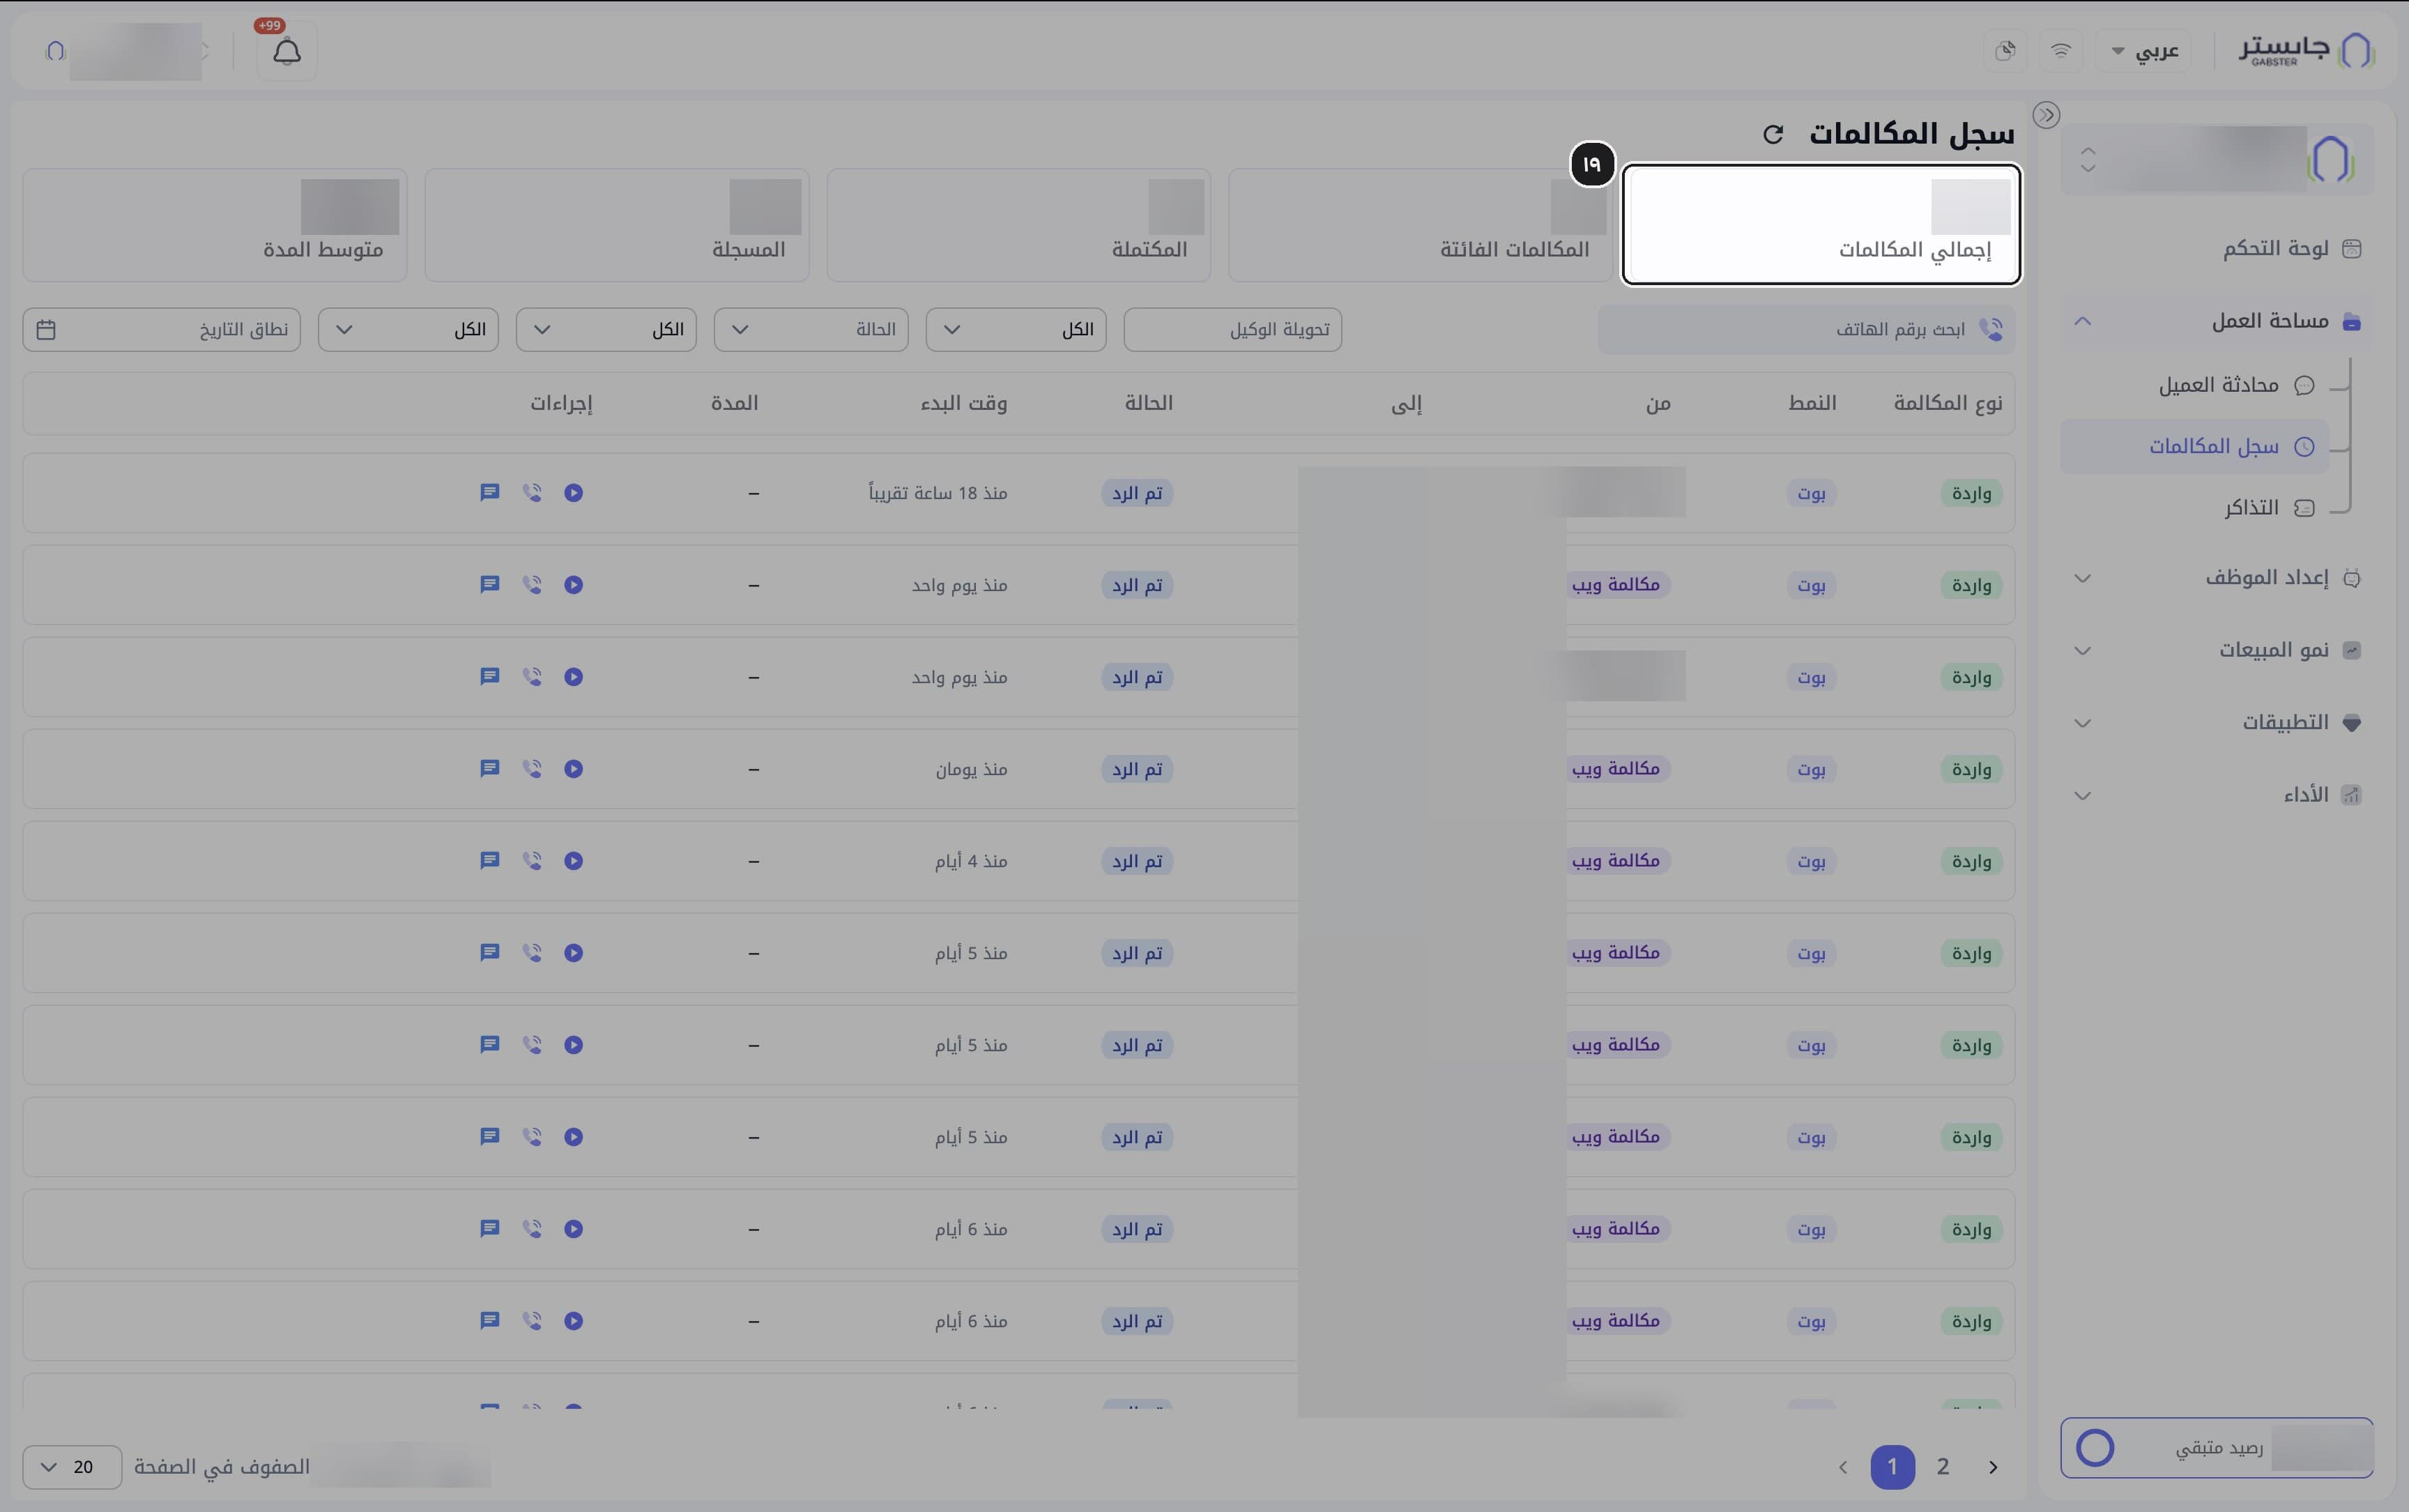
Search and filter
Type a number in Search by phone number (ابحث برقم الهاتف), or use the filters: Staff extension (تحويلة الوكيل), Status (الحالة) and Date range (نطاق التاريخ), plus three unlabeled dropdowns that show All (الكل).
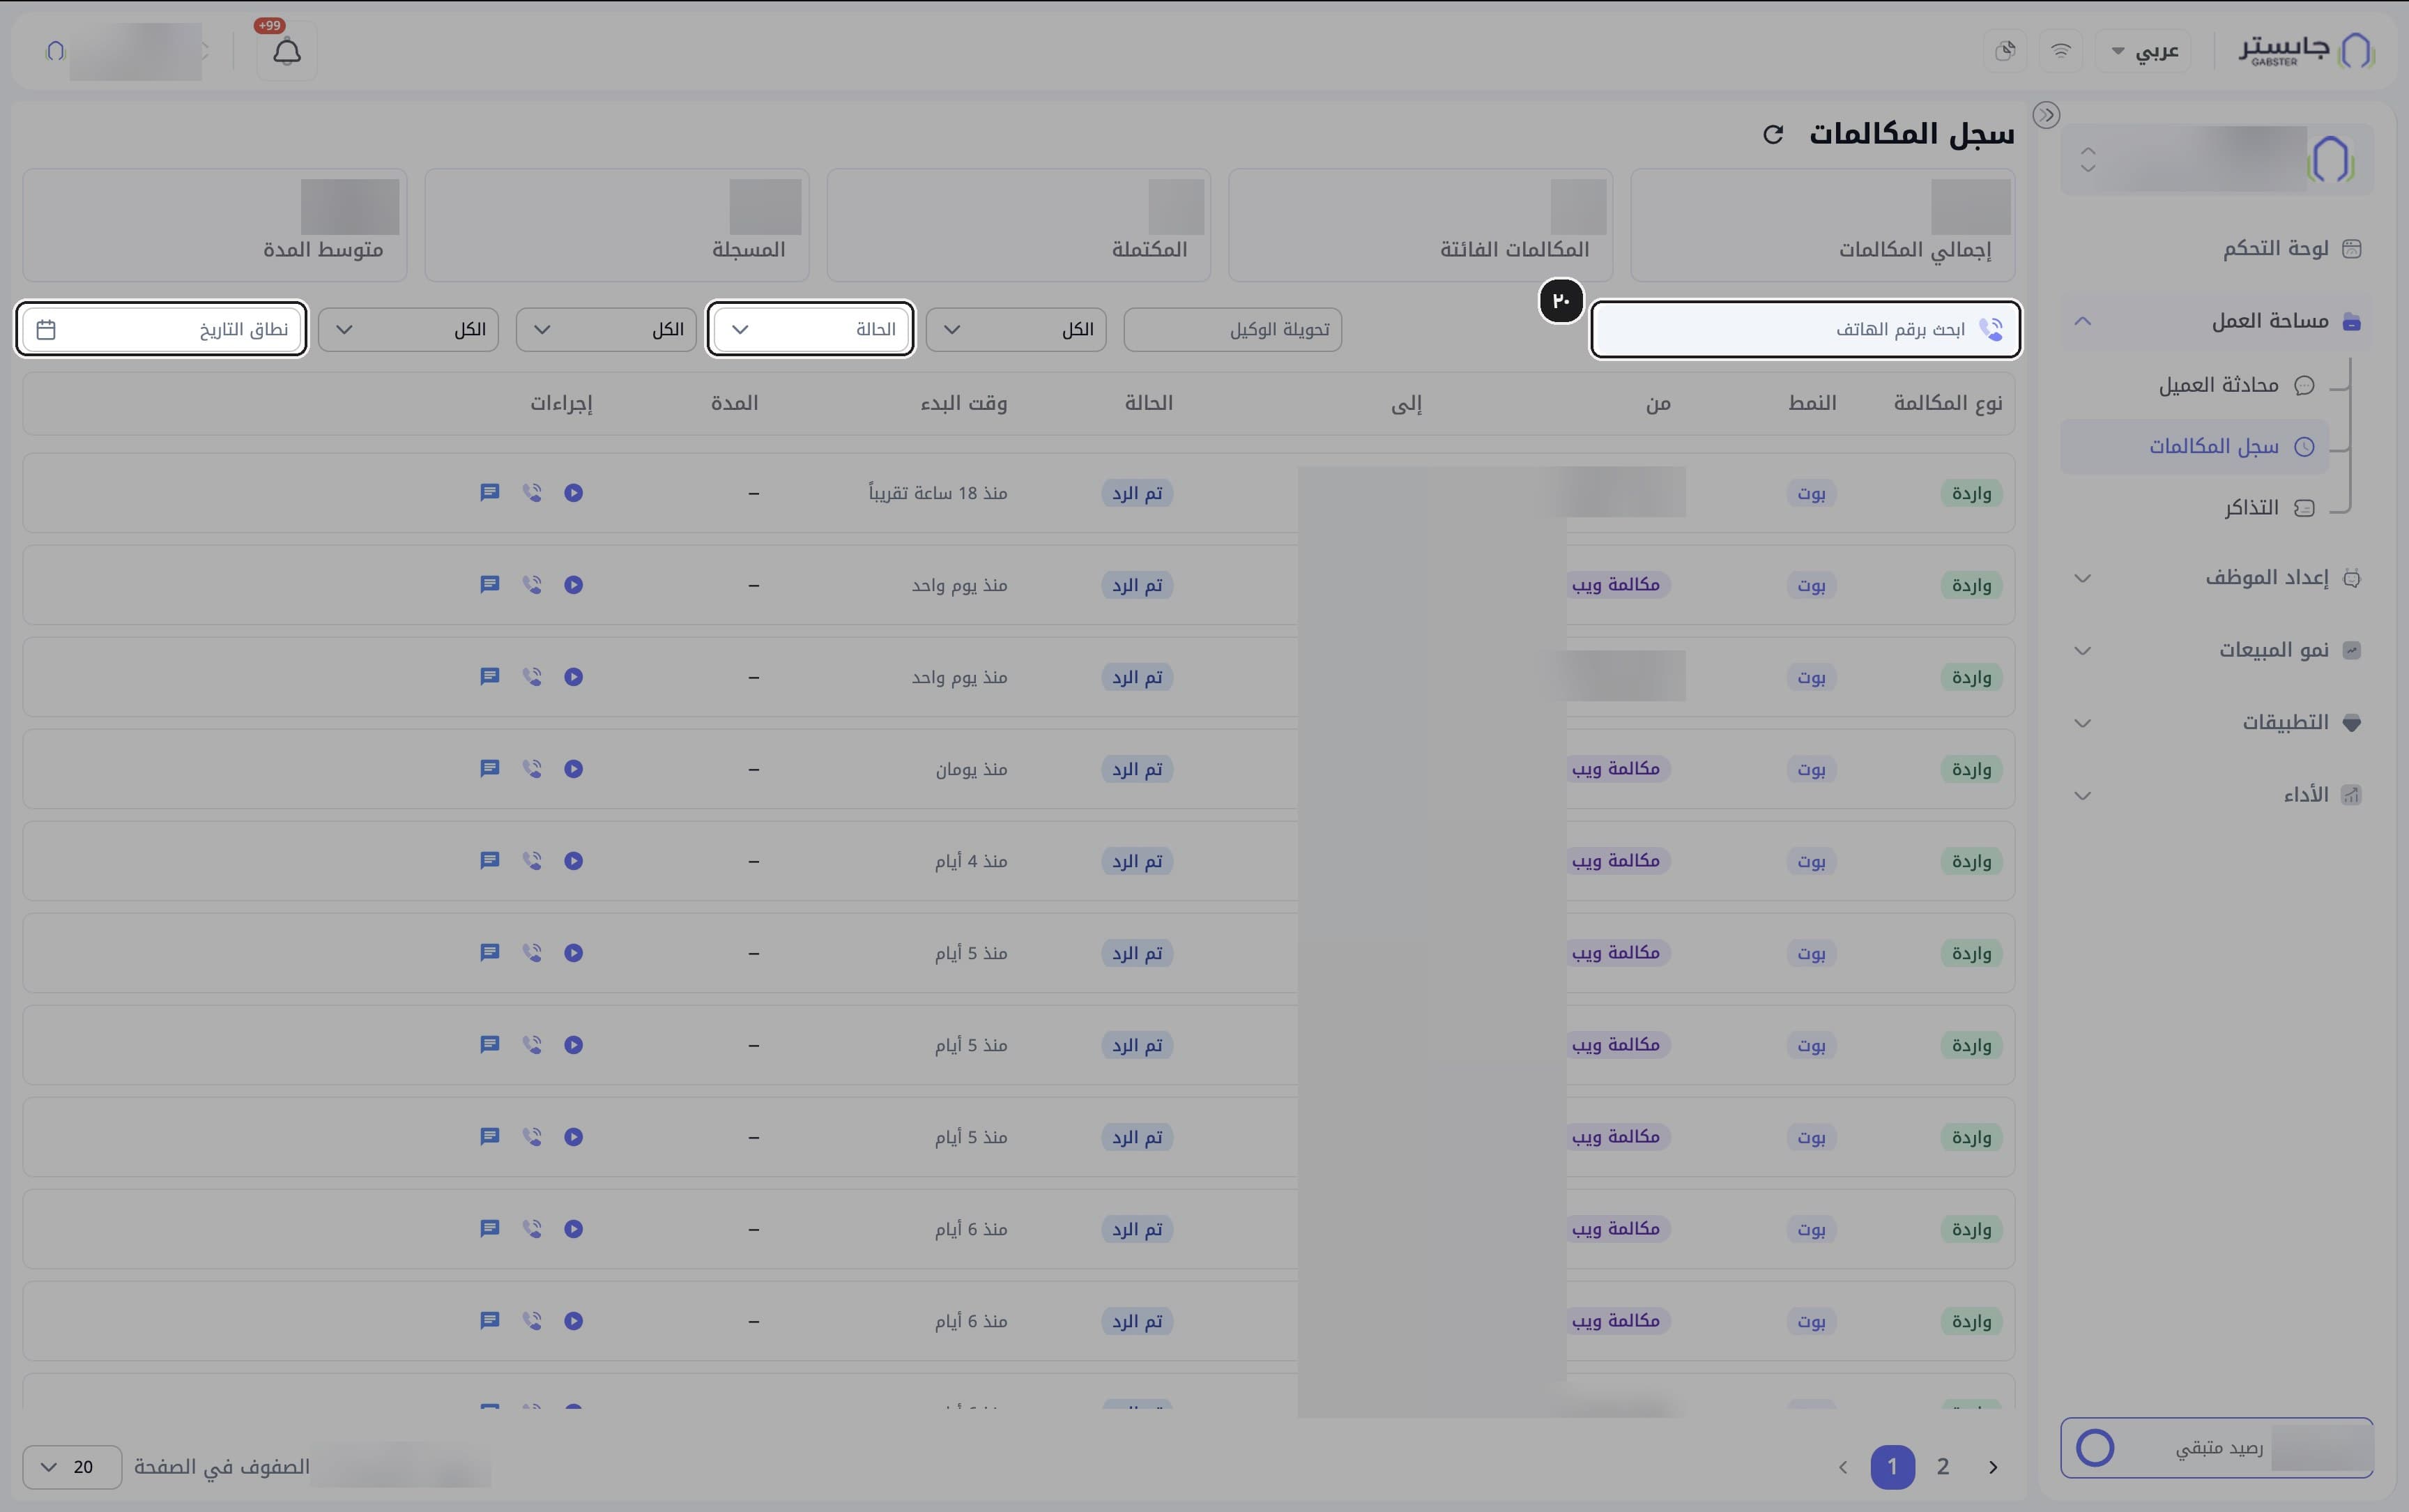
Read a call row
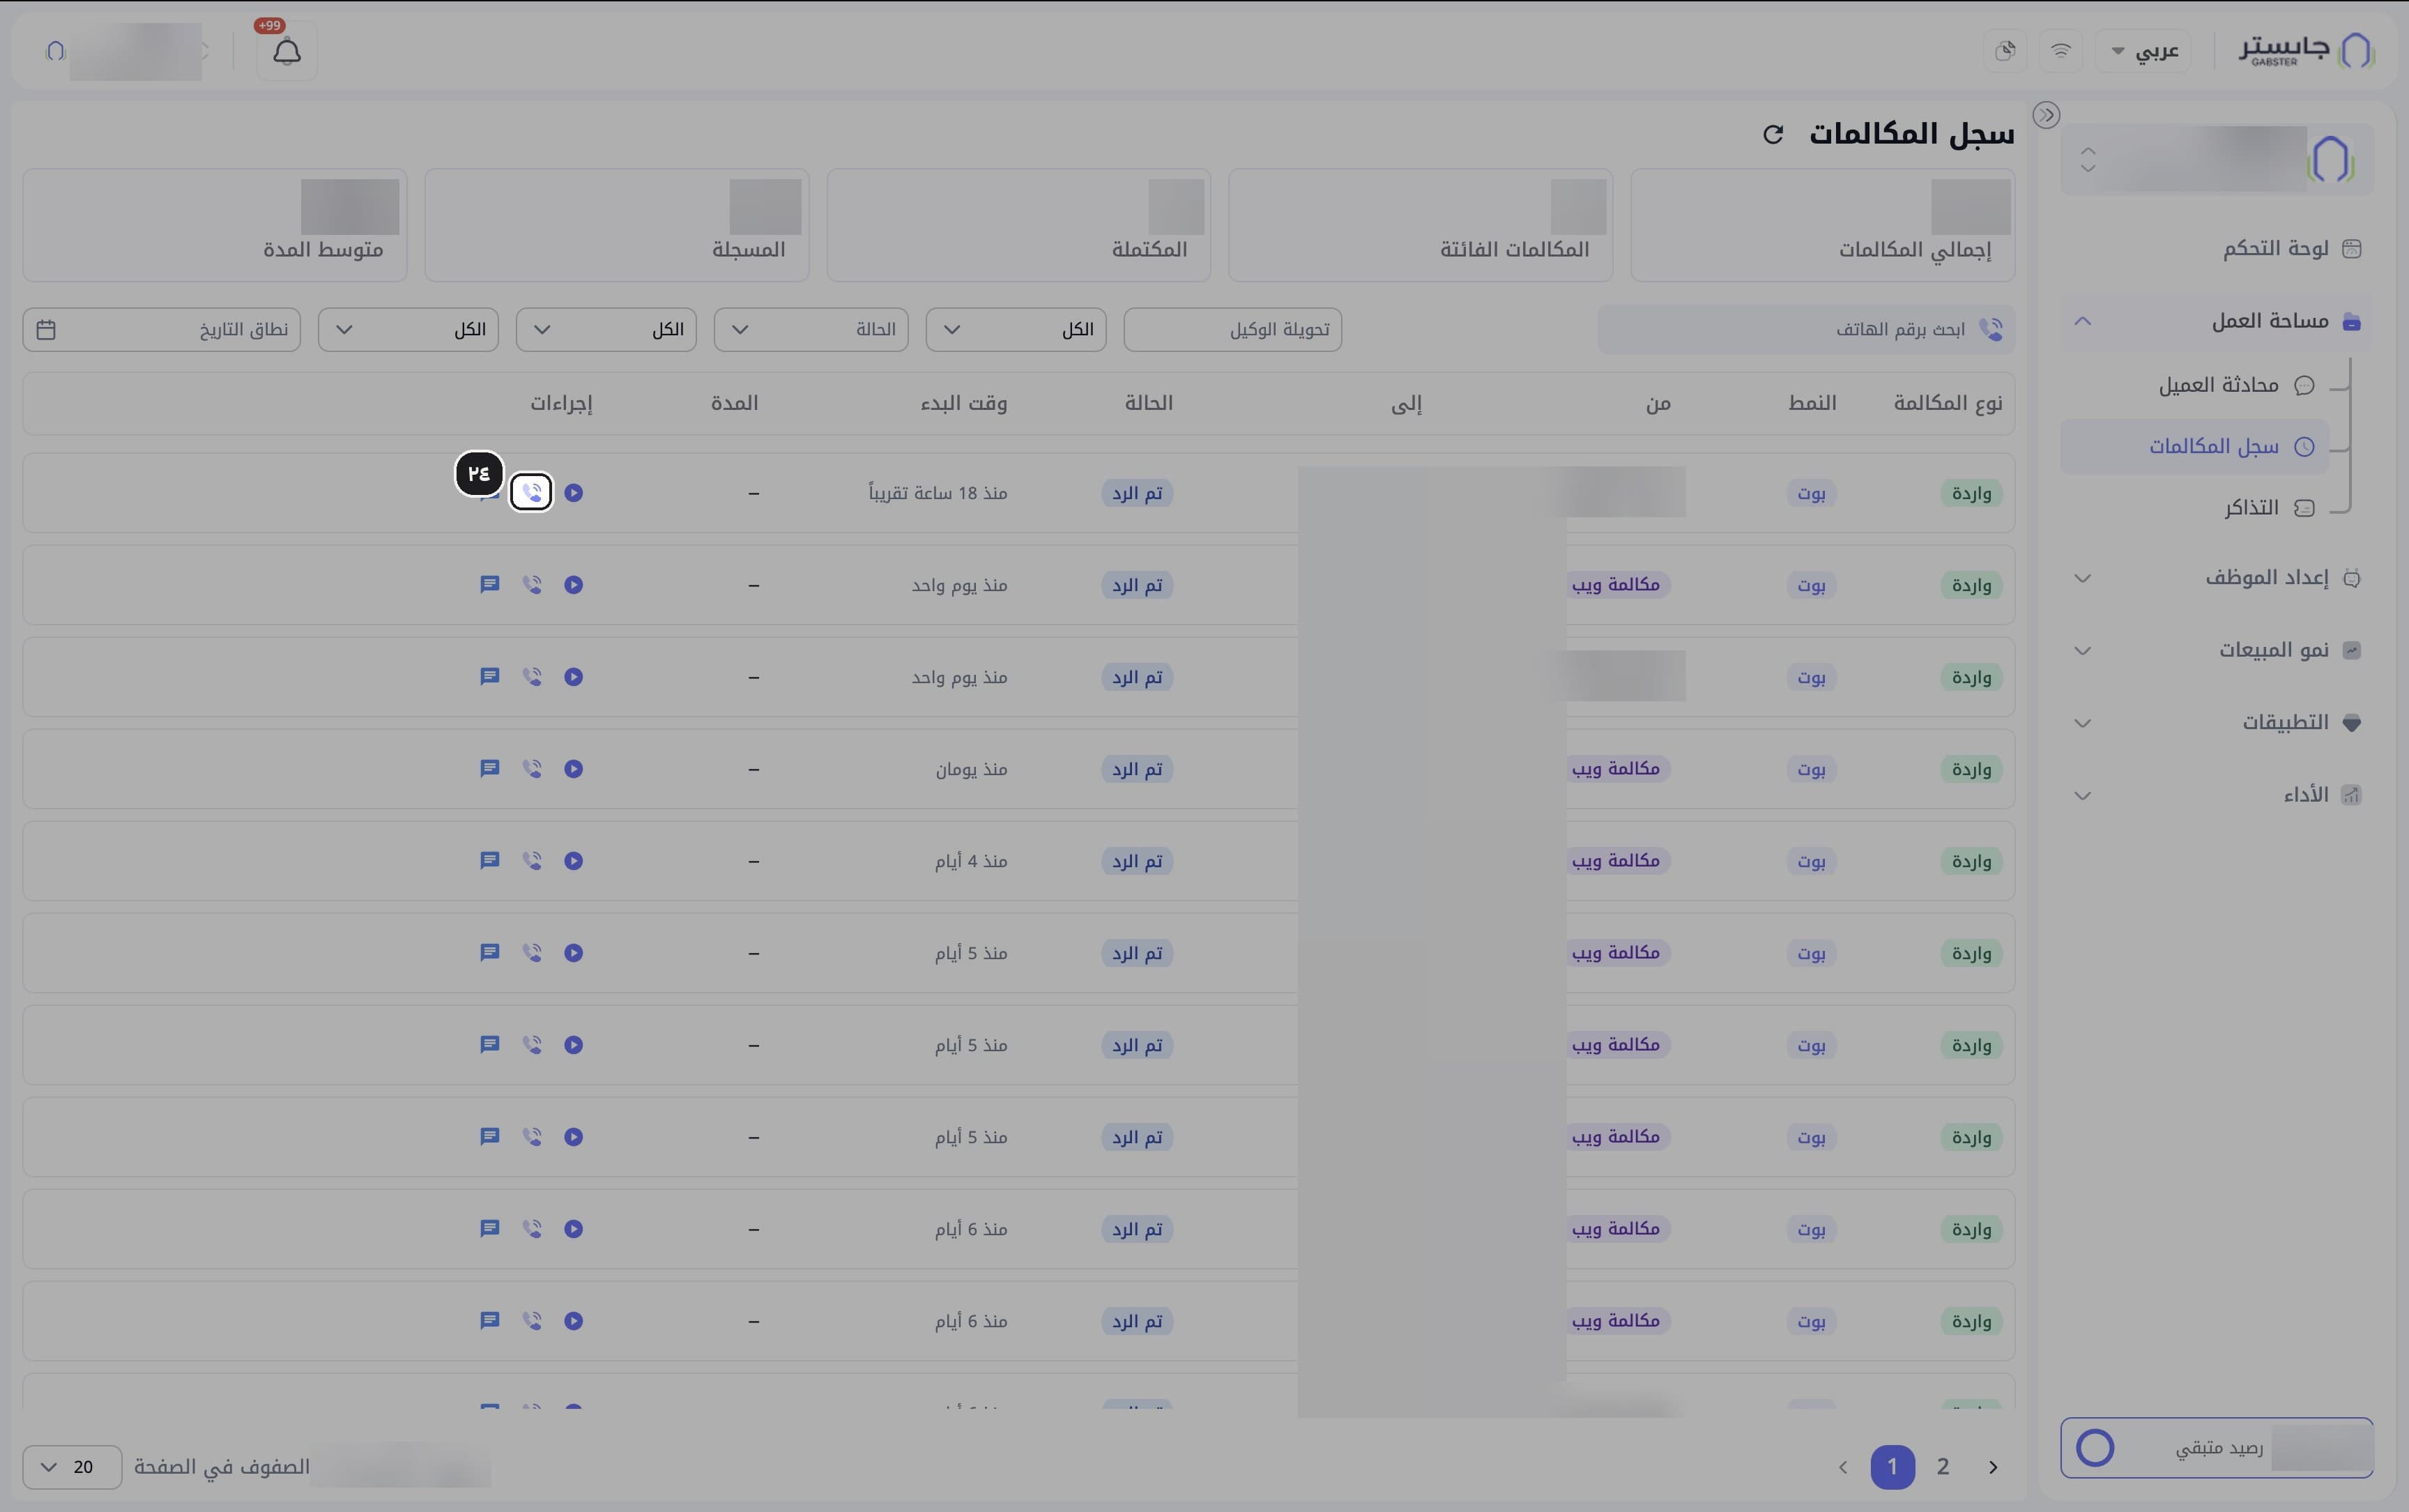
Each call has a row showing the Call type (نوع المكالمة), such as Inbound (واردة); the Mode (النمط), where AI Agent (بوت) means your AI Agent handled the call; From (من); To (إلى); the Status (الحالة), such as Answered (تم الرد); Start time (وقت البدء); and Duration (المدة). Some rows show a Web call (مكالمة ويب) badge before the caller's number.
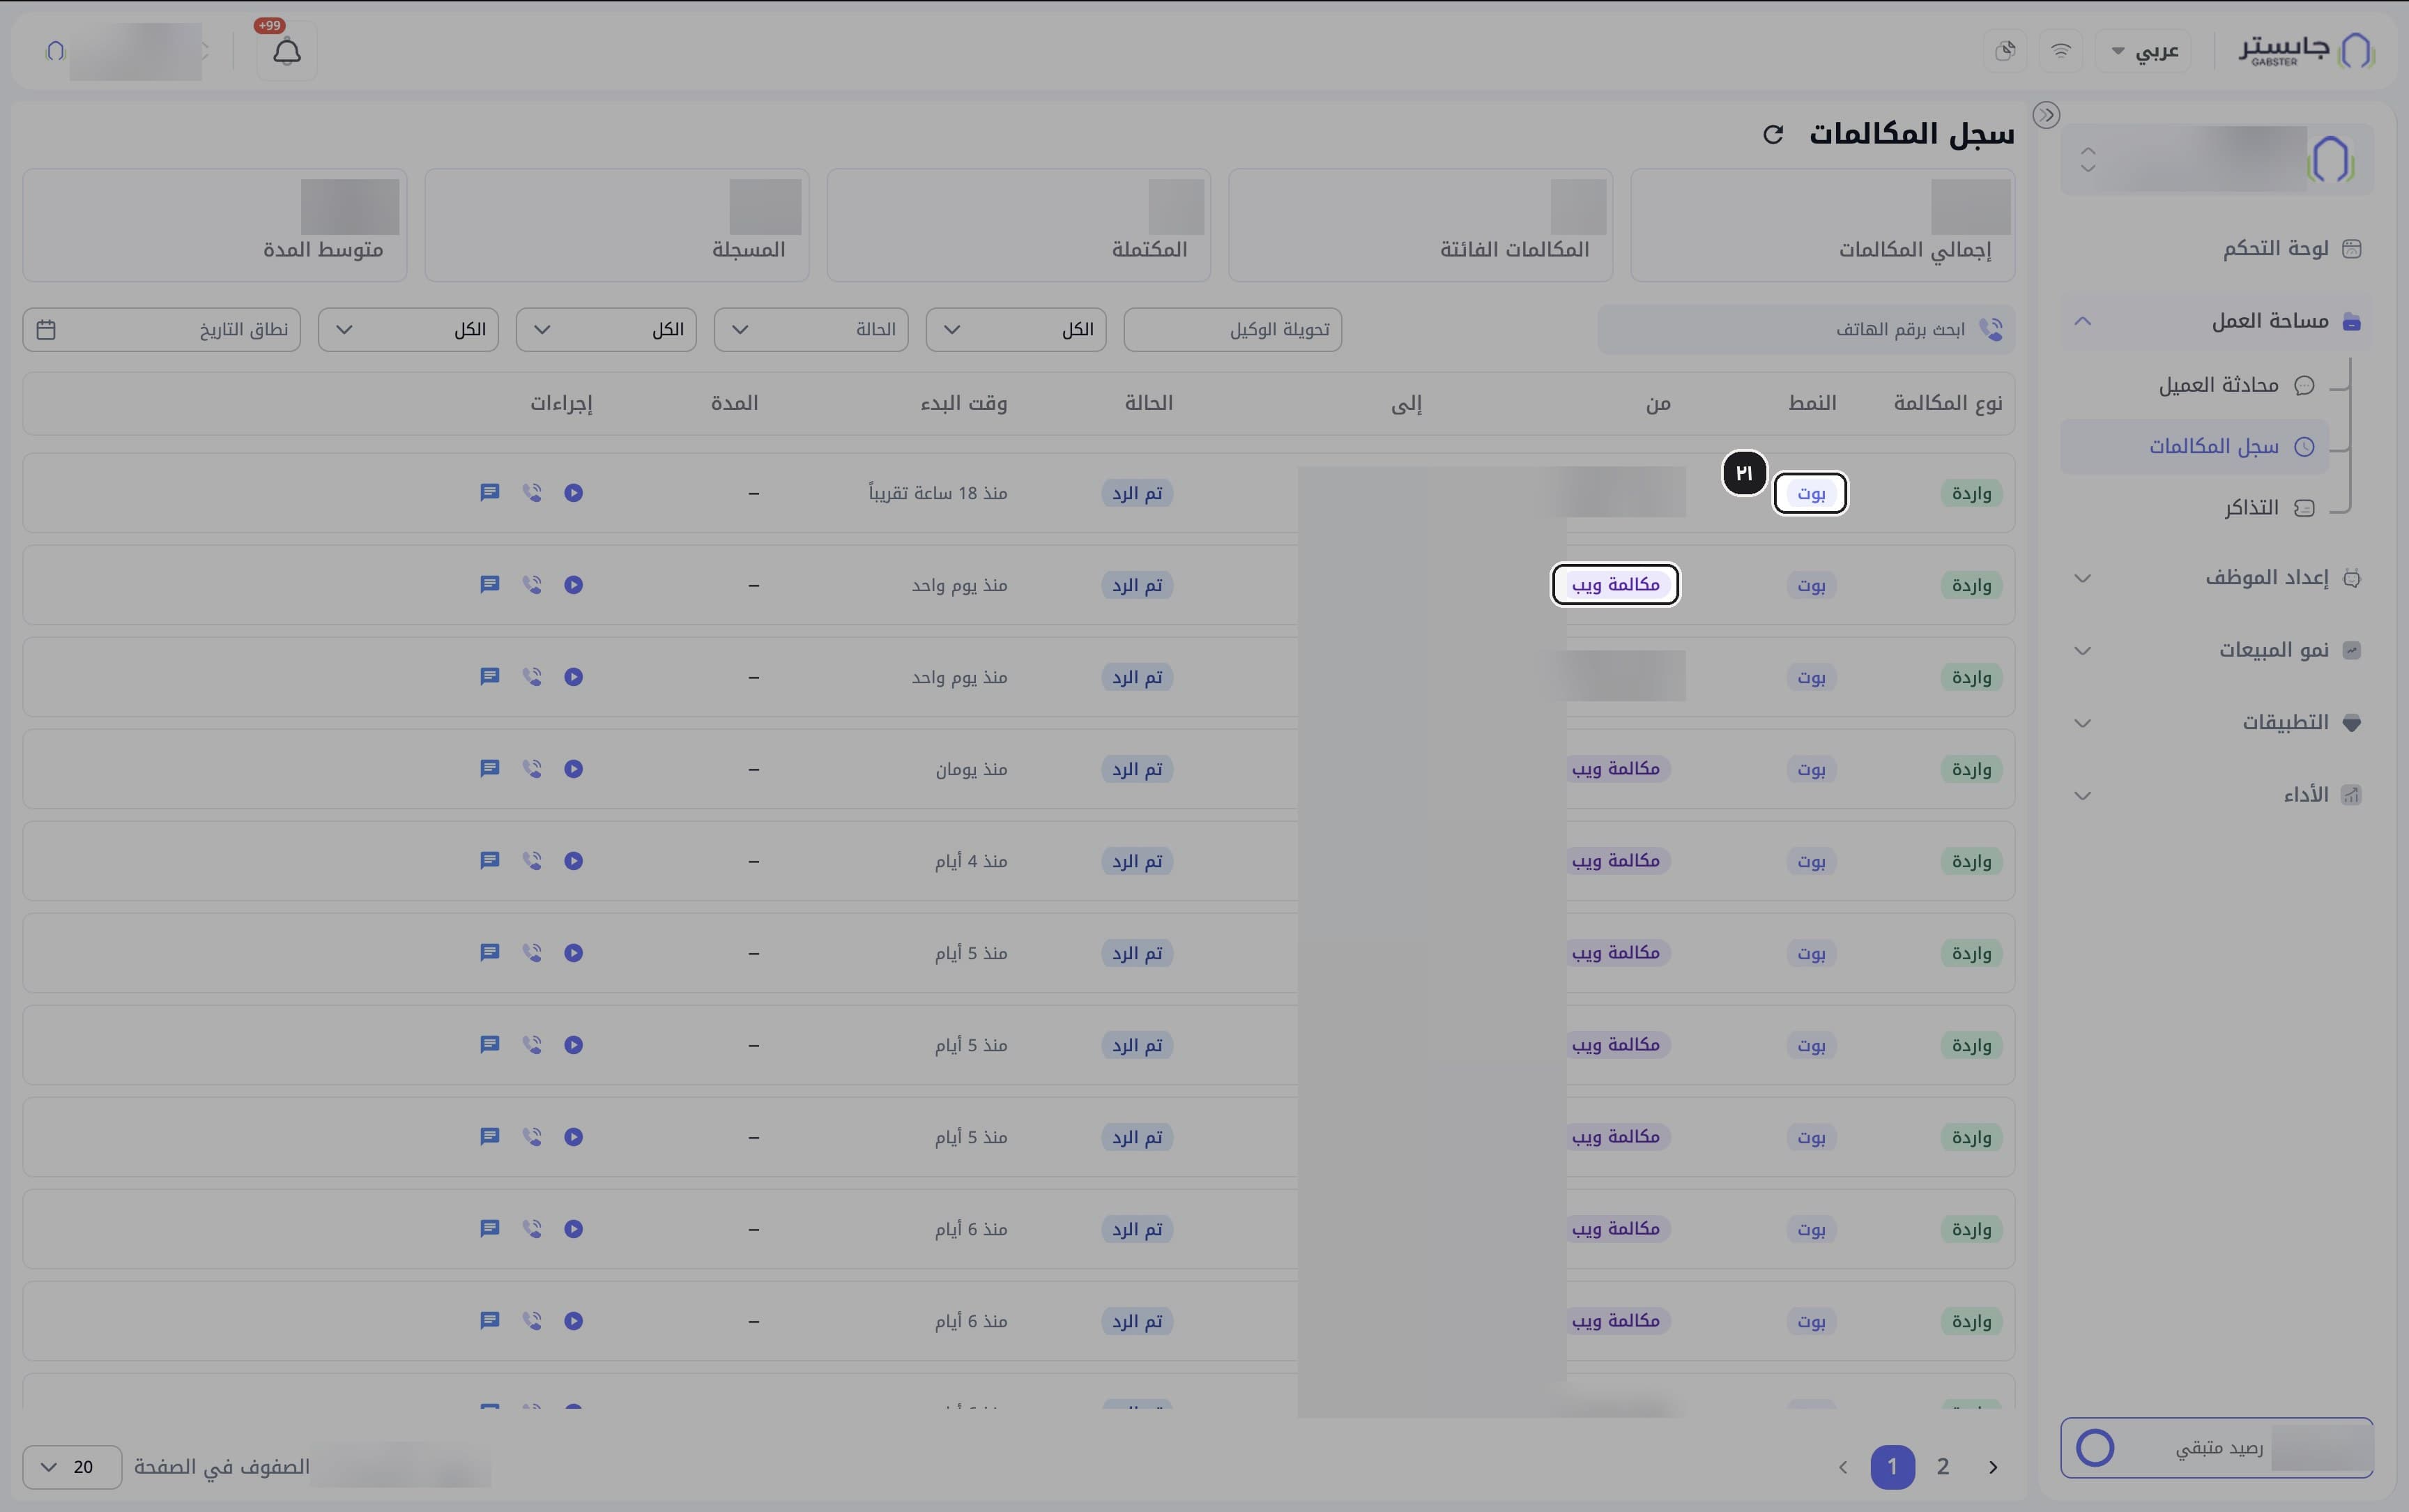
Open the transcript
Click the chat icon in the Actions (إجراءات) column.
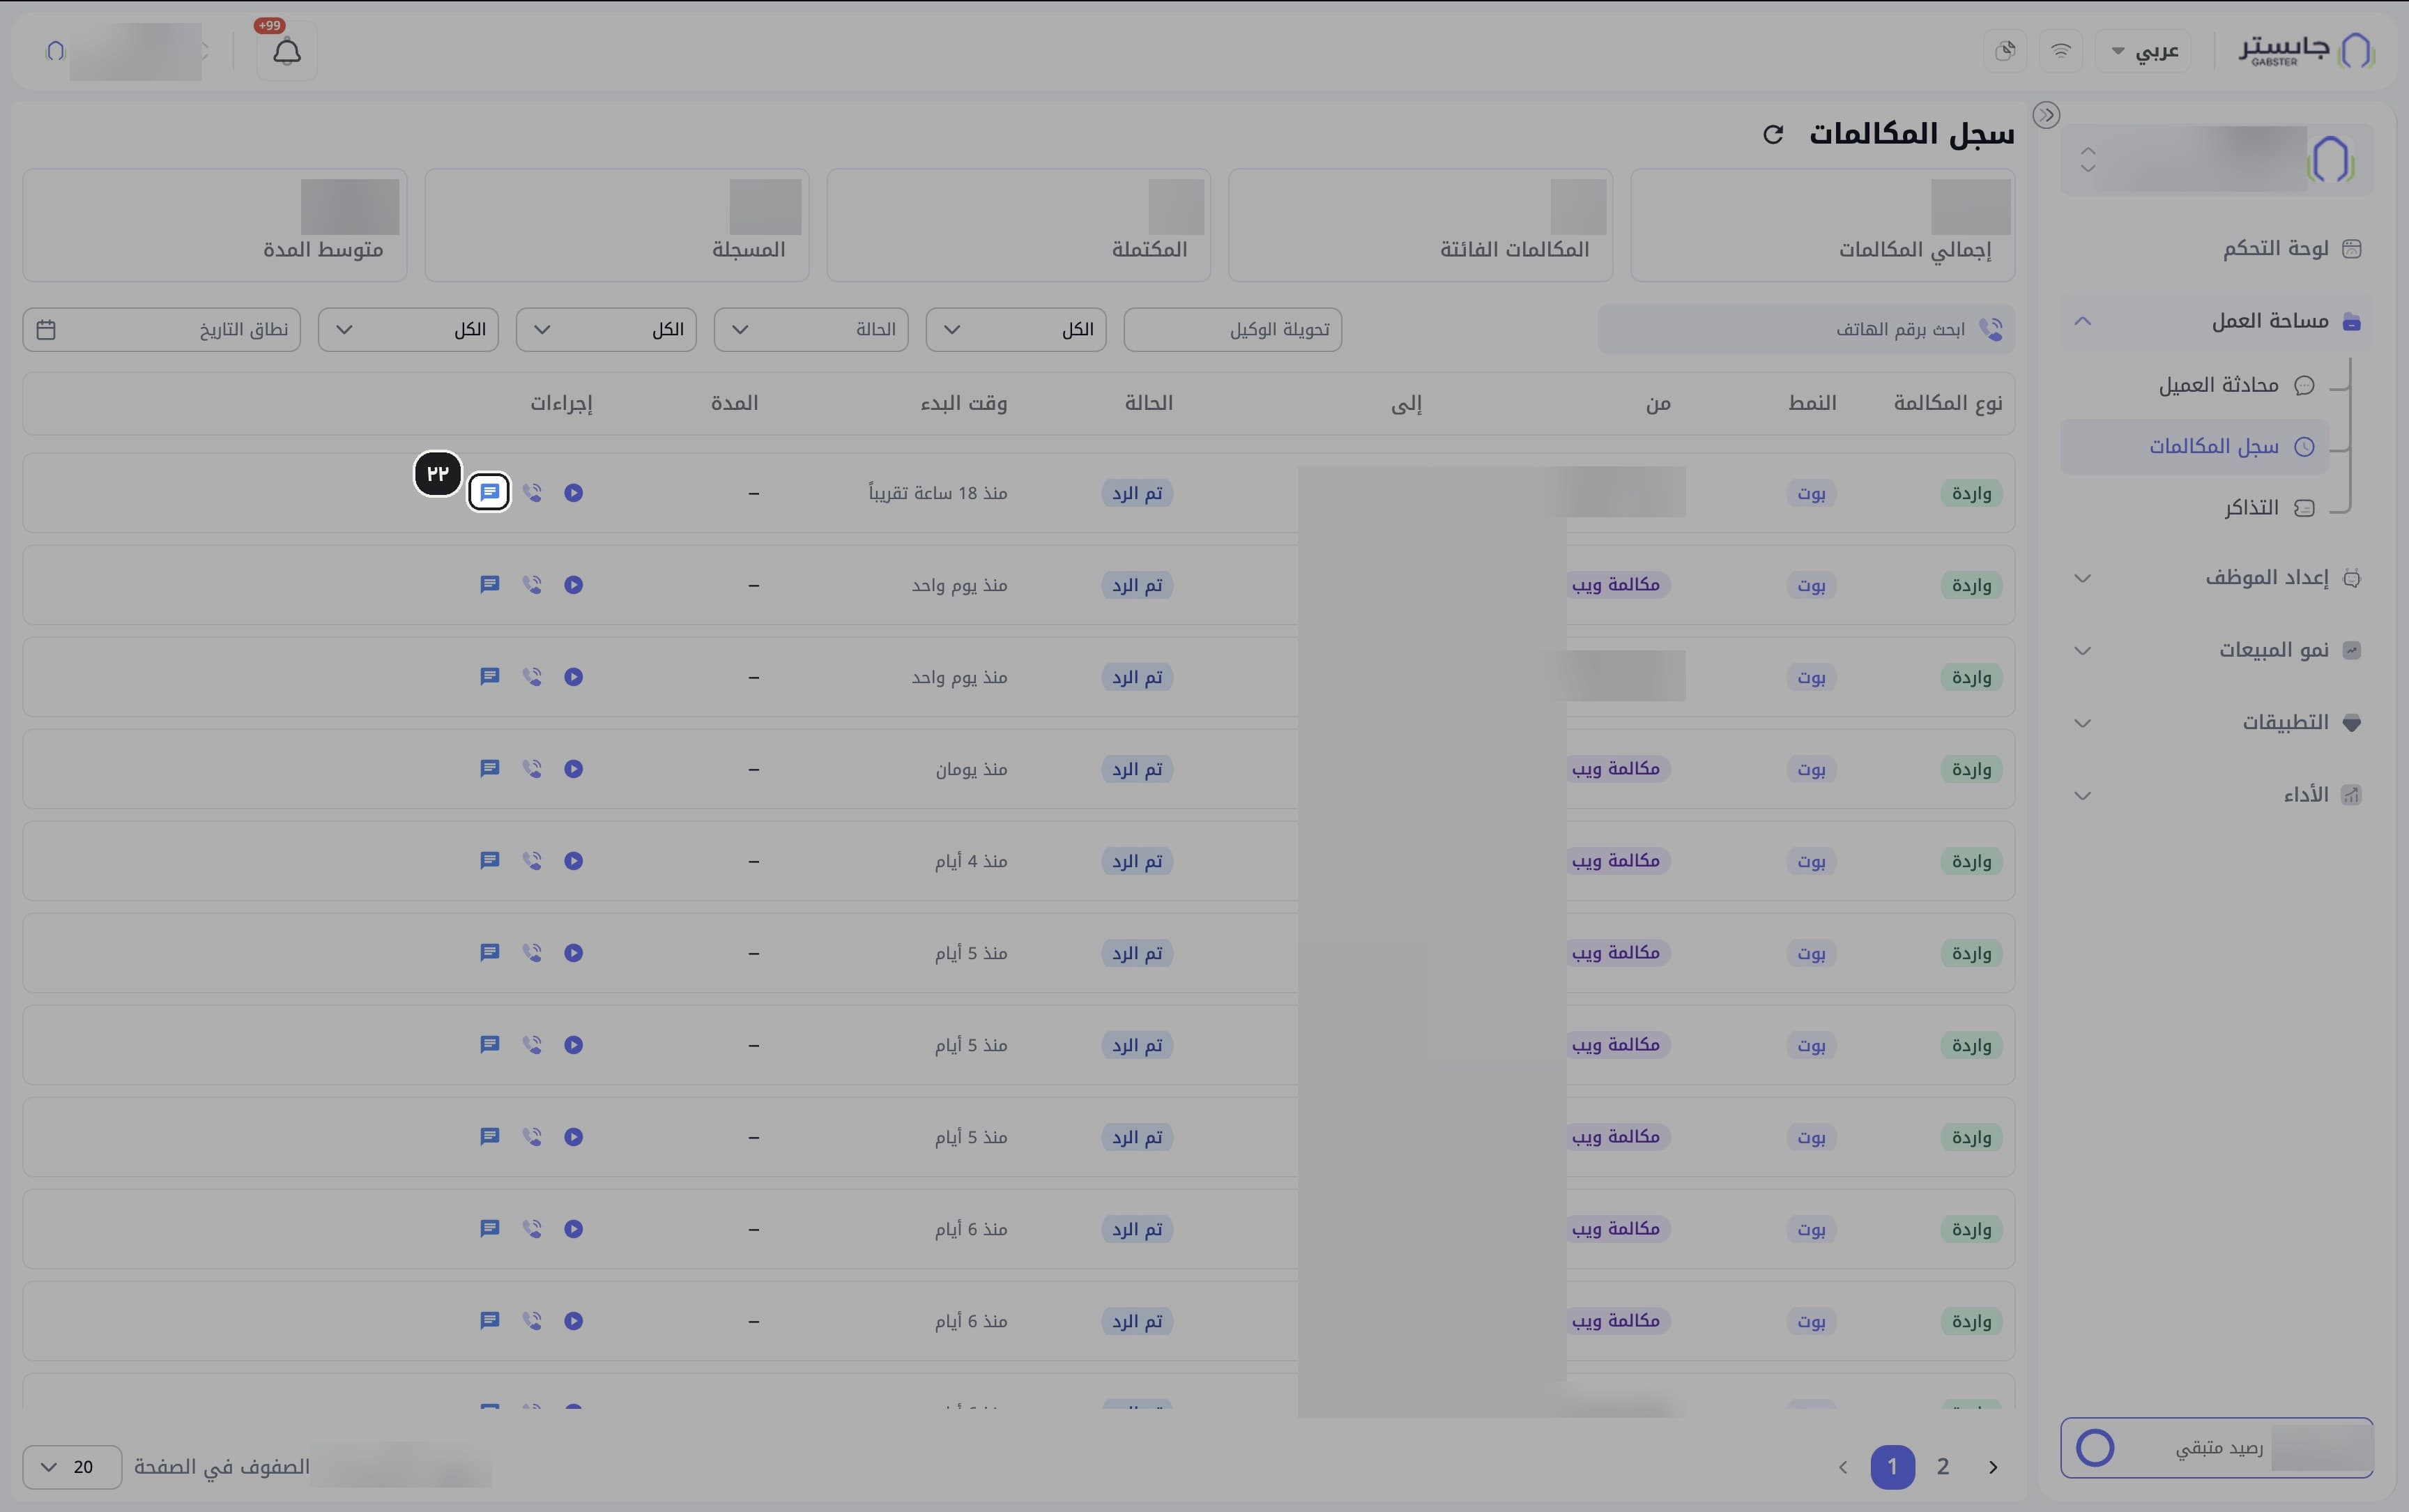
Listen to the recording
Click the play button to listen to the call recording.
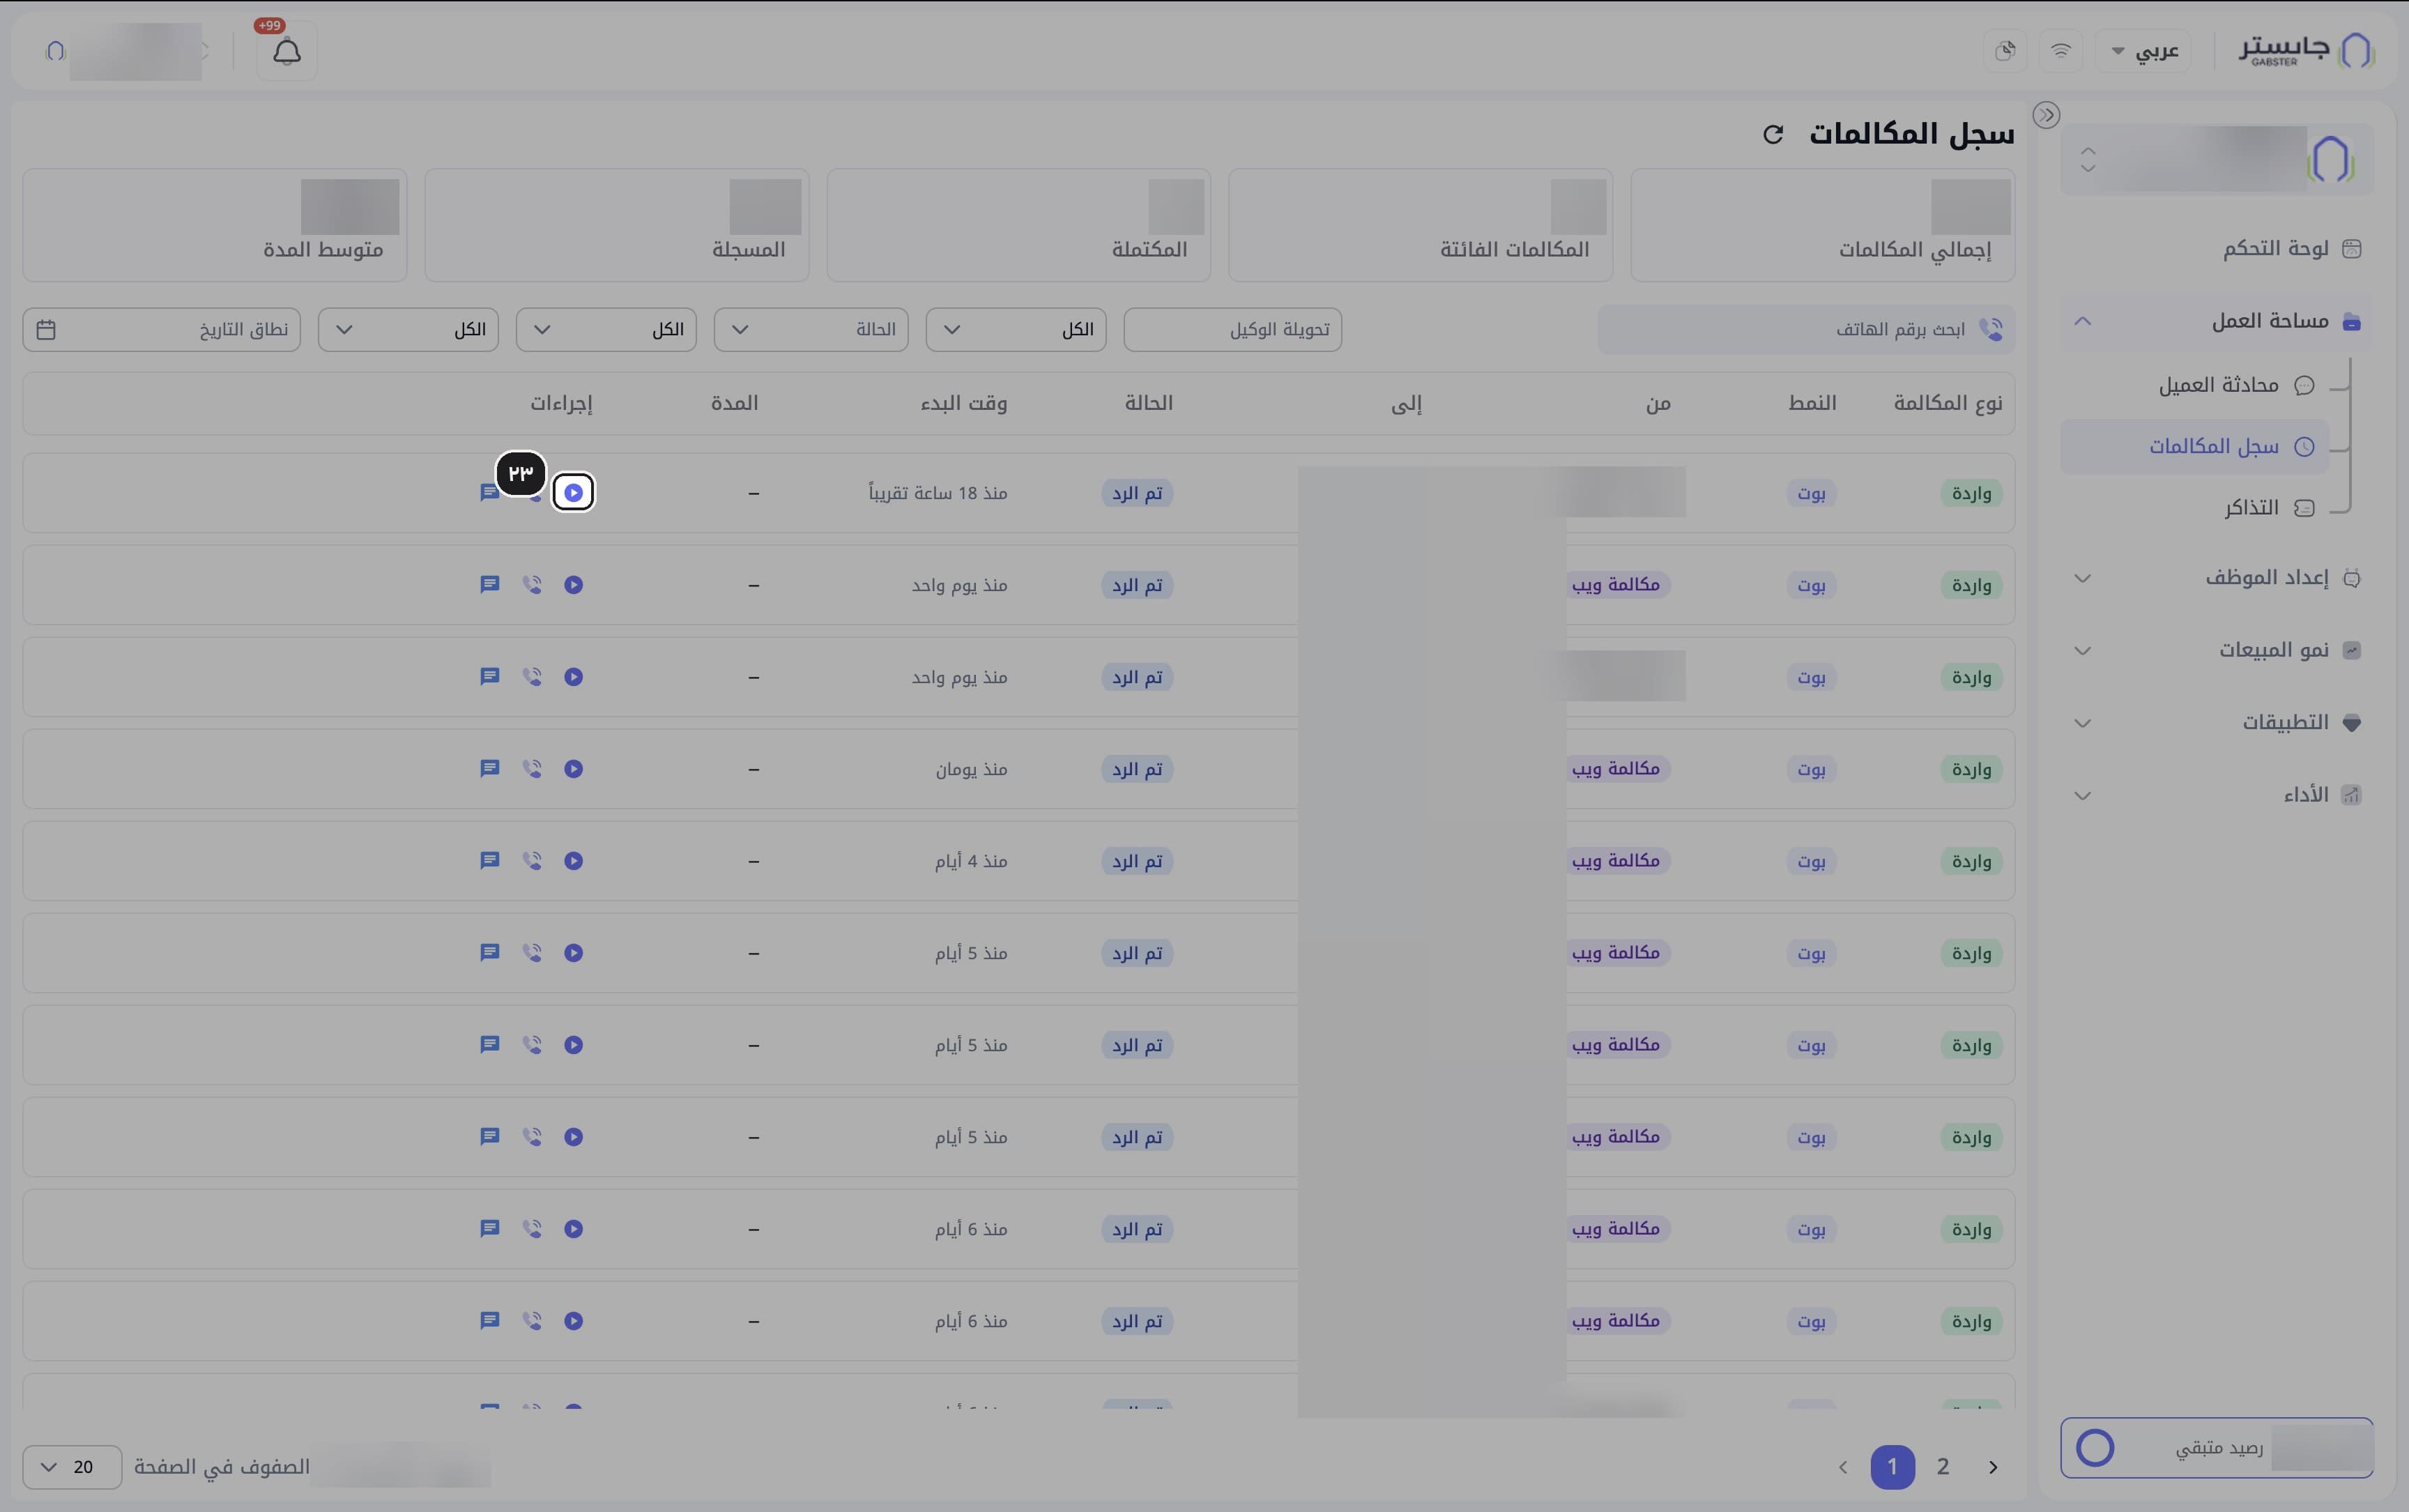
Open call details
Click the phone icon in the Actions column.