Tutorials
Sort conversations with tags
See which tags are applied most to conversations, and add and manage your list of tags.
In this tutorial you see which tags are applied most to conversations, whether by staff or by your AI Agent, then manage your list of tags. It is meant for team leads and admins who organize conversations.
Before you start: you need an AI Agent that has conversations (see Build your AI Agent and Handle customer conversations).
Statistics
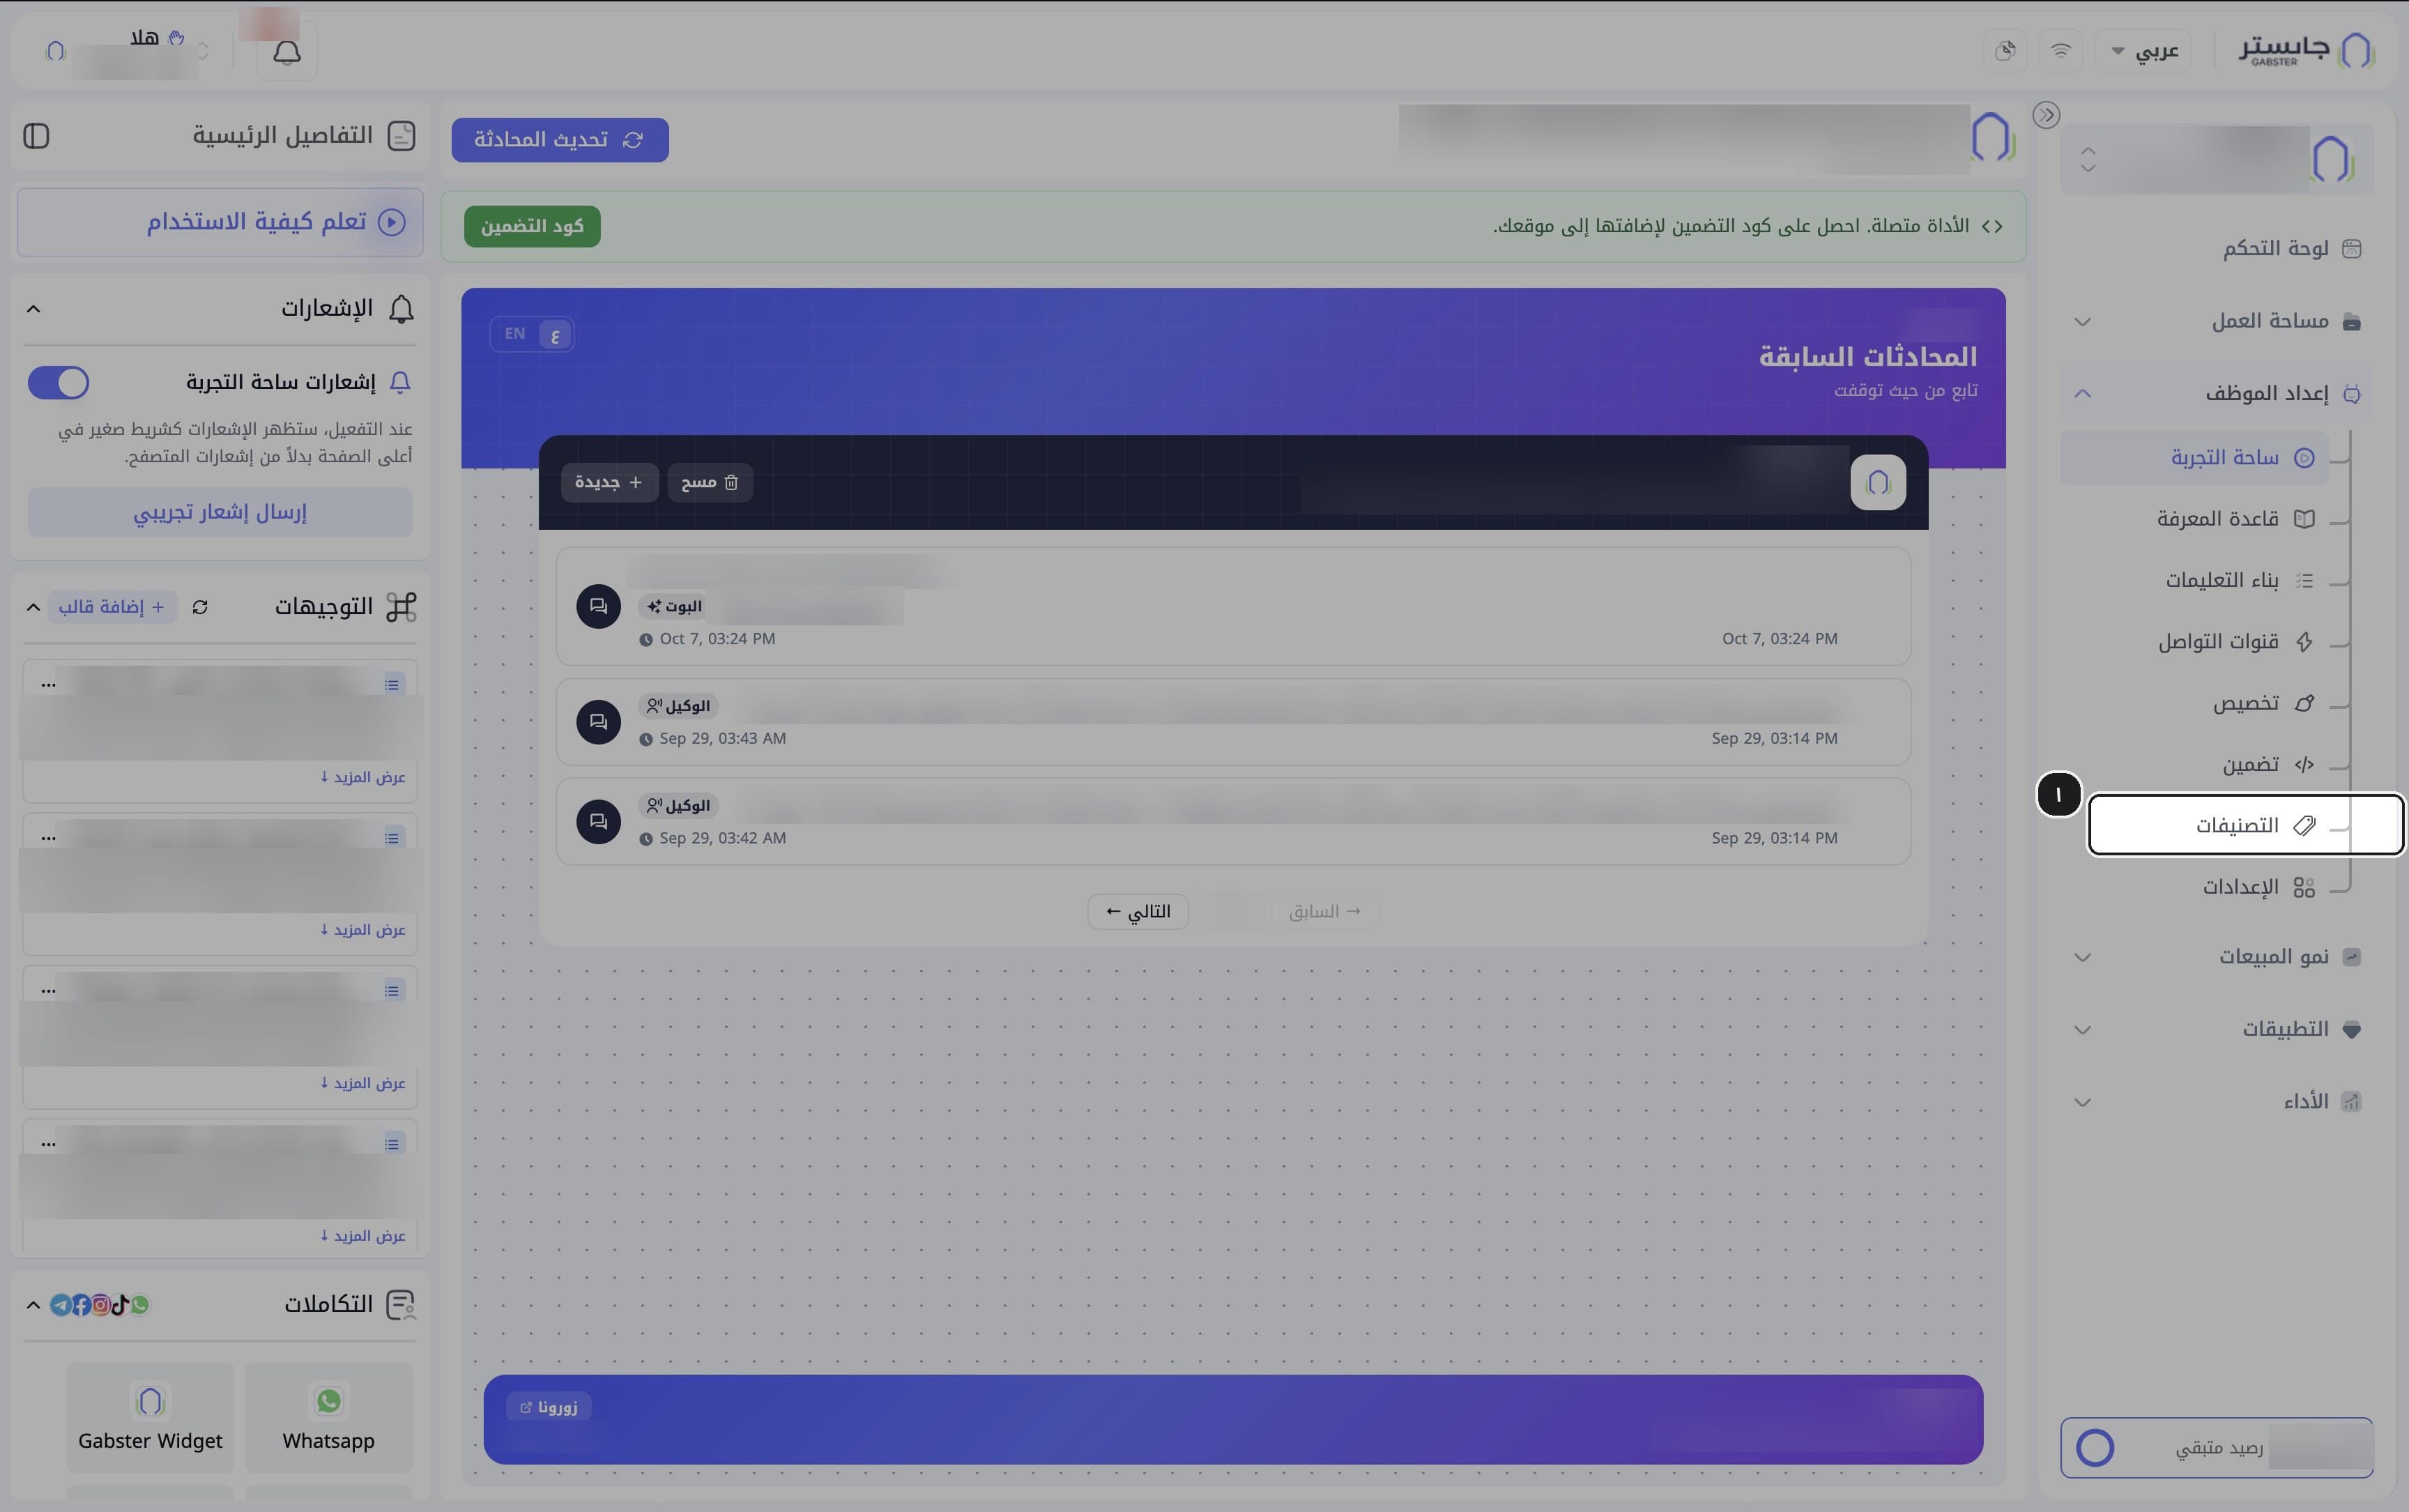
Open Tags
In the sidebar, open the AI Agent Setup (إعداد الموظف) group and choose Tags (التصنيفات).
Result: the page opens on the Statistics (الإحصائيات) tab, titled Tag statistics (إحصائيات التصنيفات).
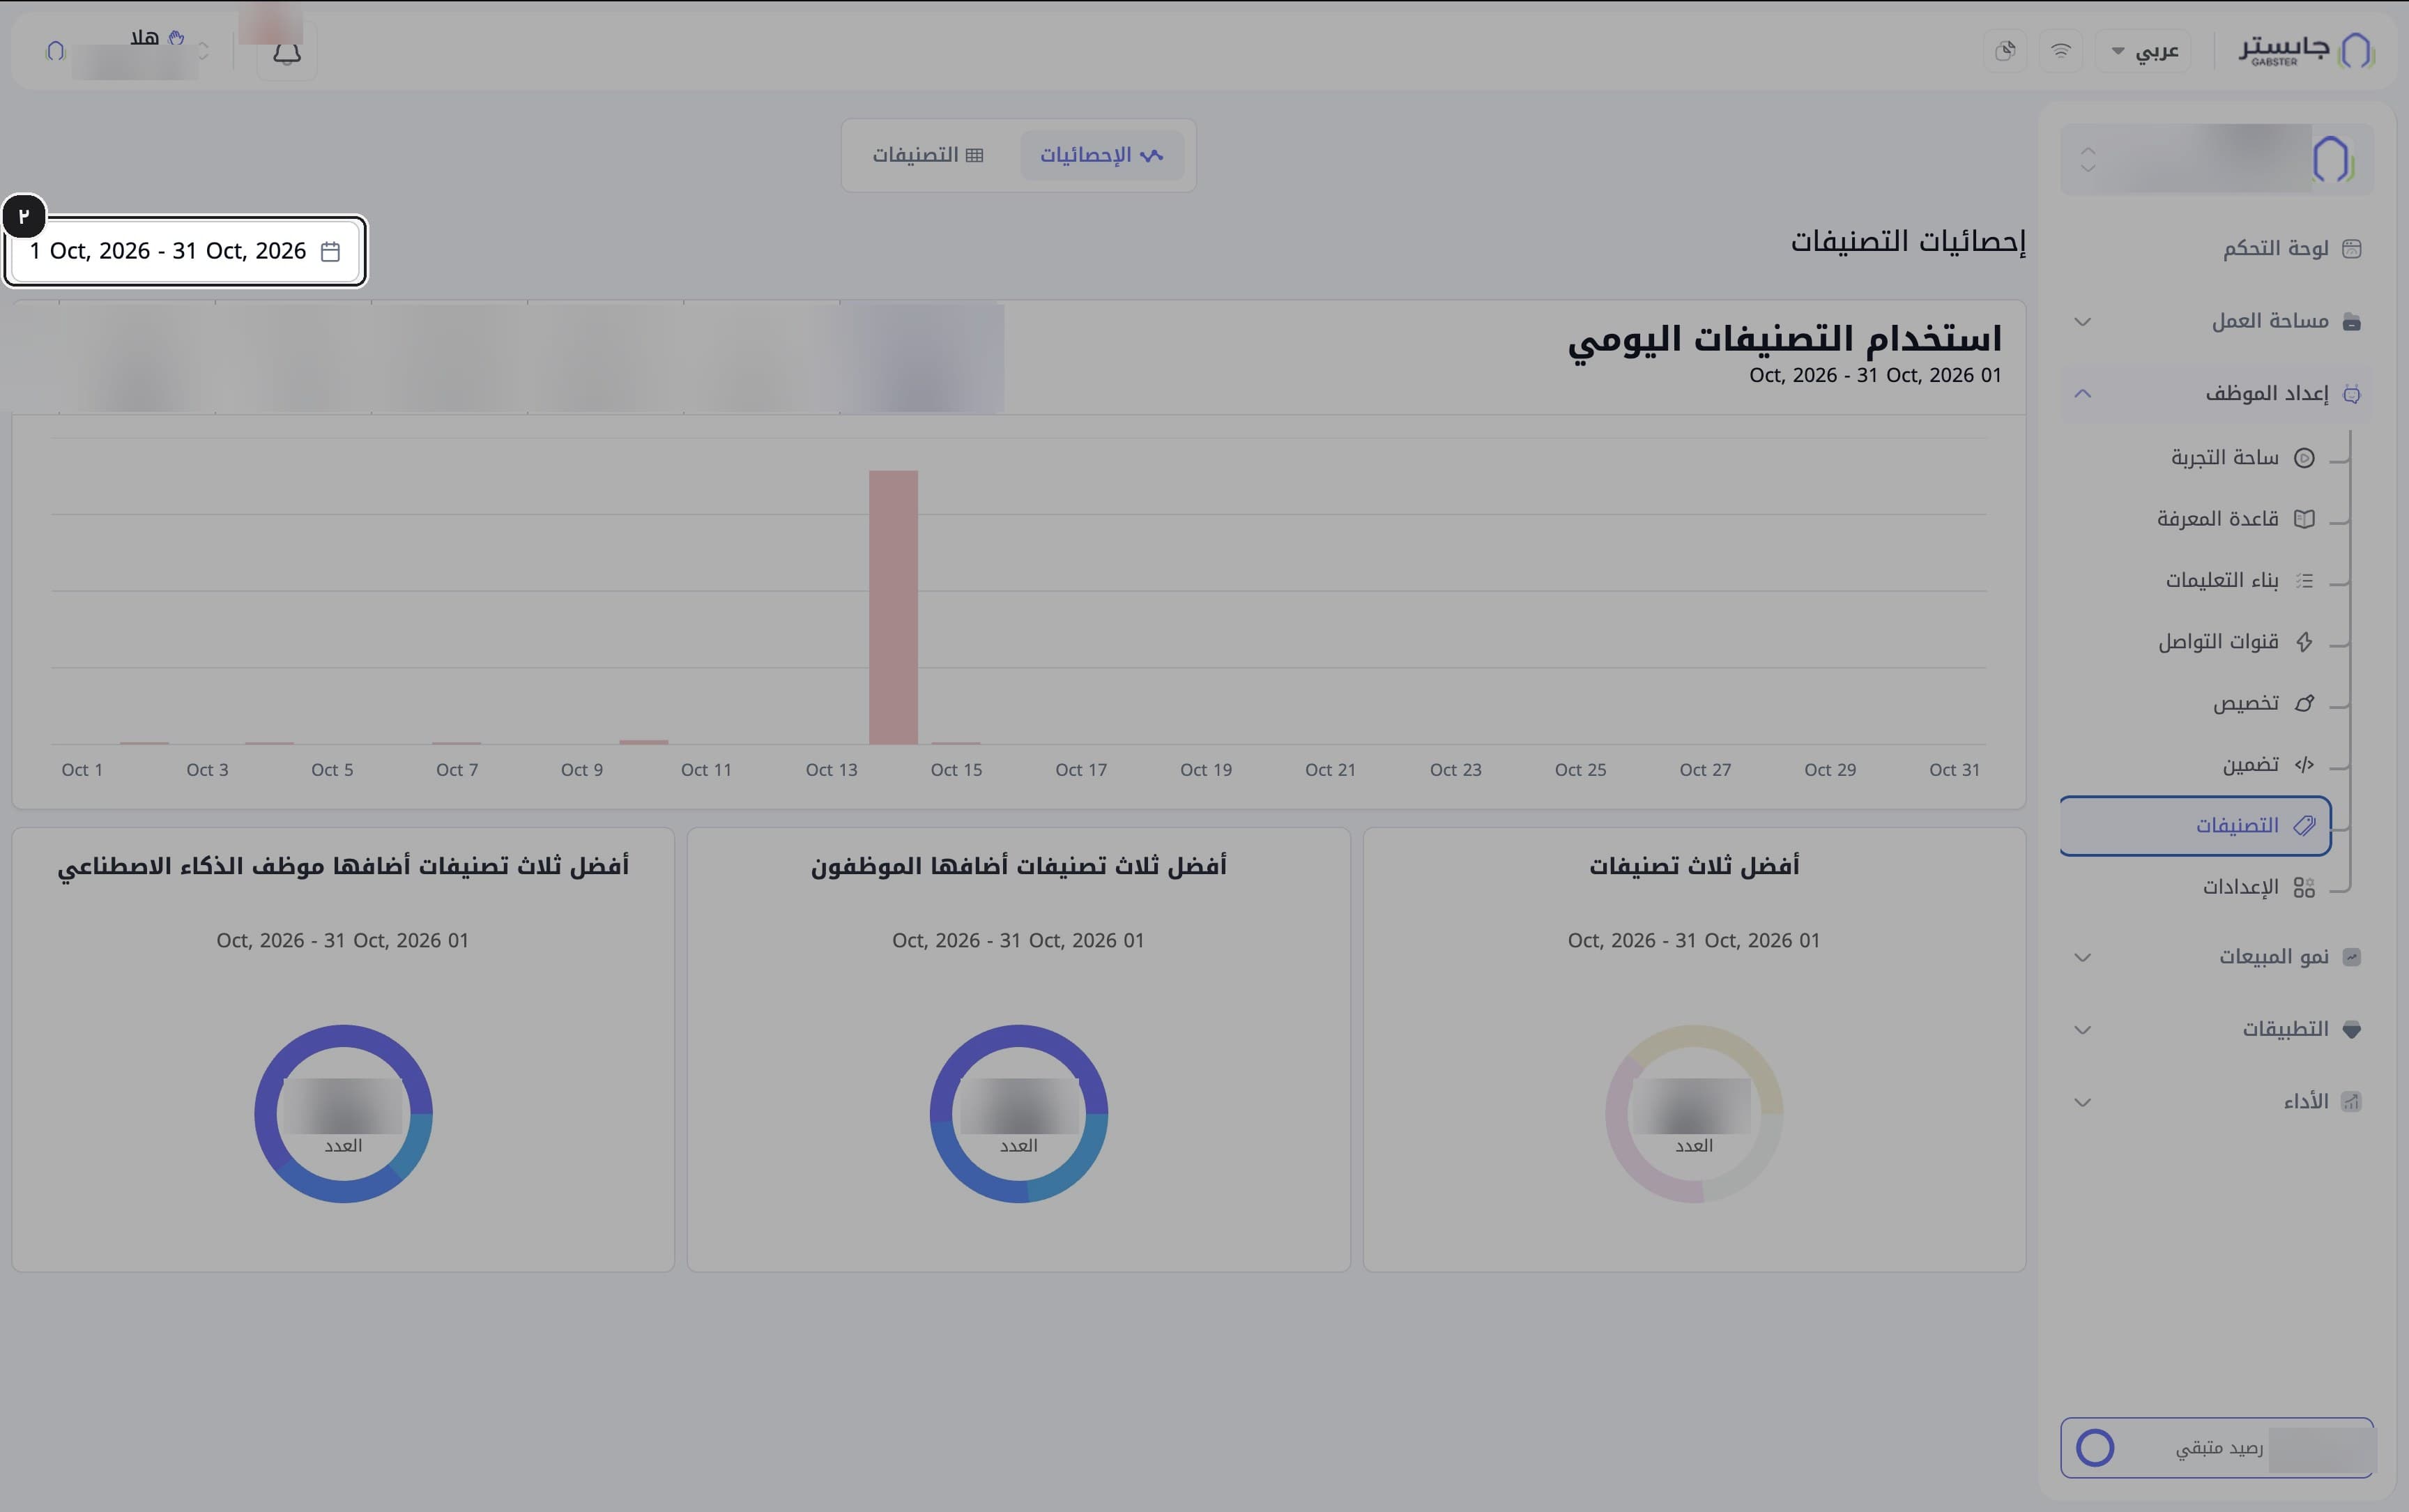
Set the date range
Check the date range at the top of the page; it defaults to the current month.
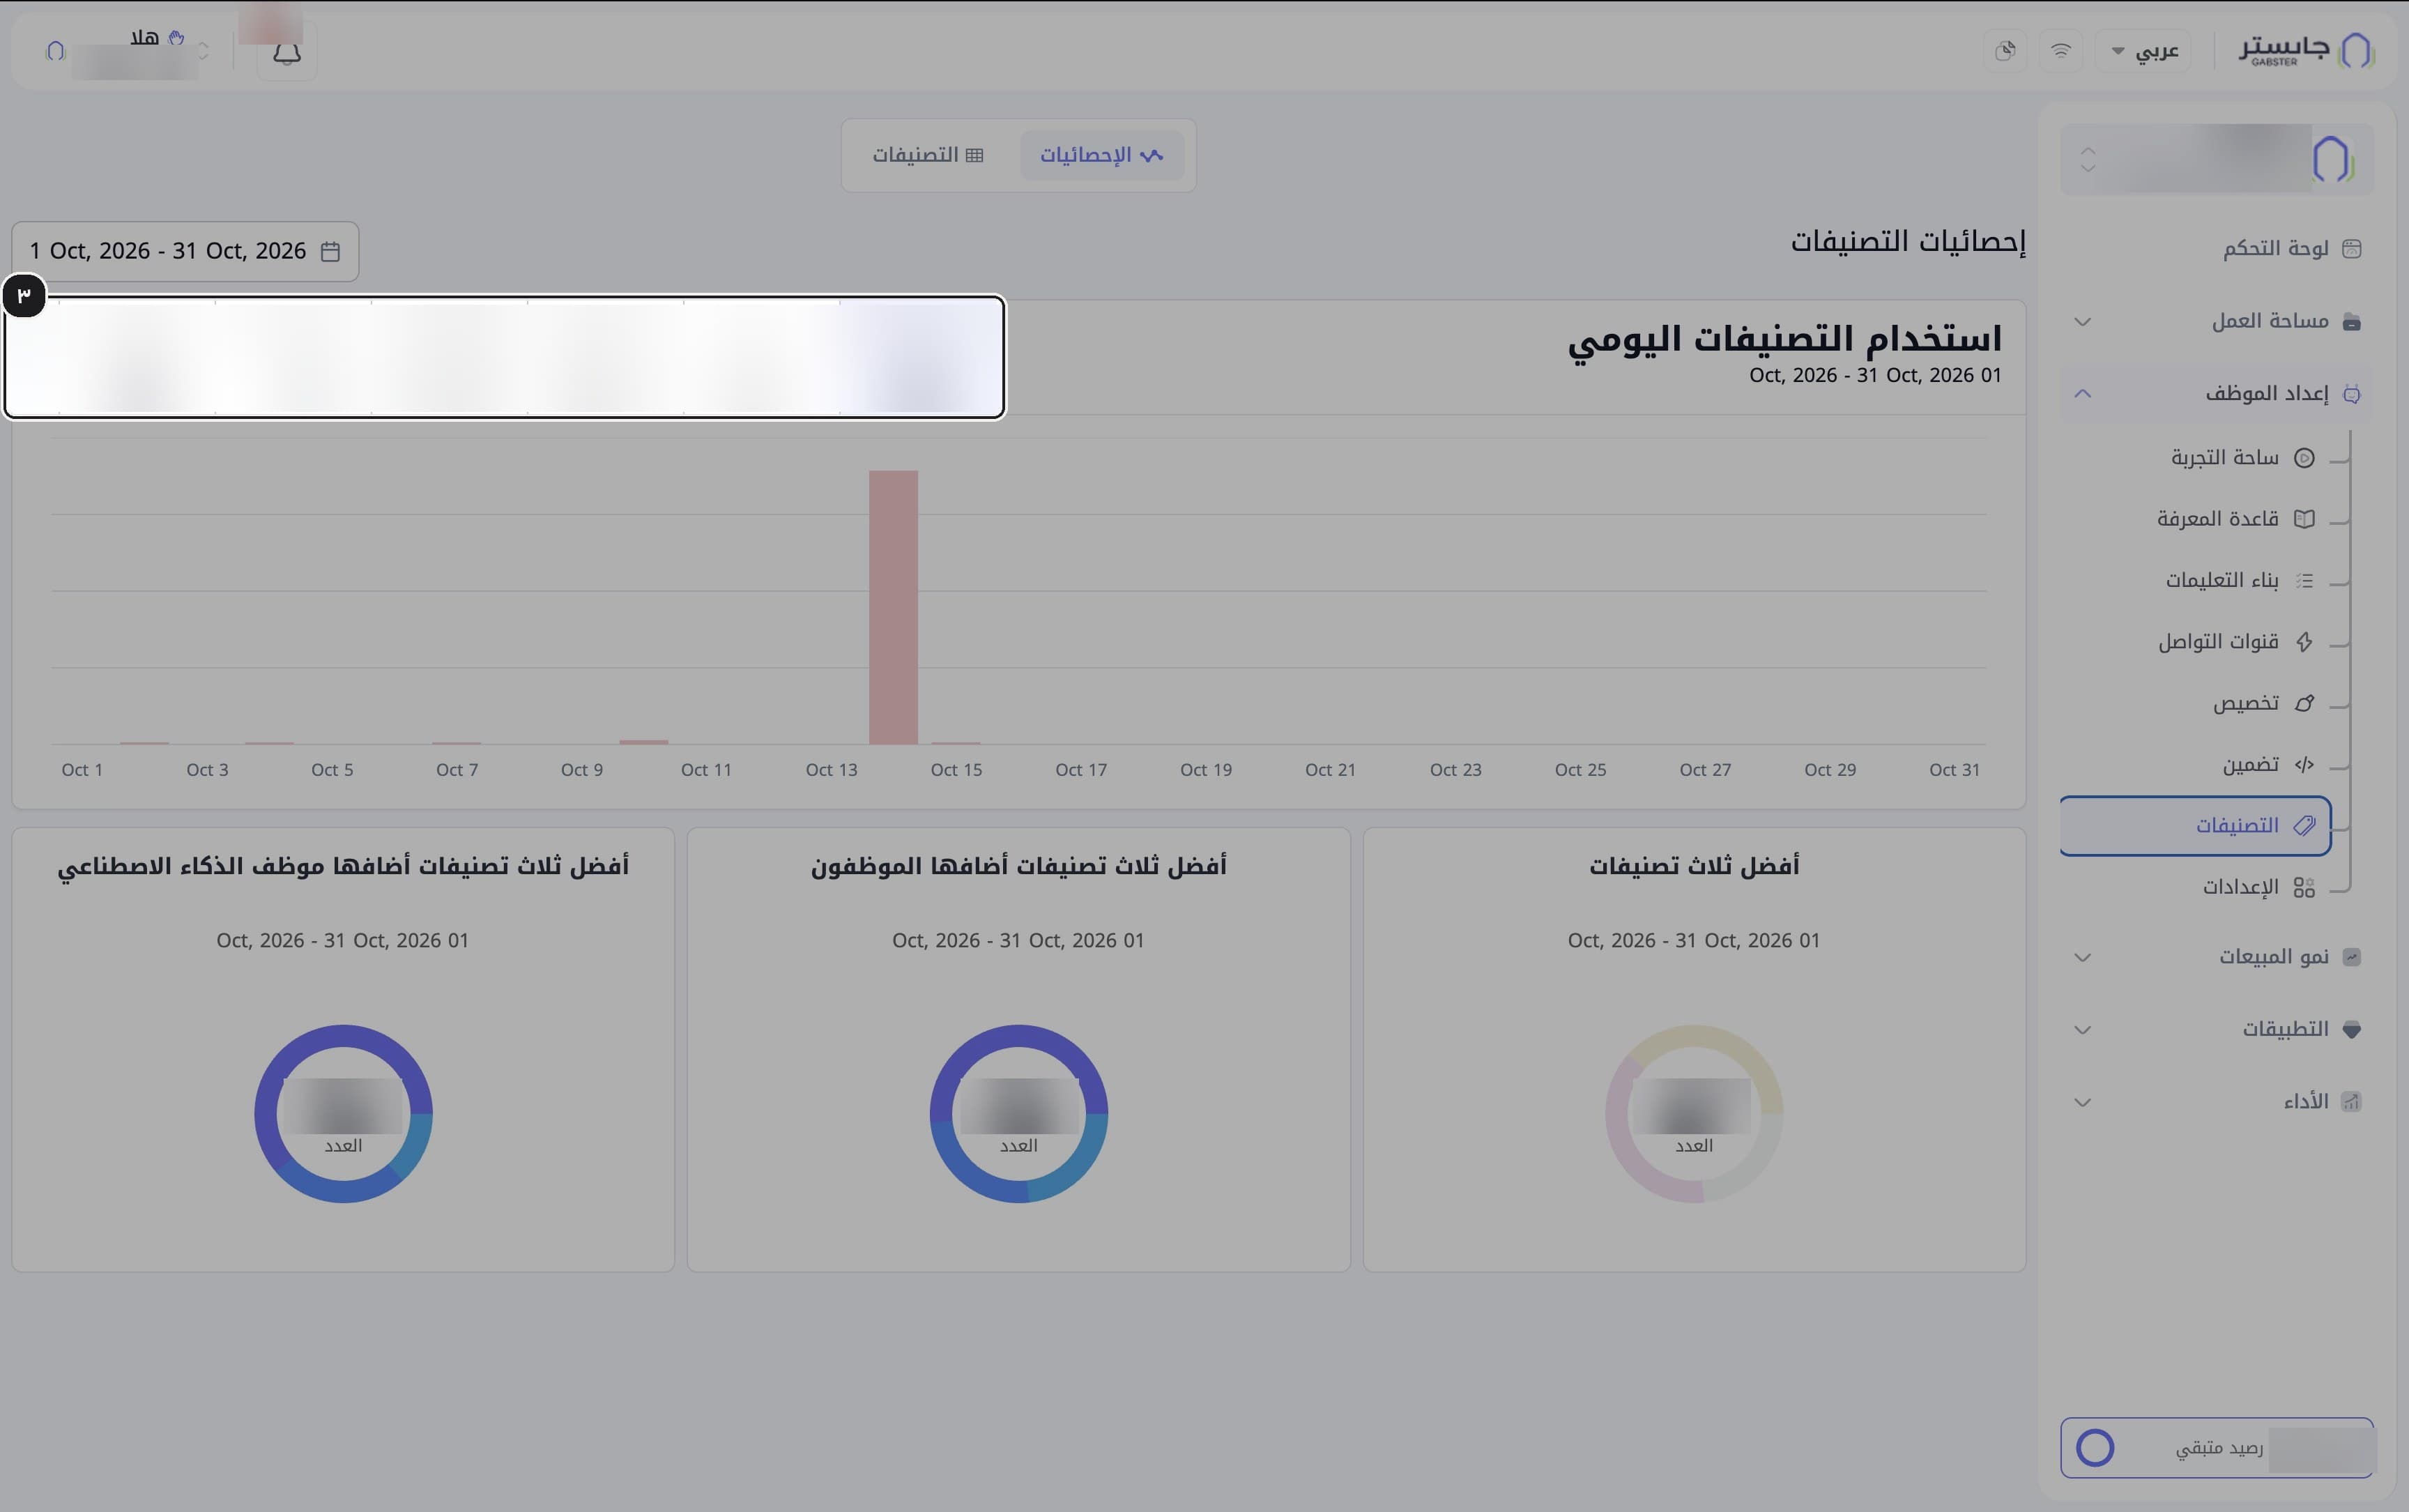
Read the tag tiles
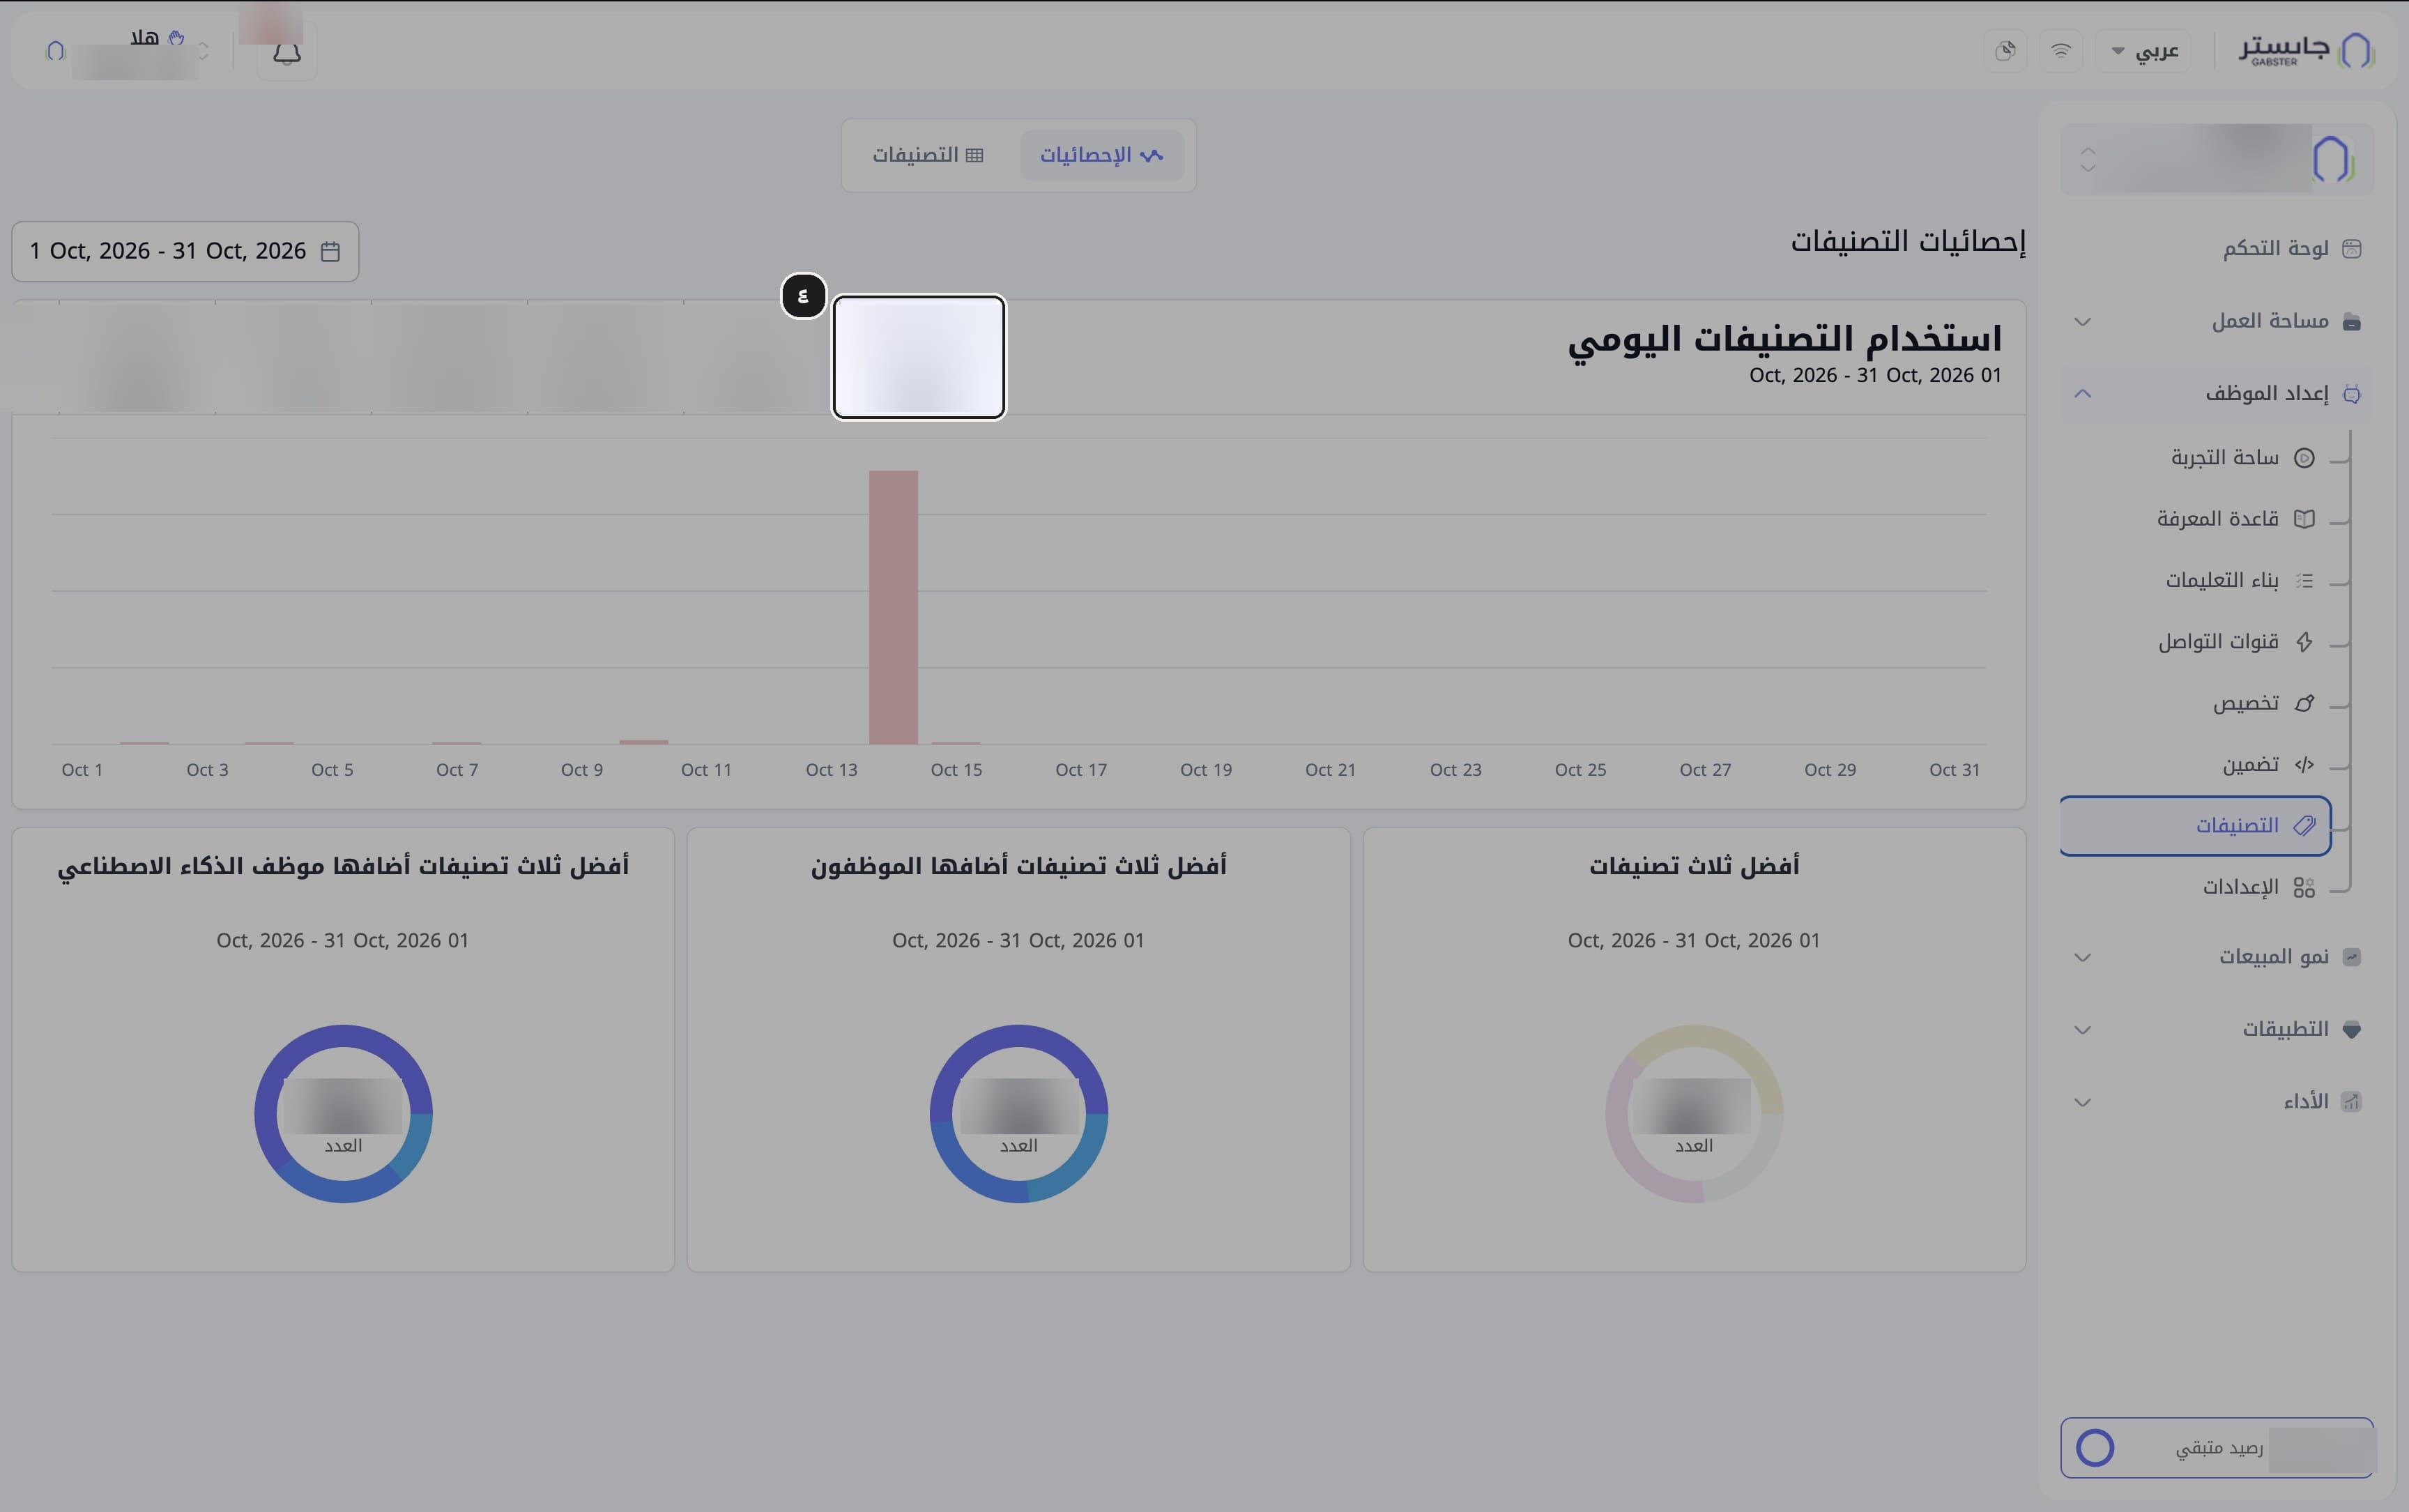
Read the strip of tiles; each tag has a tile showing its name and how many times it was used.
Pick a tag
Click a tag's tile to see its daily usage. The selected tile has a light-blue background.
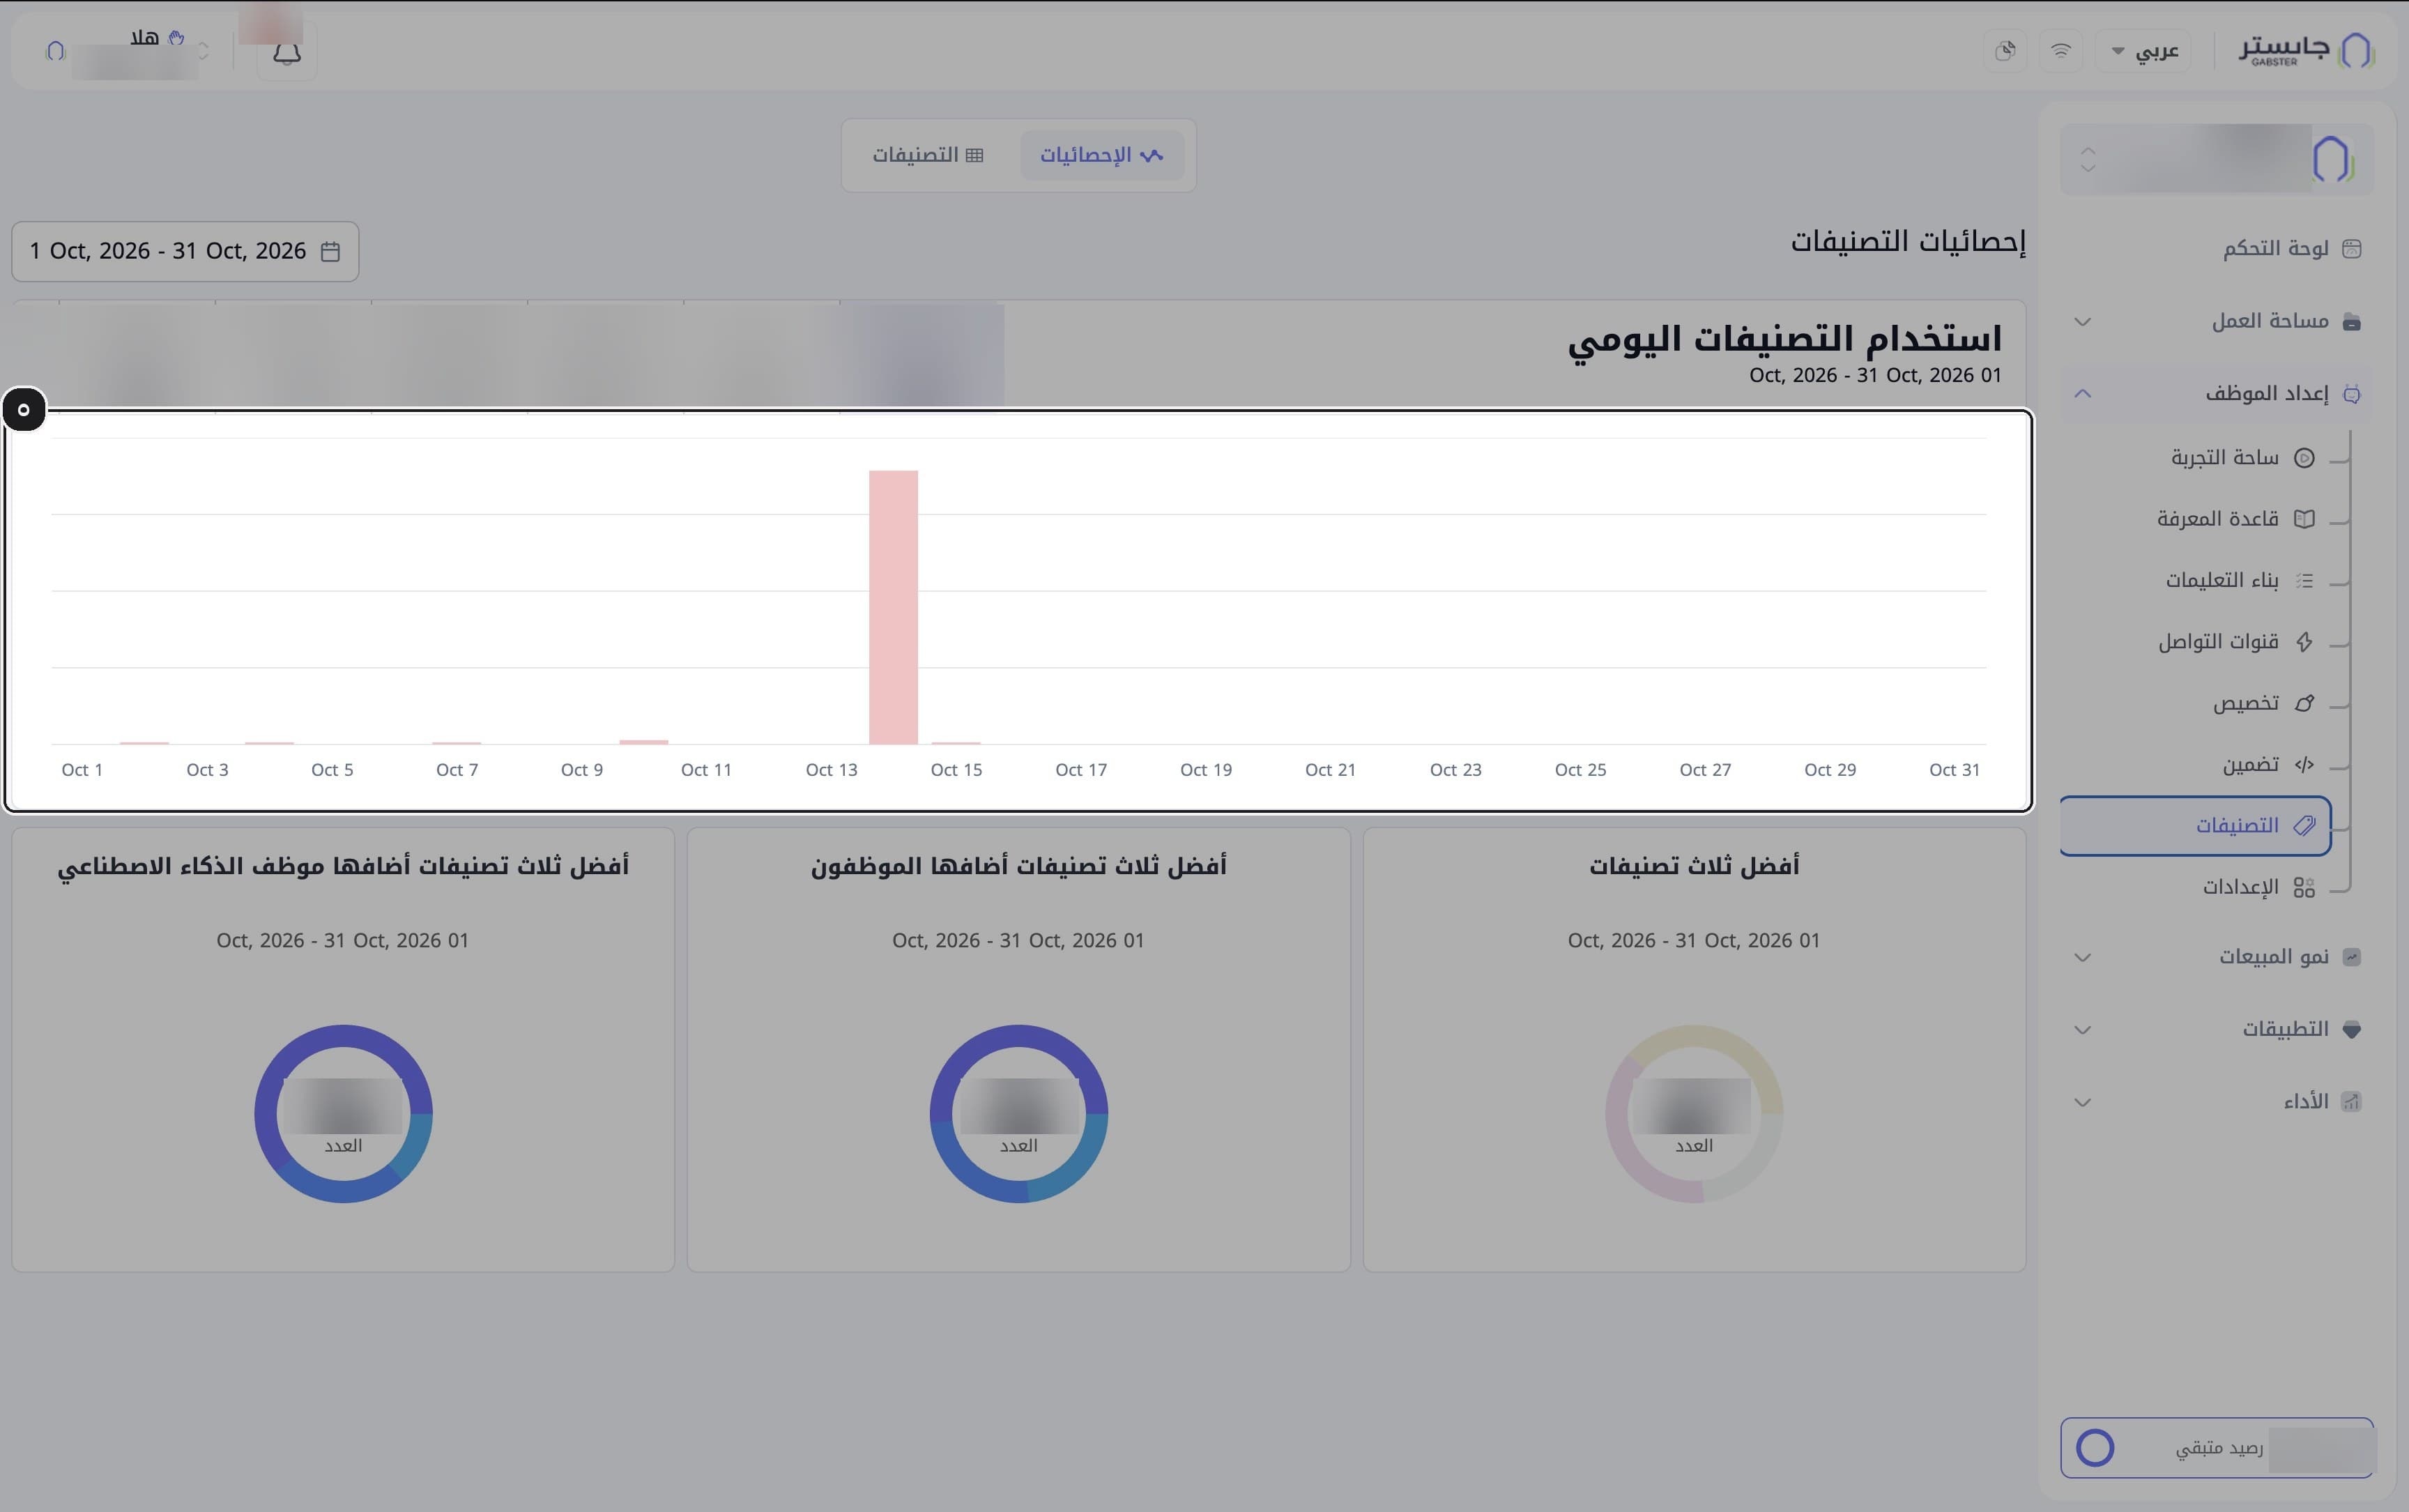
Read the daily usage chart
Read the Daily tag usage (استخدام التصنيفات اليومي) chart: one bar per day across the selected range.
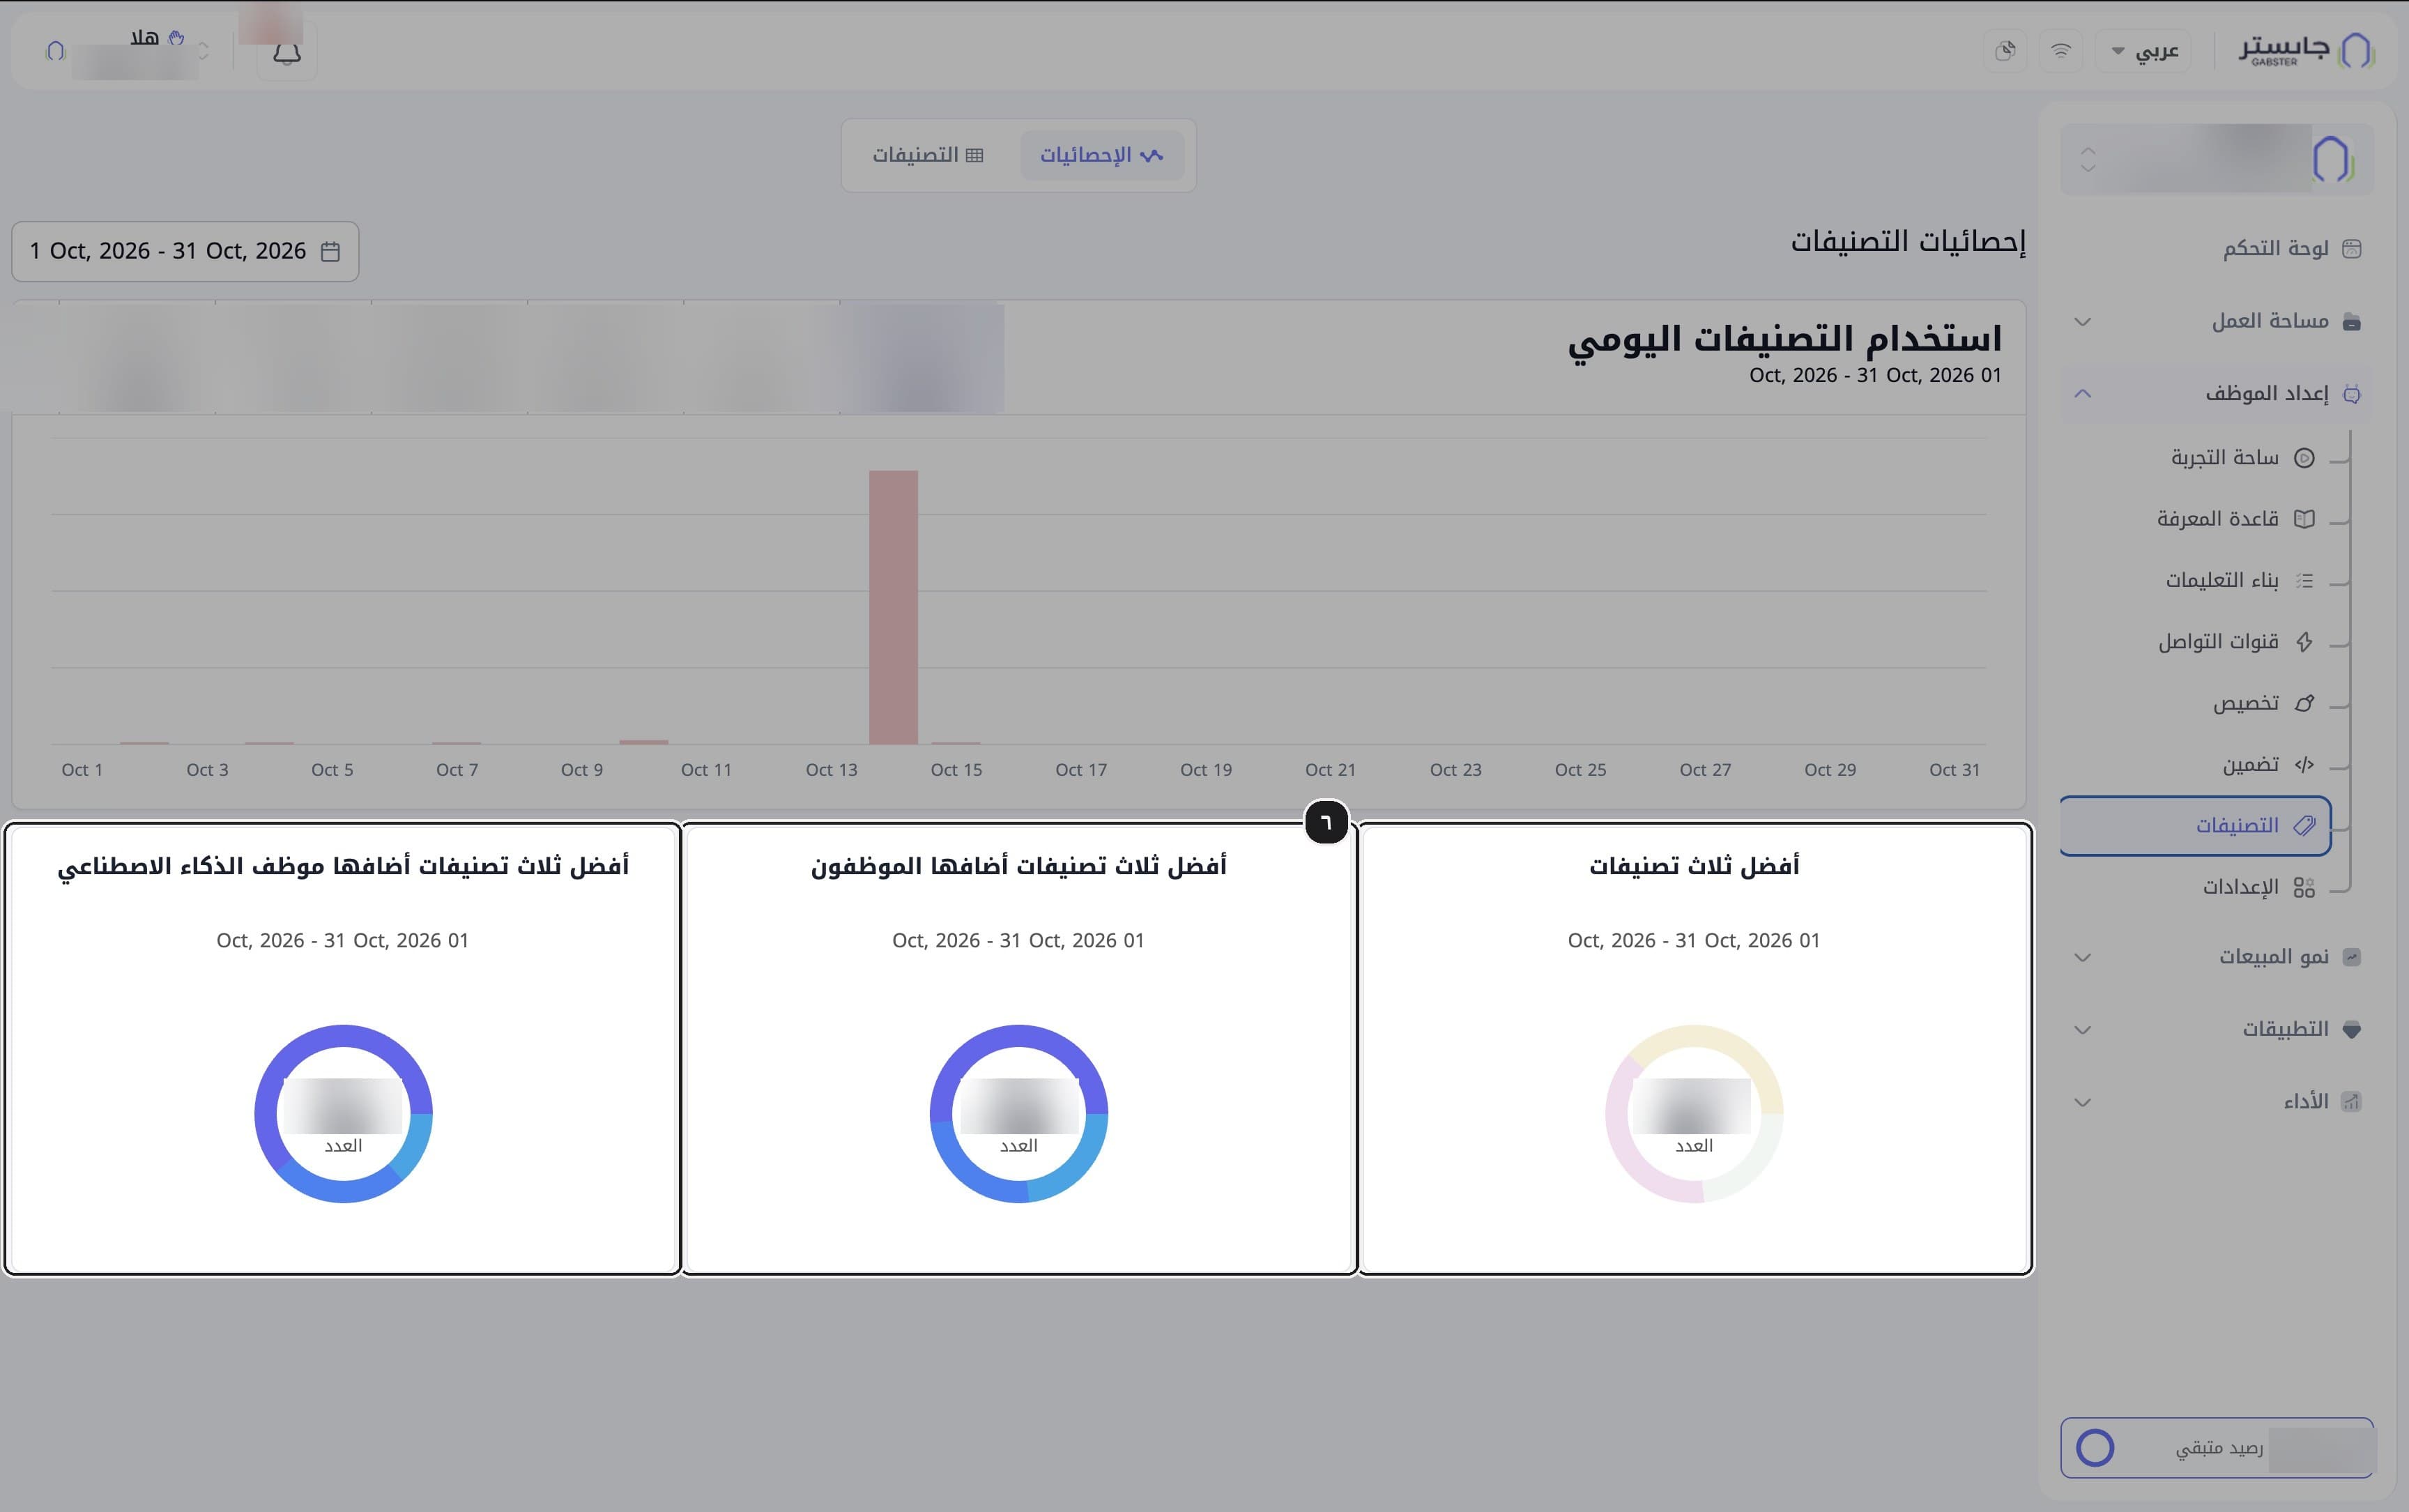
Compare the most-used tags
Compare the three donuts: Top three tags (أفضل ثلاث تصنيفات), Top three tags added by staff (أفضل ثلاث تصنيفات أضافها الموظفون) and Top three tags added by the AI Agent (أفضل ثلاث تصنيفات أضافها موظف الذكاء الاصطناعي). Each shows the count in its center.
Top three tags counts every time a tag was applied, by staff, by your AI Agent or by an import, so its total can be larger than the other two.
The tags list
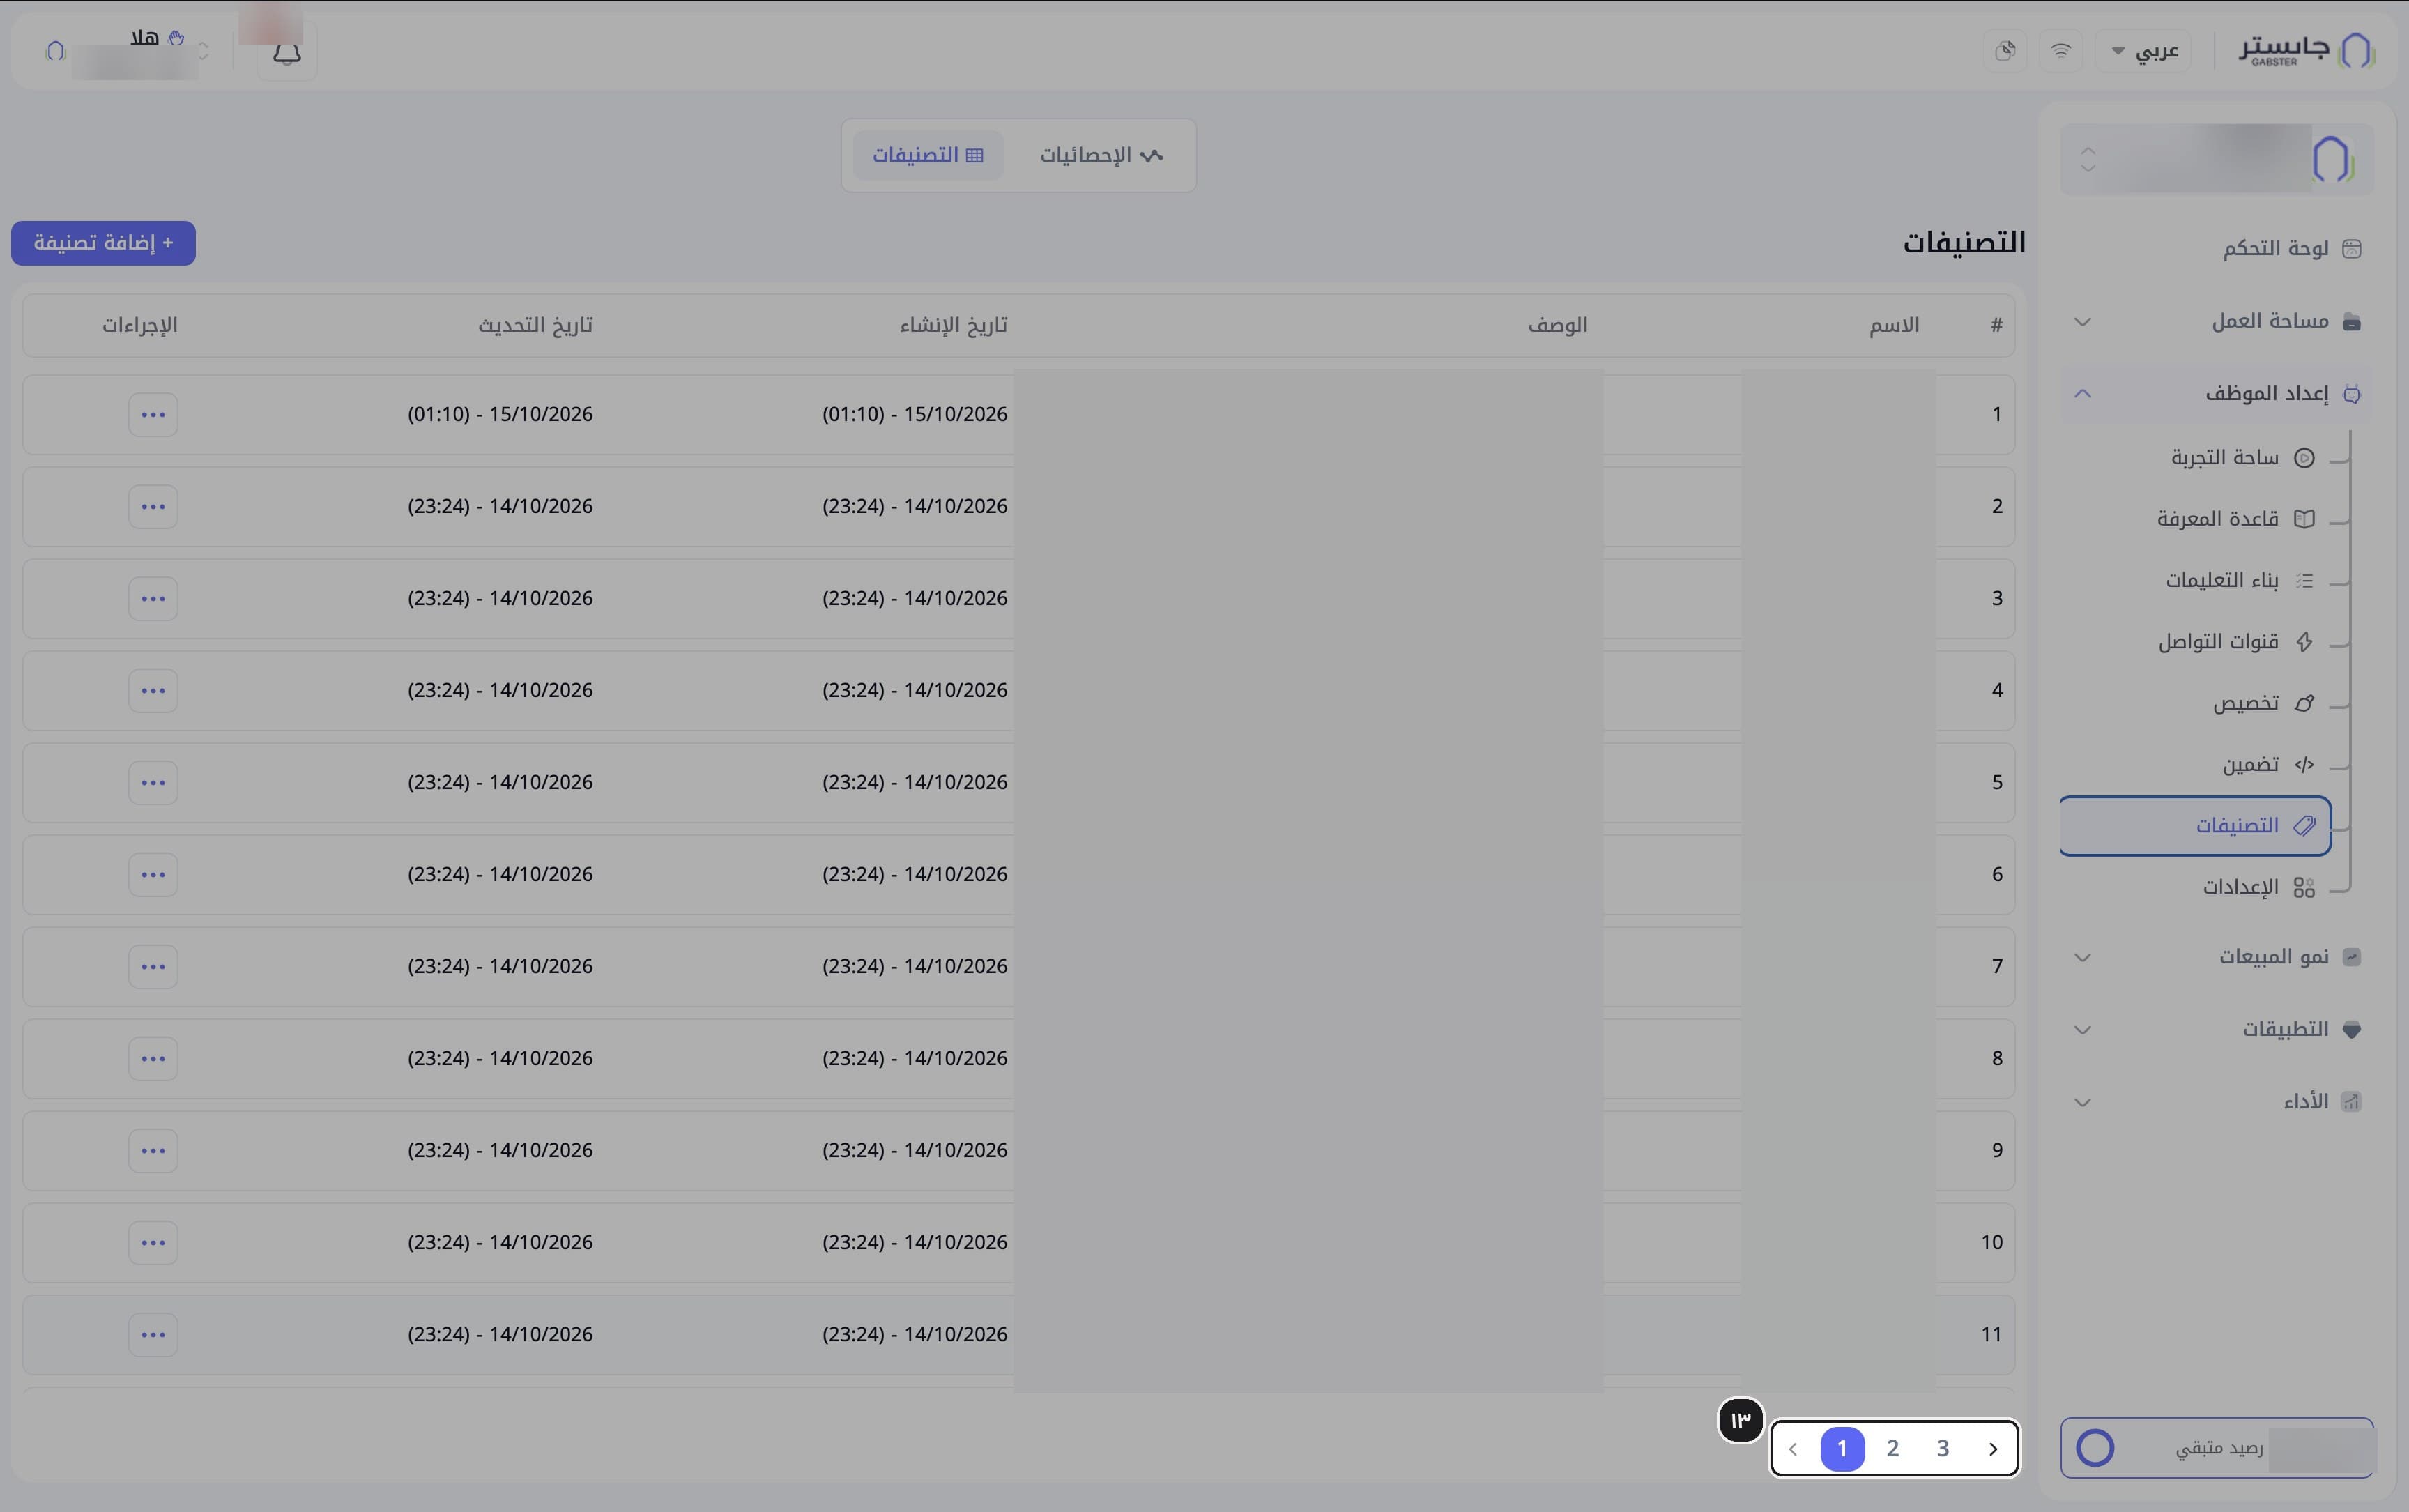
Open the tags list
Switch to the Tags (التصنيفات) tab.
Result: a table of tags appears with the columns Name (الاسم), Description (الوصف), Created date (تاريخ الإنشاء), Updated date (تاريخ التحديث) and Actions (الإجراءات).
Read the descriptions
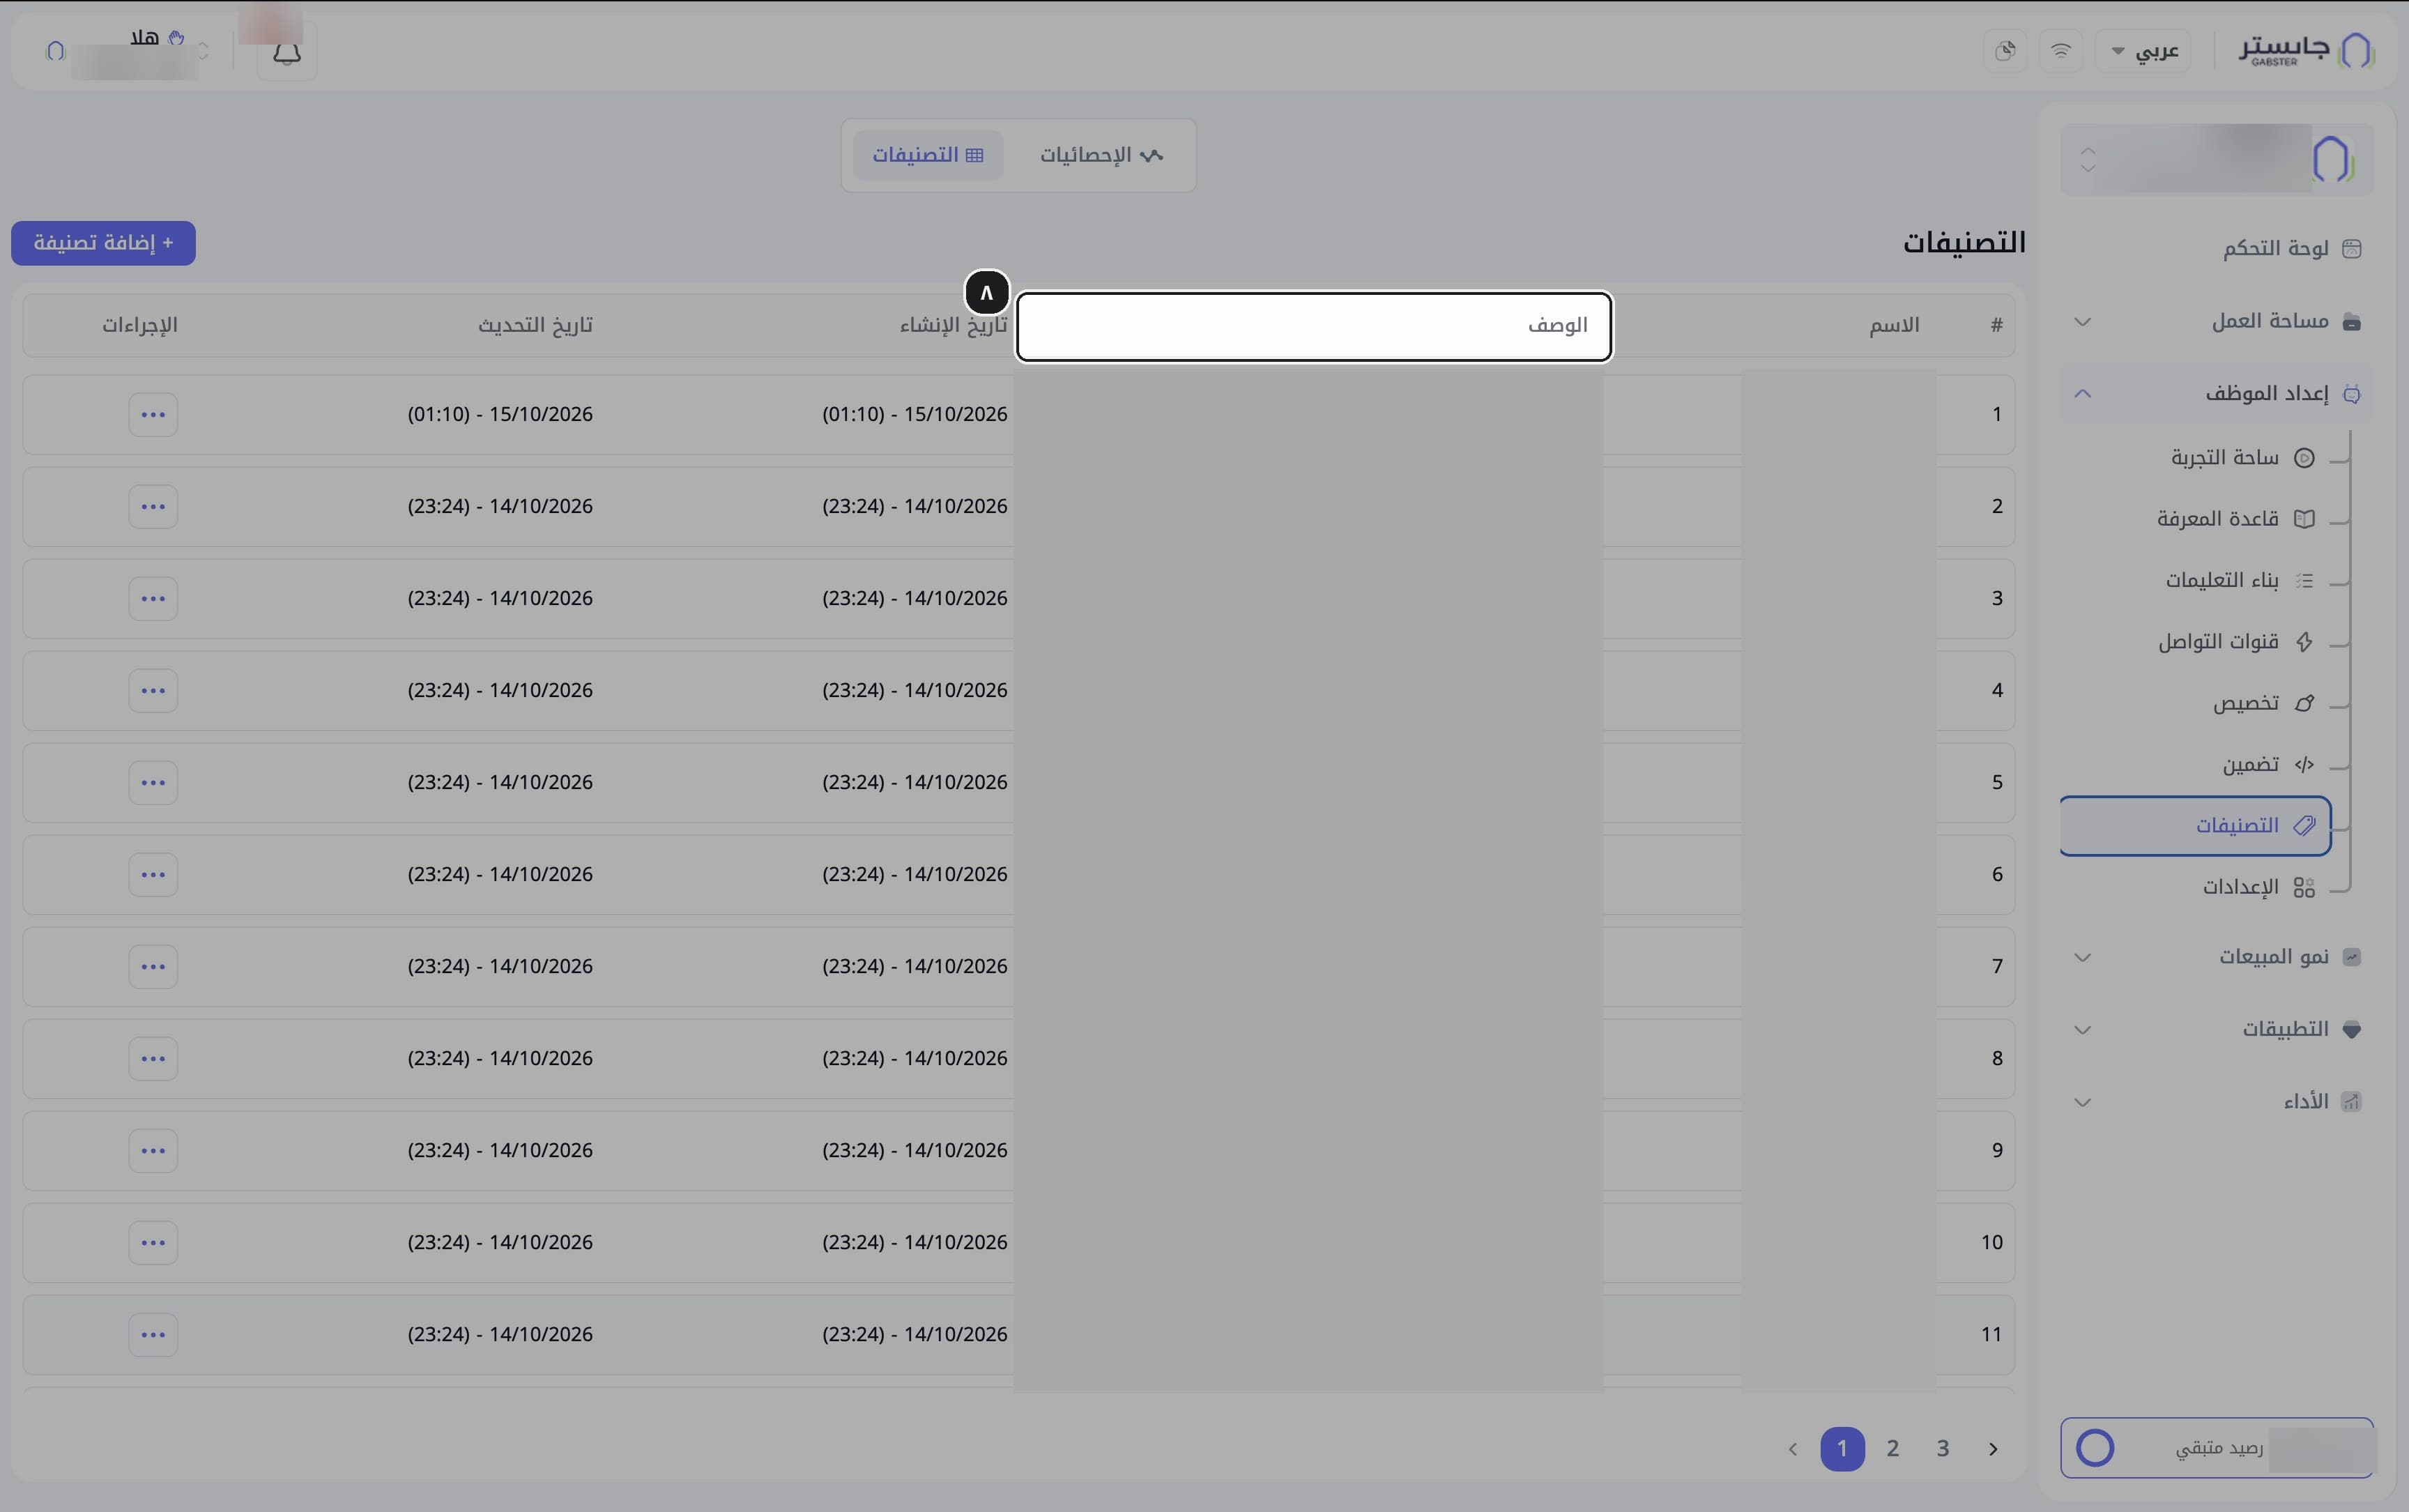
Read the Description column; it explains when each tag applies.
Your AI Agent uses each description to decide when to apply that tag.
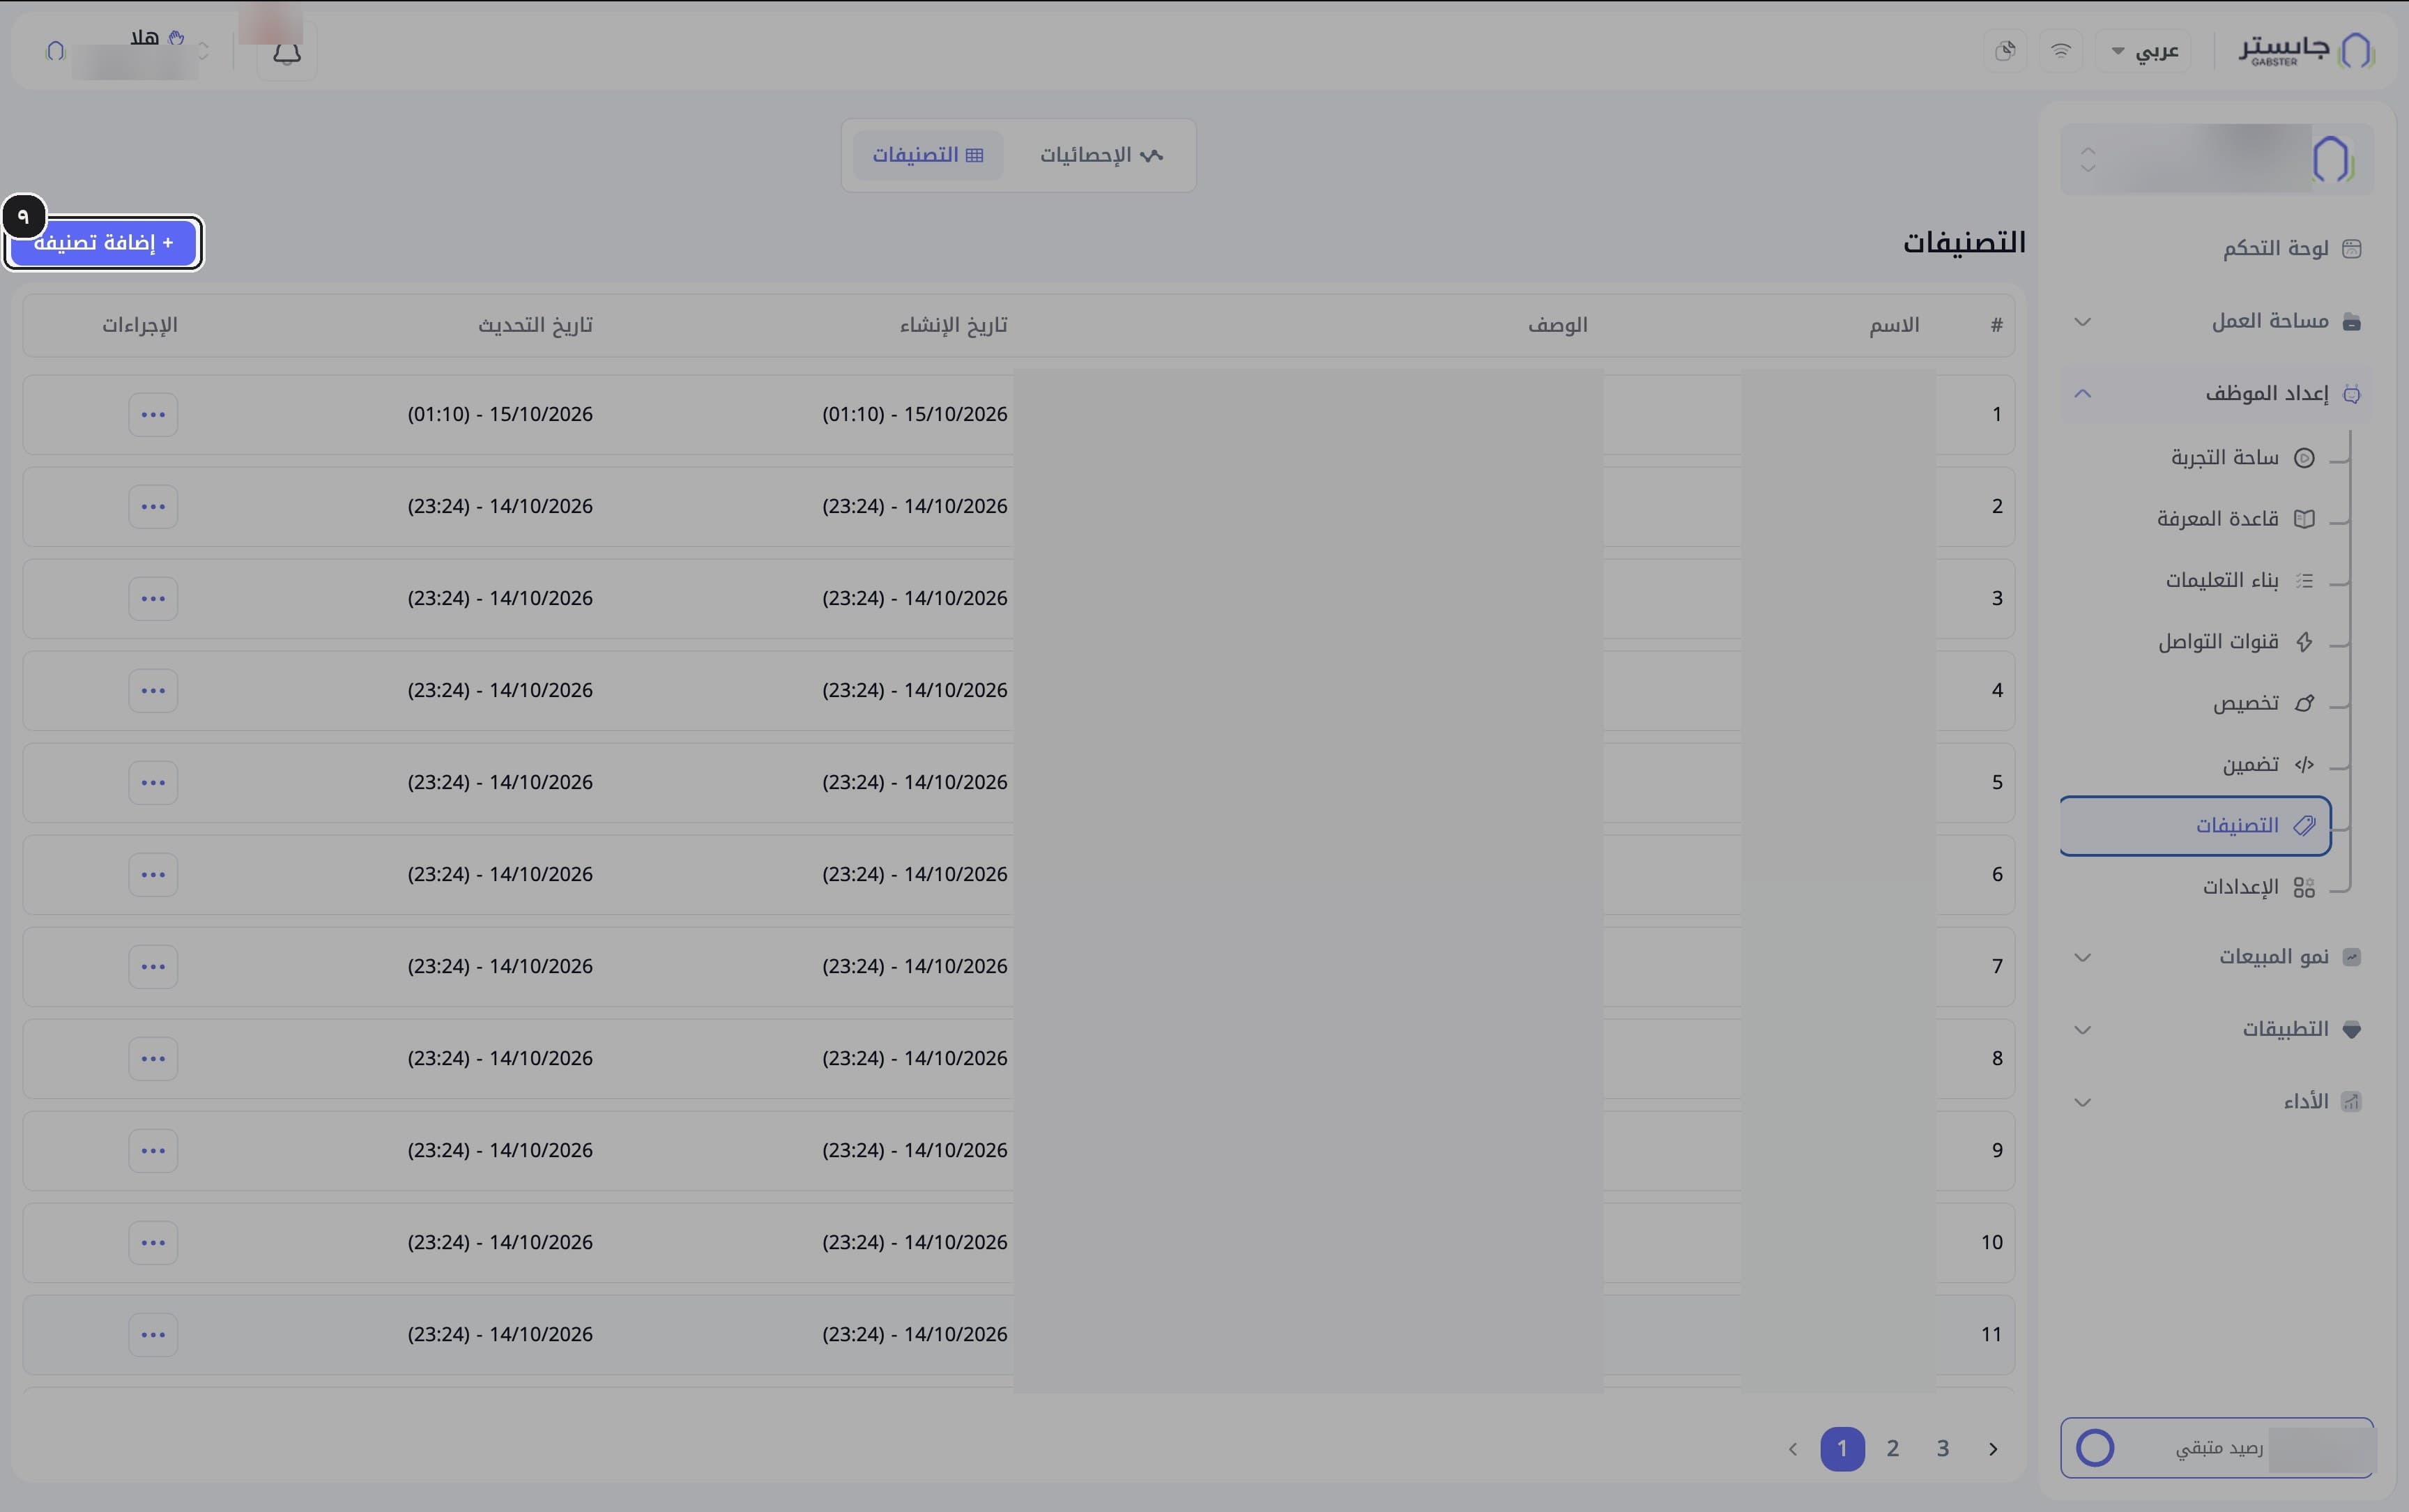
Add a tag
Click + Add tag (إضافة تصنيفة).
Result: the Create tag (إنشاء تصنيفة) dialog opens.
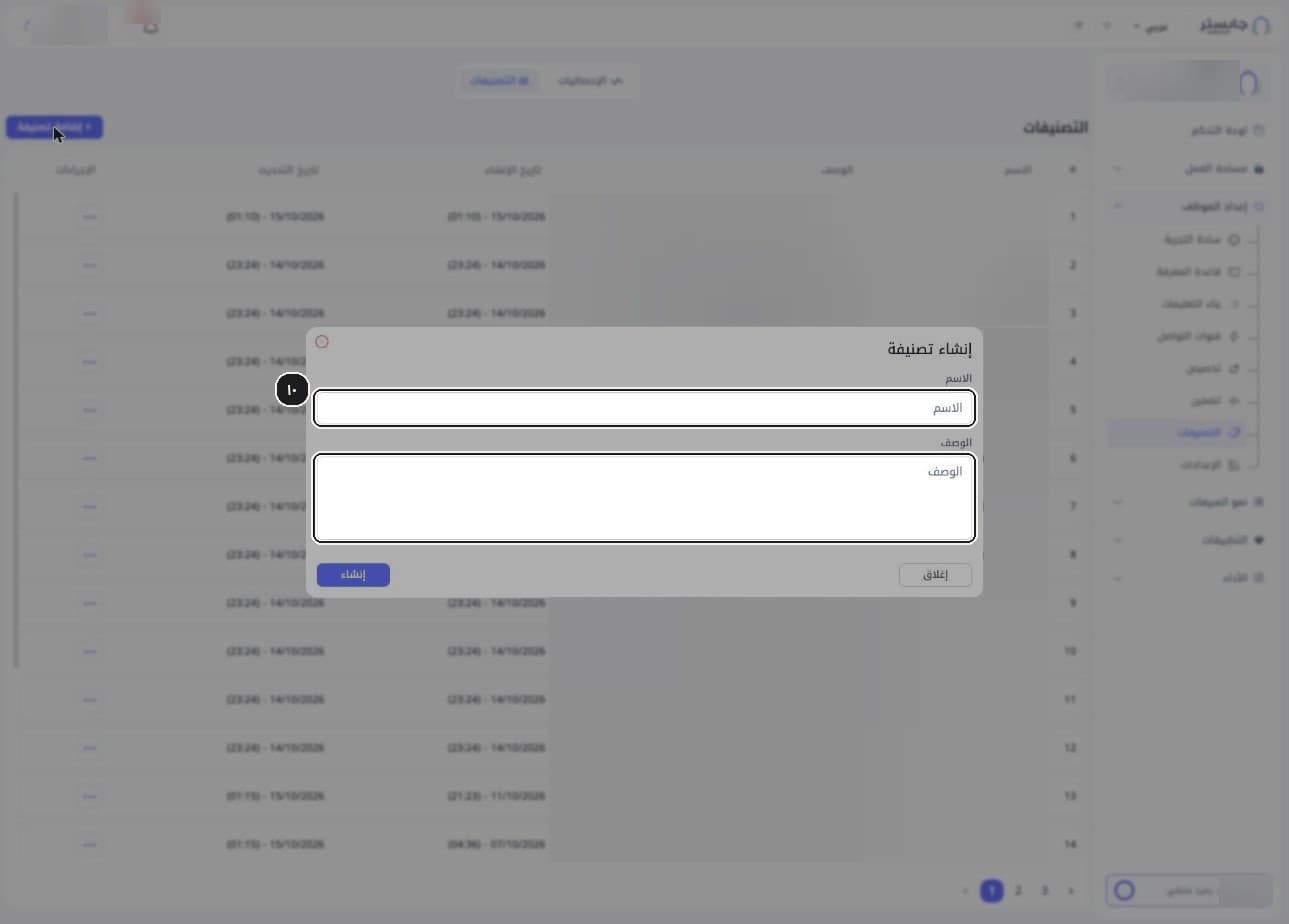
Enter the name and description
Enter the Name (الاسم), then describe in Description (الوصف) when this tag applies. The dialog has only these two fields.
Write the description clearly: when the tag should be used and when it should not. The description is the only guidance a tag carries.
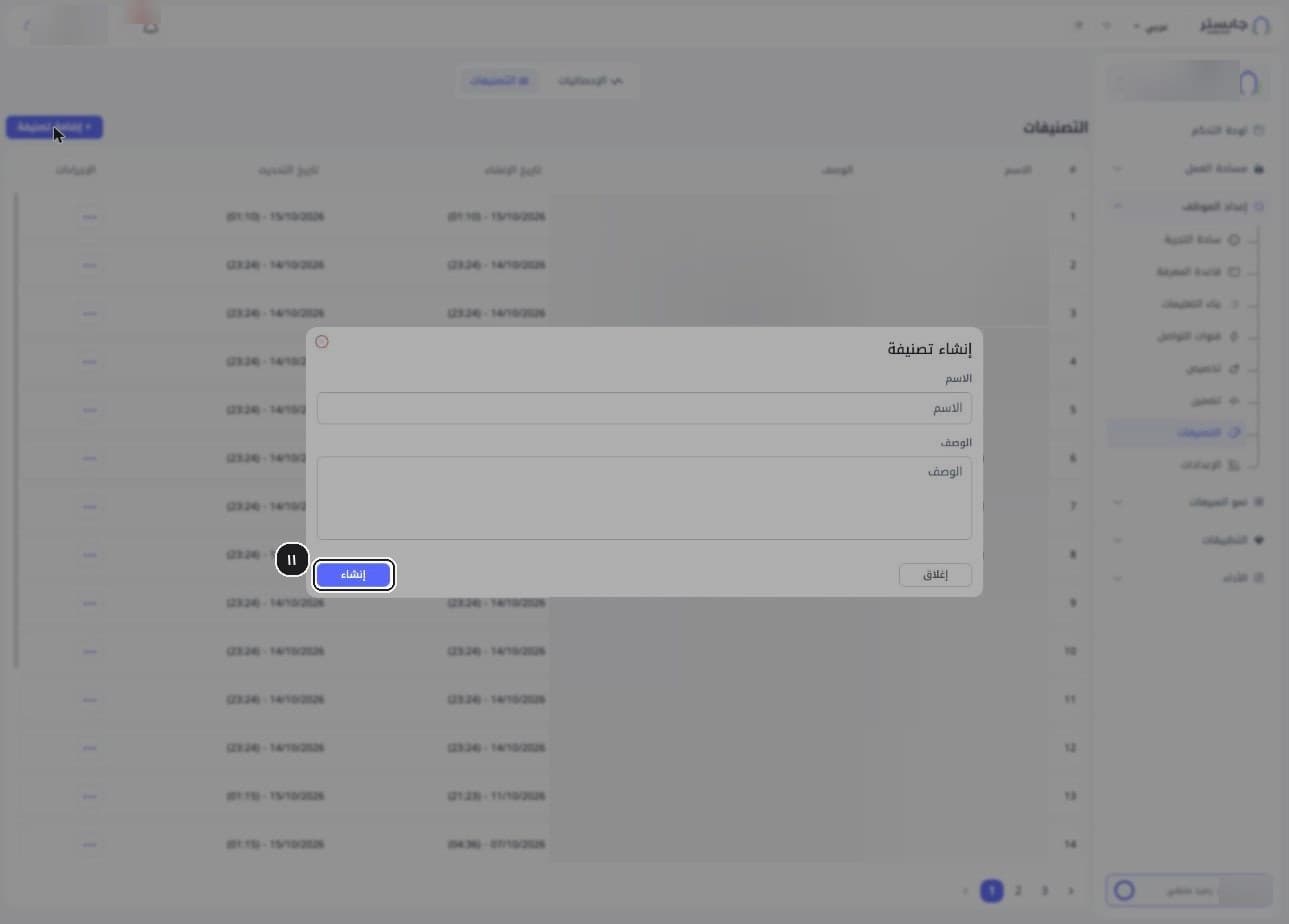
Create the tag
Click Create (إنشاء), or Close (إغلاق) to leave the dialog.
Edit or delete a tag
Open the row menu (⋯) and choose Edit (تعديل) or Delete (حذف).
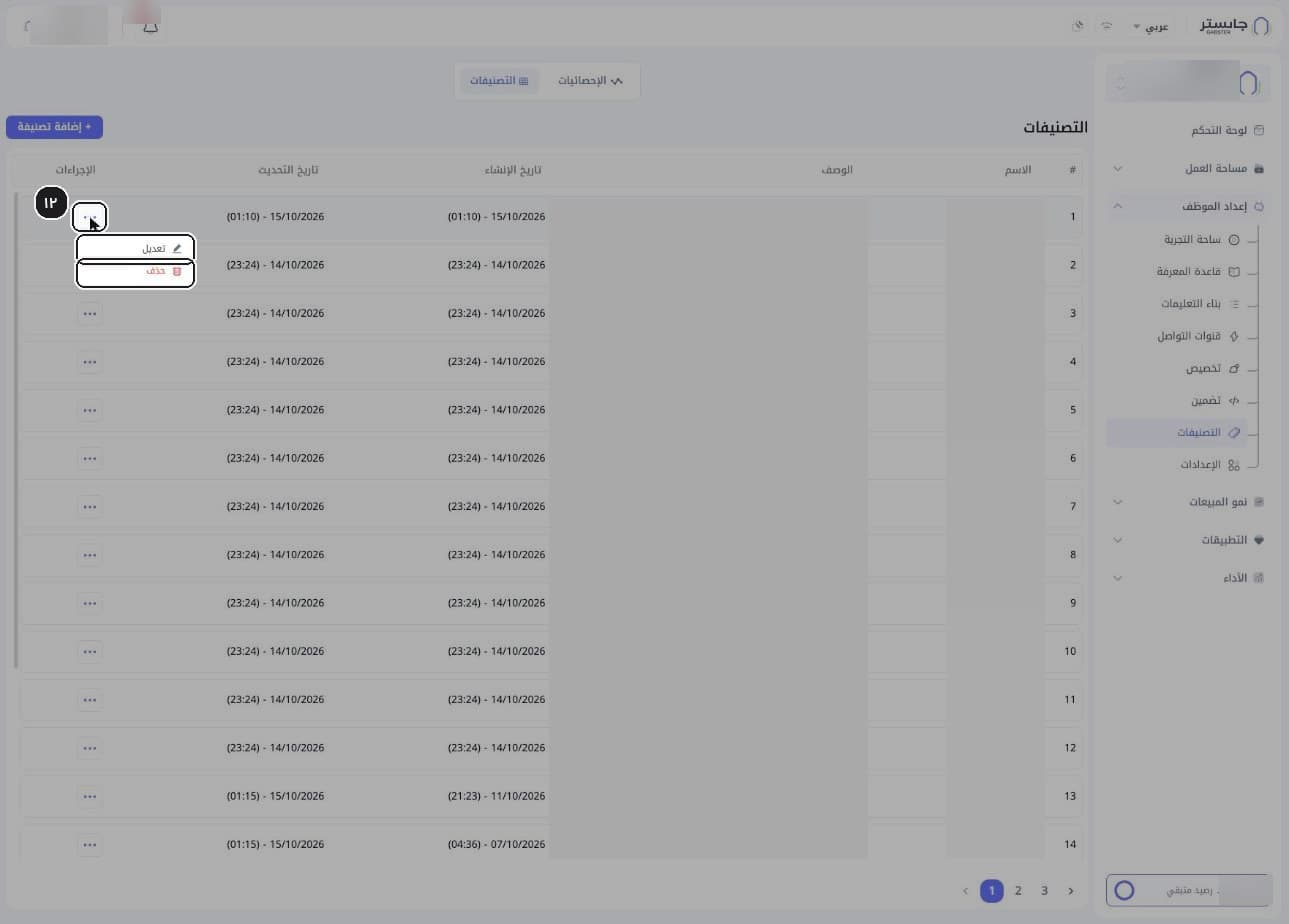
Browse the pages
Use the page numbers below the table to move between pages of the list.