
Tutorials
Add, import and export your customers
Add a single customer, import up to 5,000 customers from a file, and export a filtered customer list.
In this tutorial you add one customer with the form, import a group of customers from a CSV or Excel file, and export a customer list after setting filters. The customers you add here are the same ones you pick as recipients in WhatsApp campaigns.
Before you start
- An account that can open Sales Growth (نمو المبيعات) → Customers (العملاء).
- For import: a CSV or Excel (.xlsx) file, or download the ready-made template from the same window.
A. Add one customer
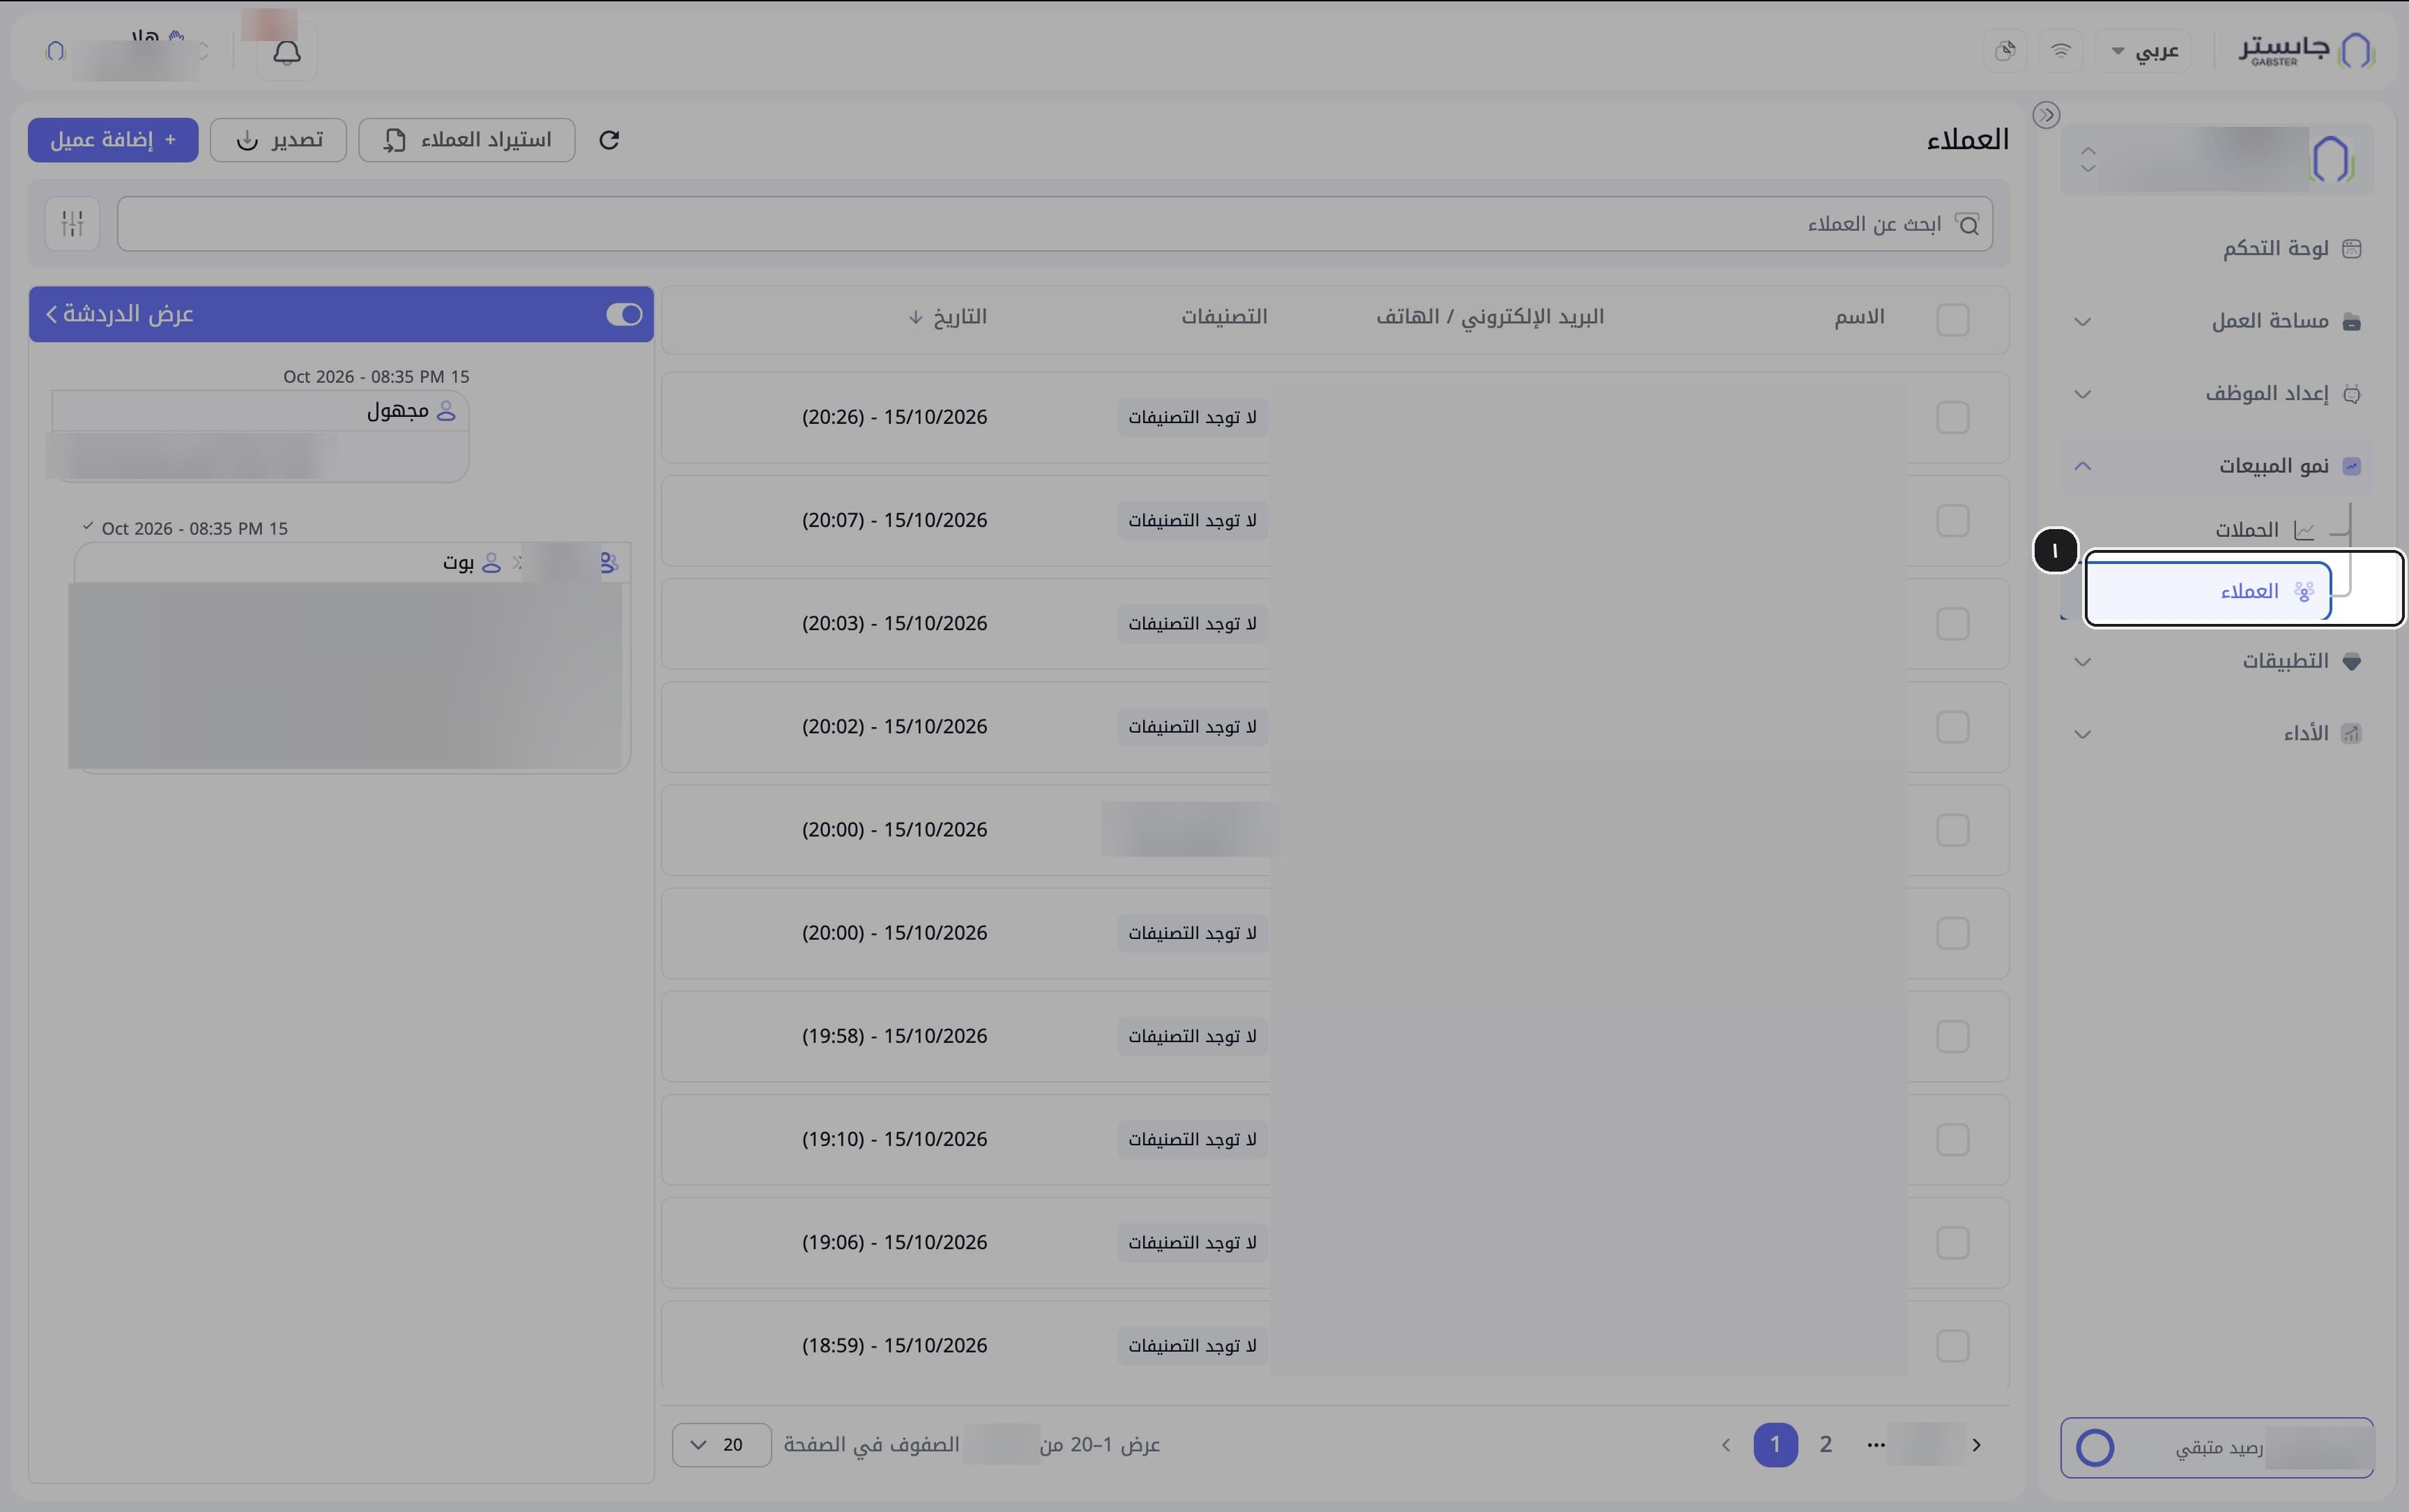
In the sidebar, open Sales Growth (نمو المبيعات) and choose Customers (العملاء).
The customer list opens, newest first.
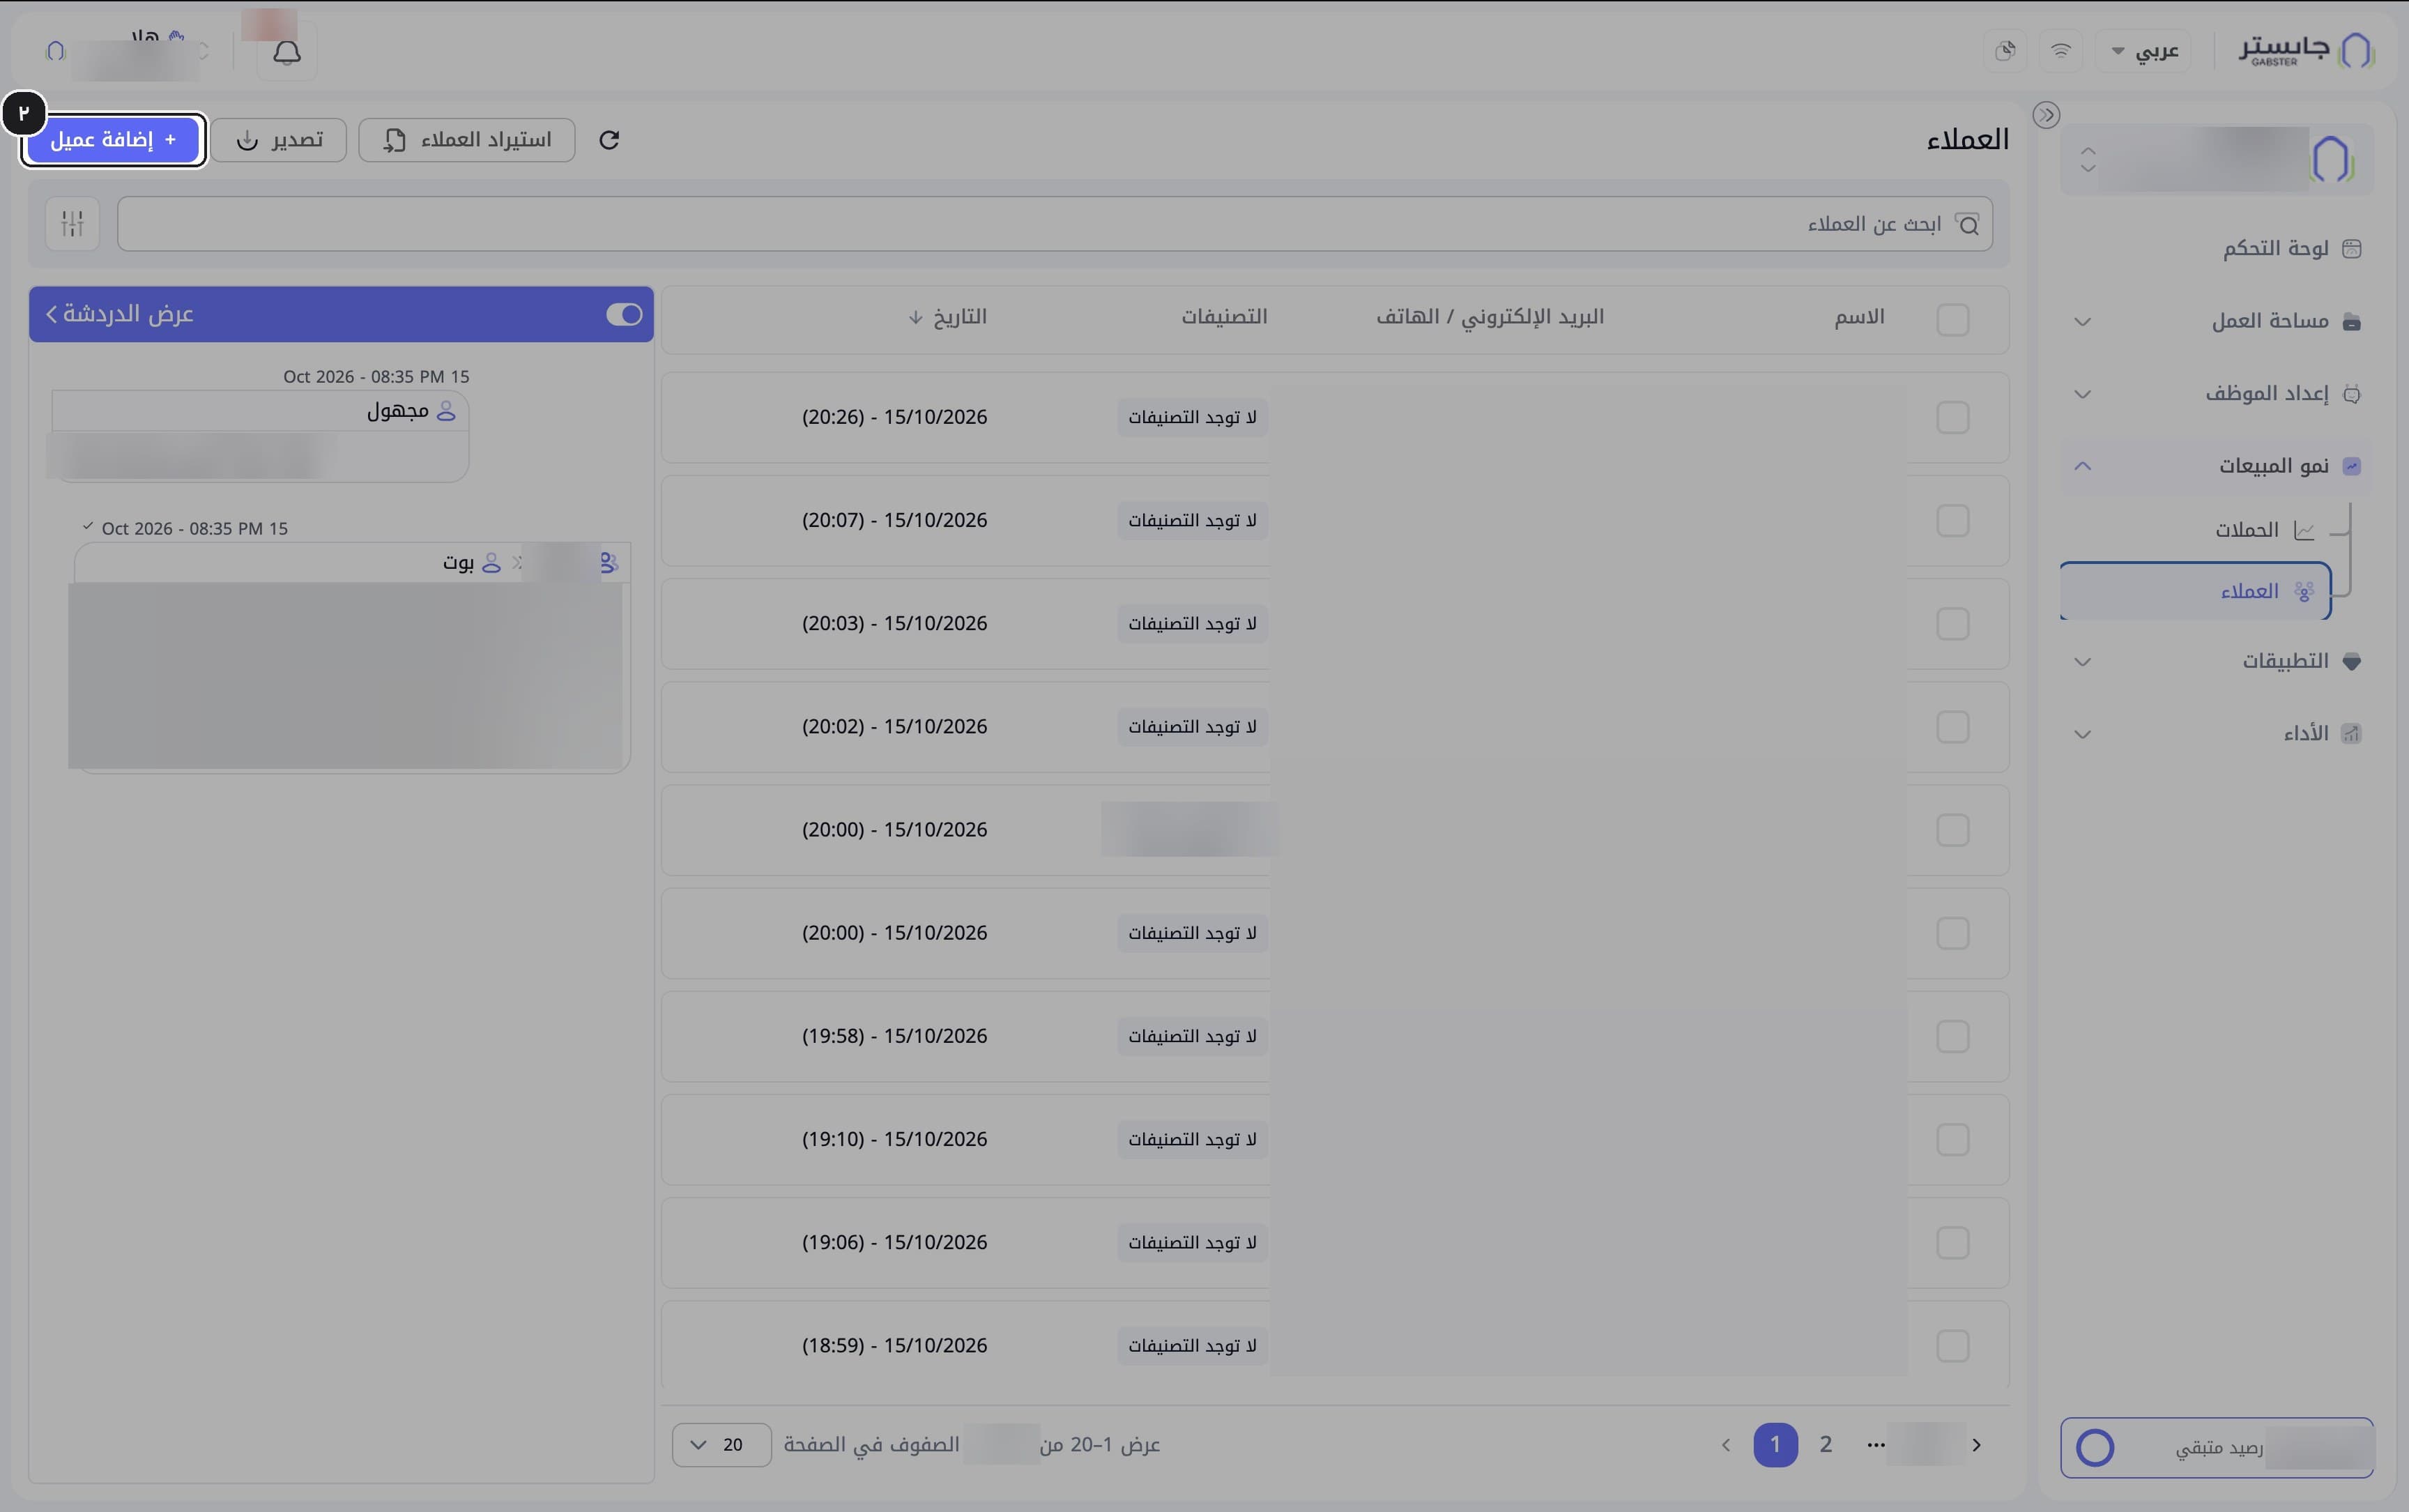
Click Add customer (إضافة عميل).
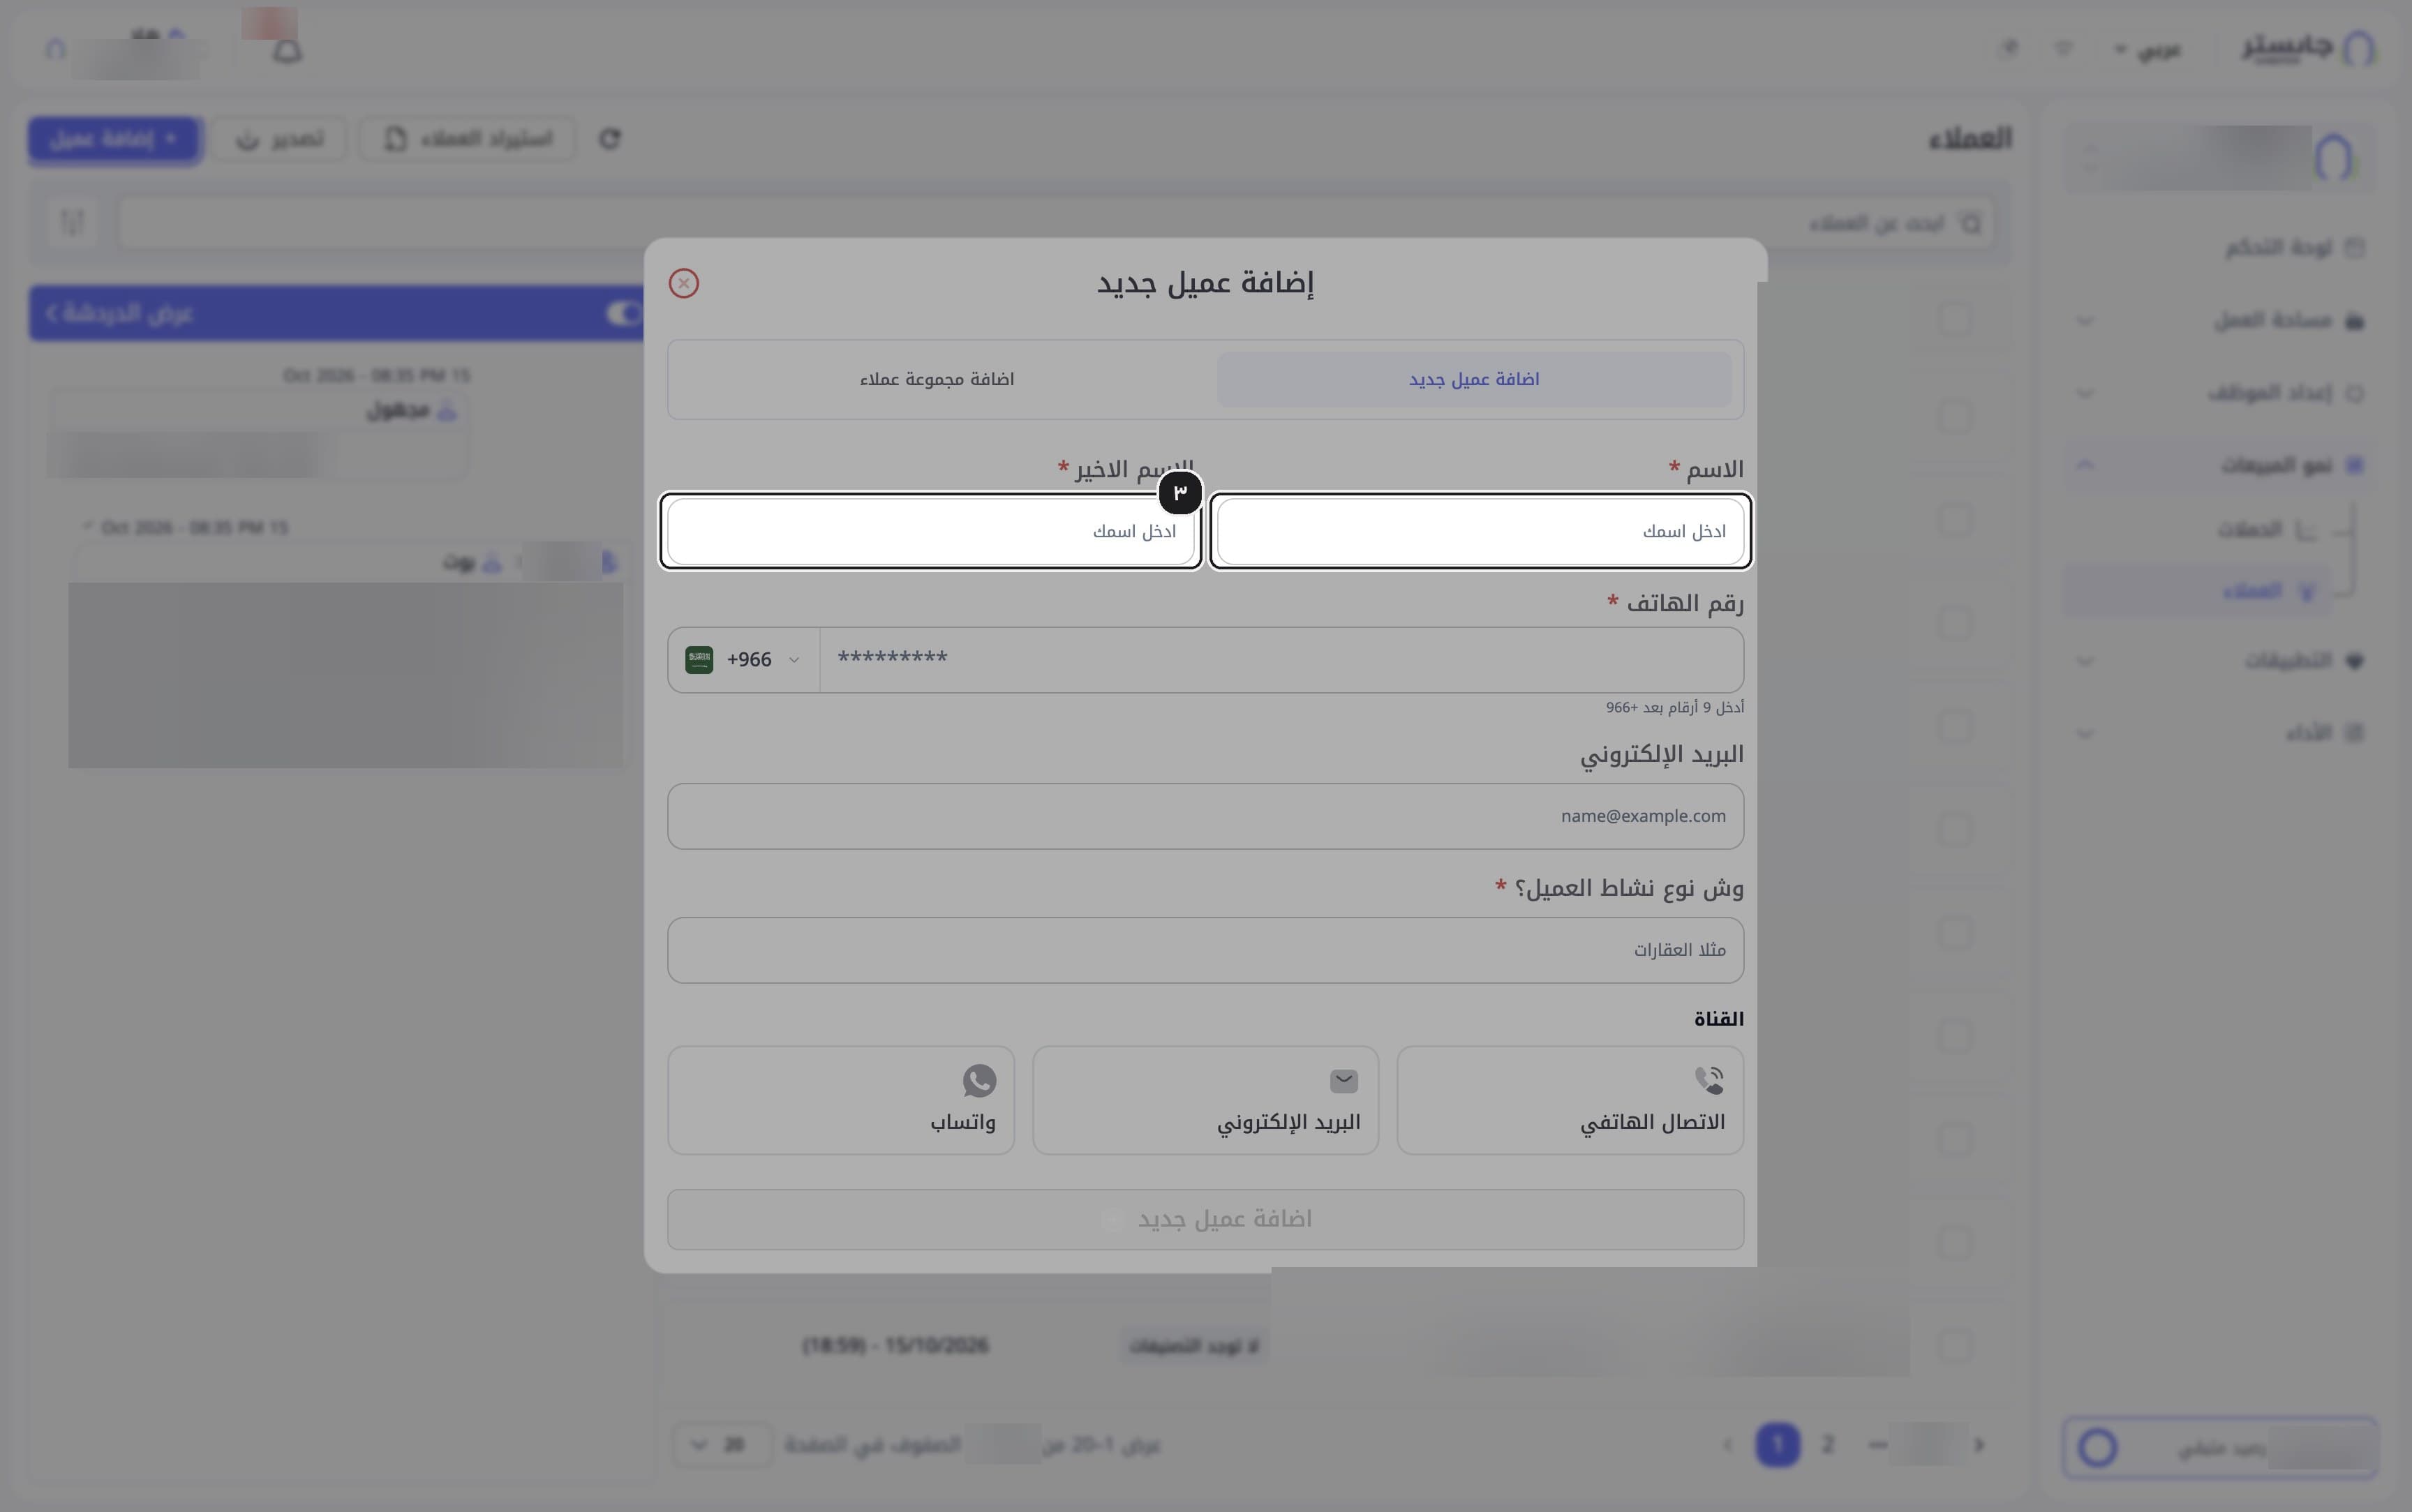
The Add new customer (إضافة عميل جديد) window opens on the Add a new customer (اضافة عميل جديد) tab.
Enter the First name (الاسم) and Last name (الاسم الاخير). Both are required.
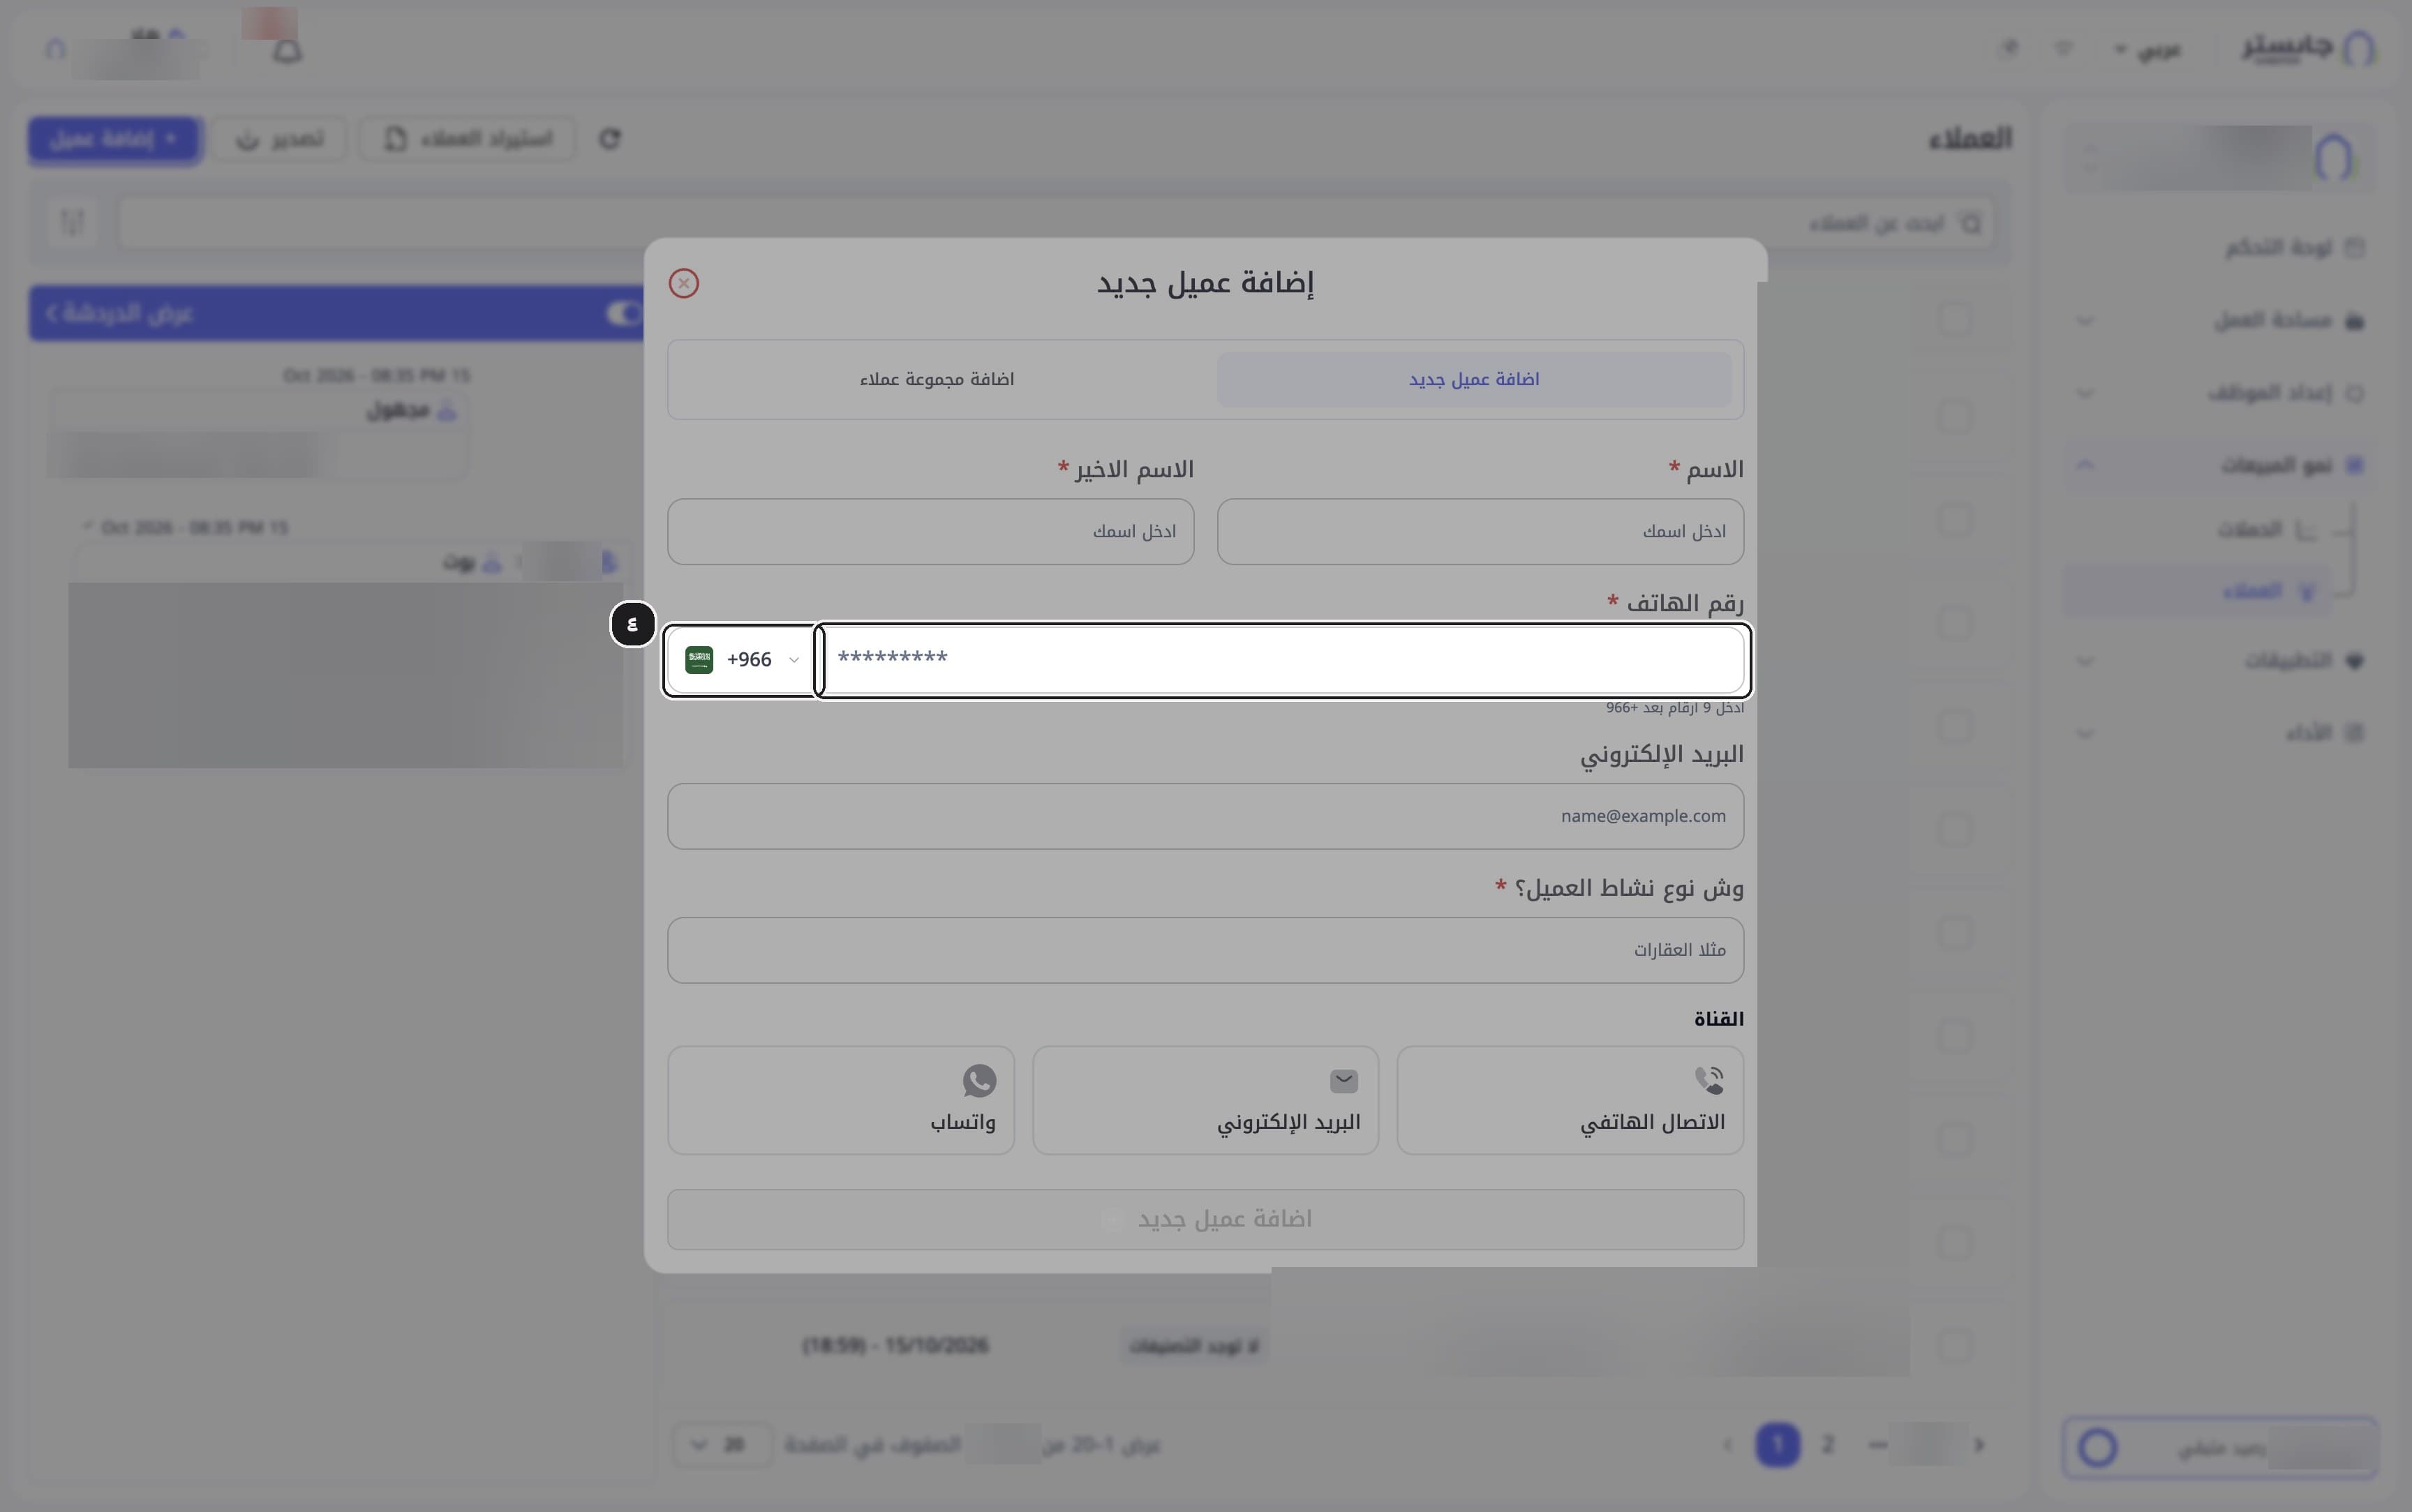
Pick the country code and enter the Phone number (رقم الهاتف). The default code is +966, and the hint under the field asks for 9 digits after +966.
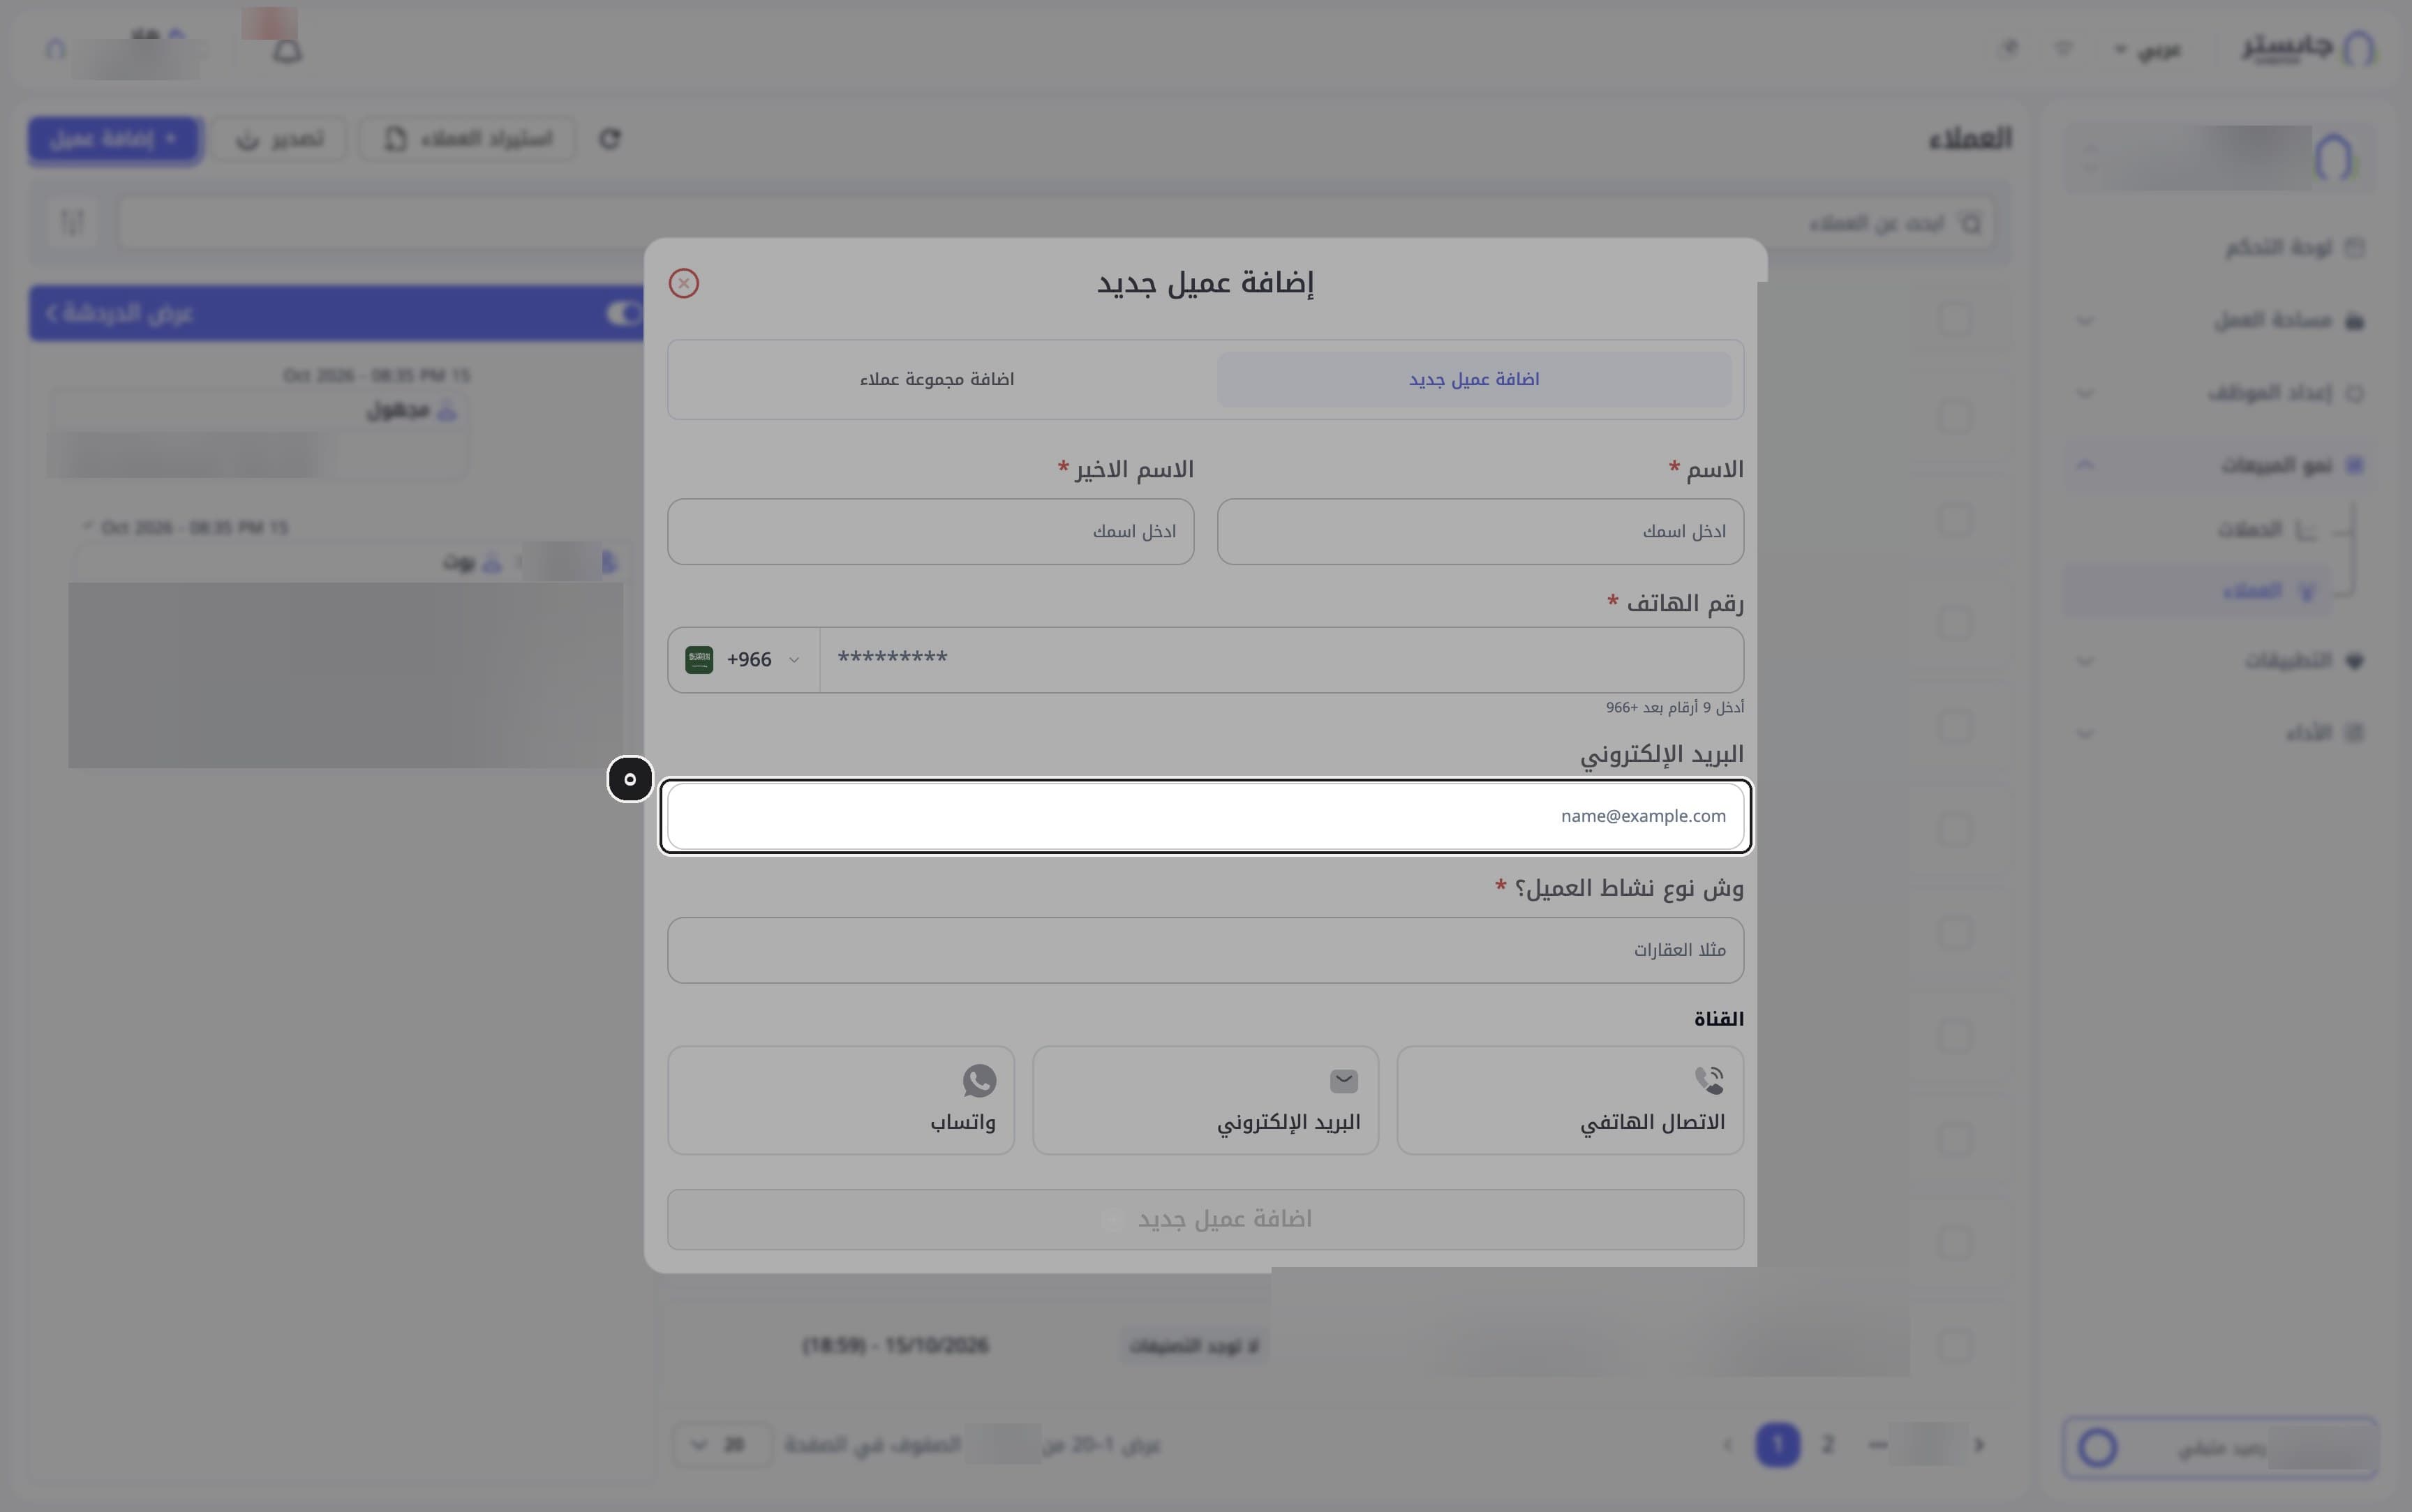
Optionally enter the Email (البريد الإلكتروني).
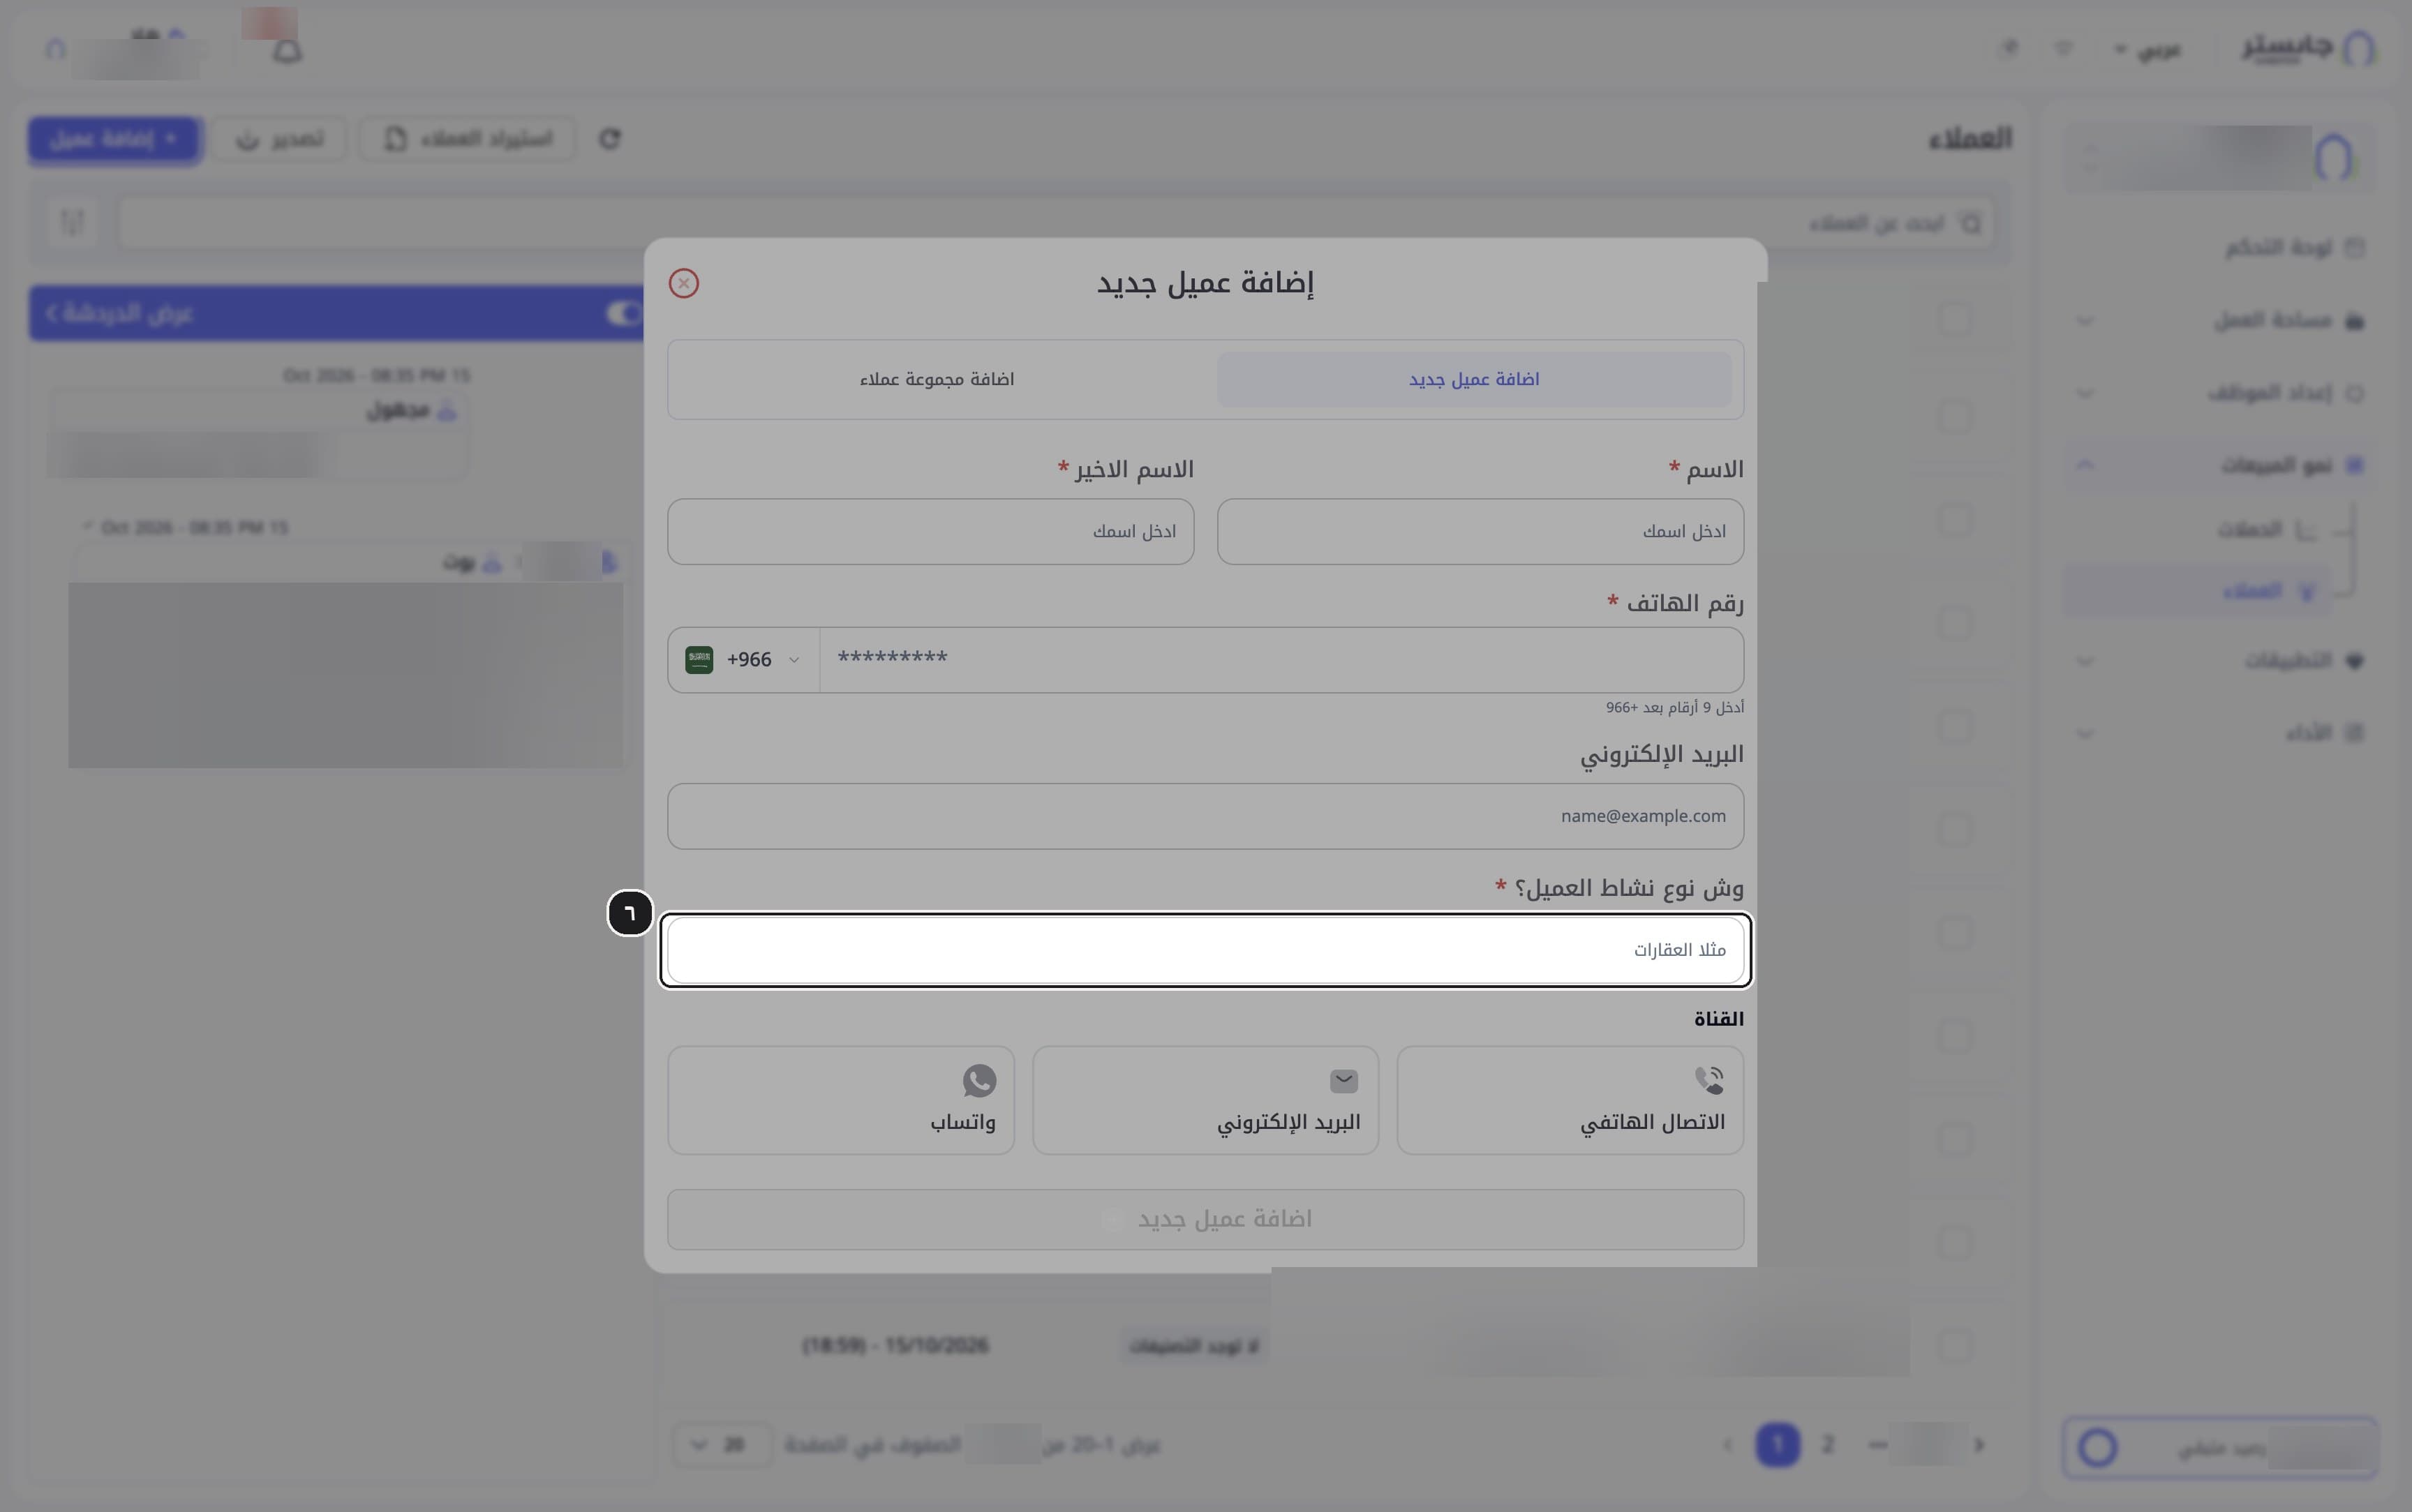
Type the customer's business type in What is the customer's business type? (وش نوع نشاط العميل؟). It is required — for example, "real estate".
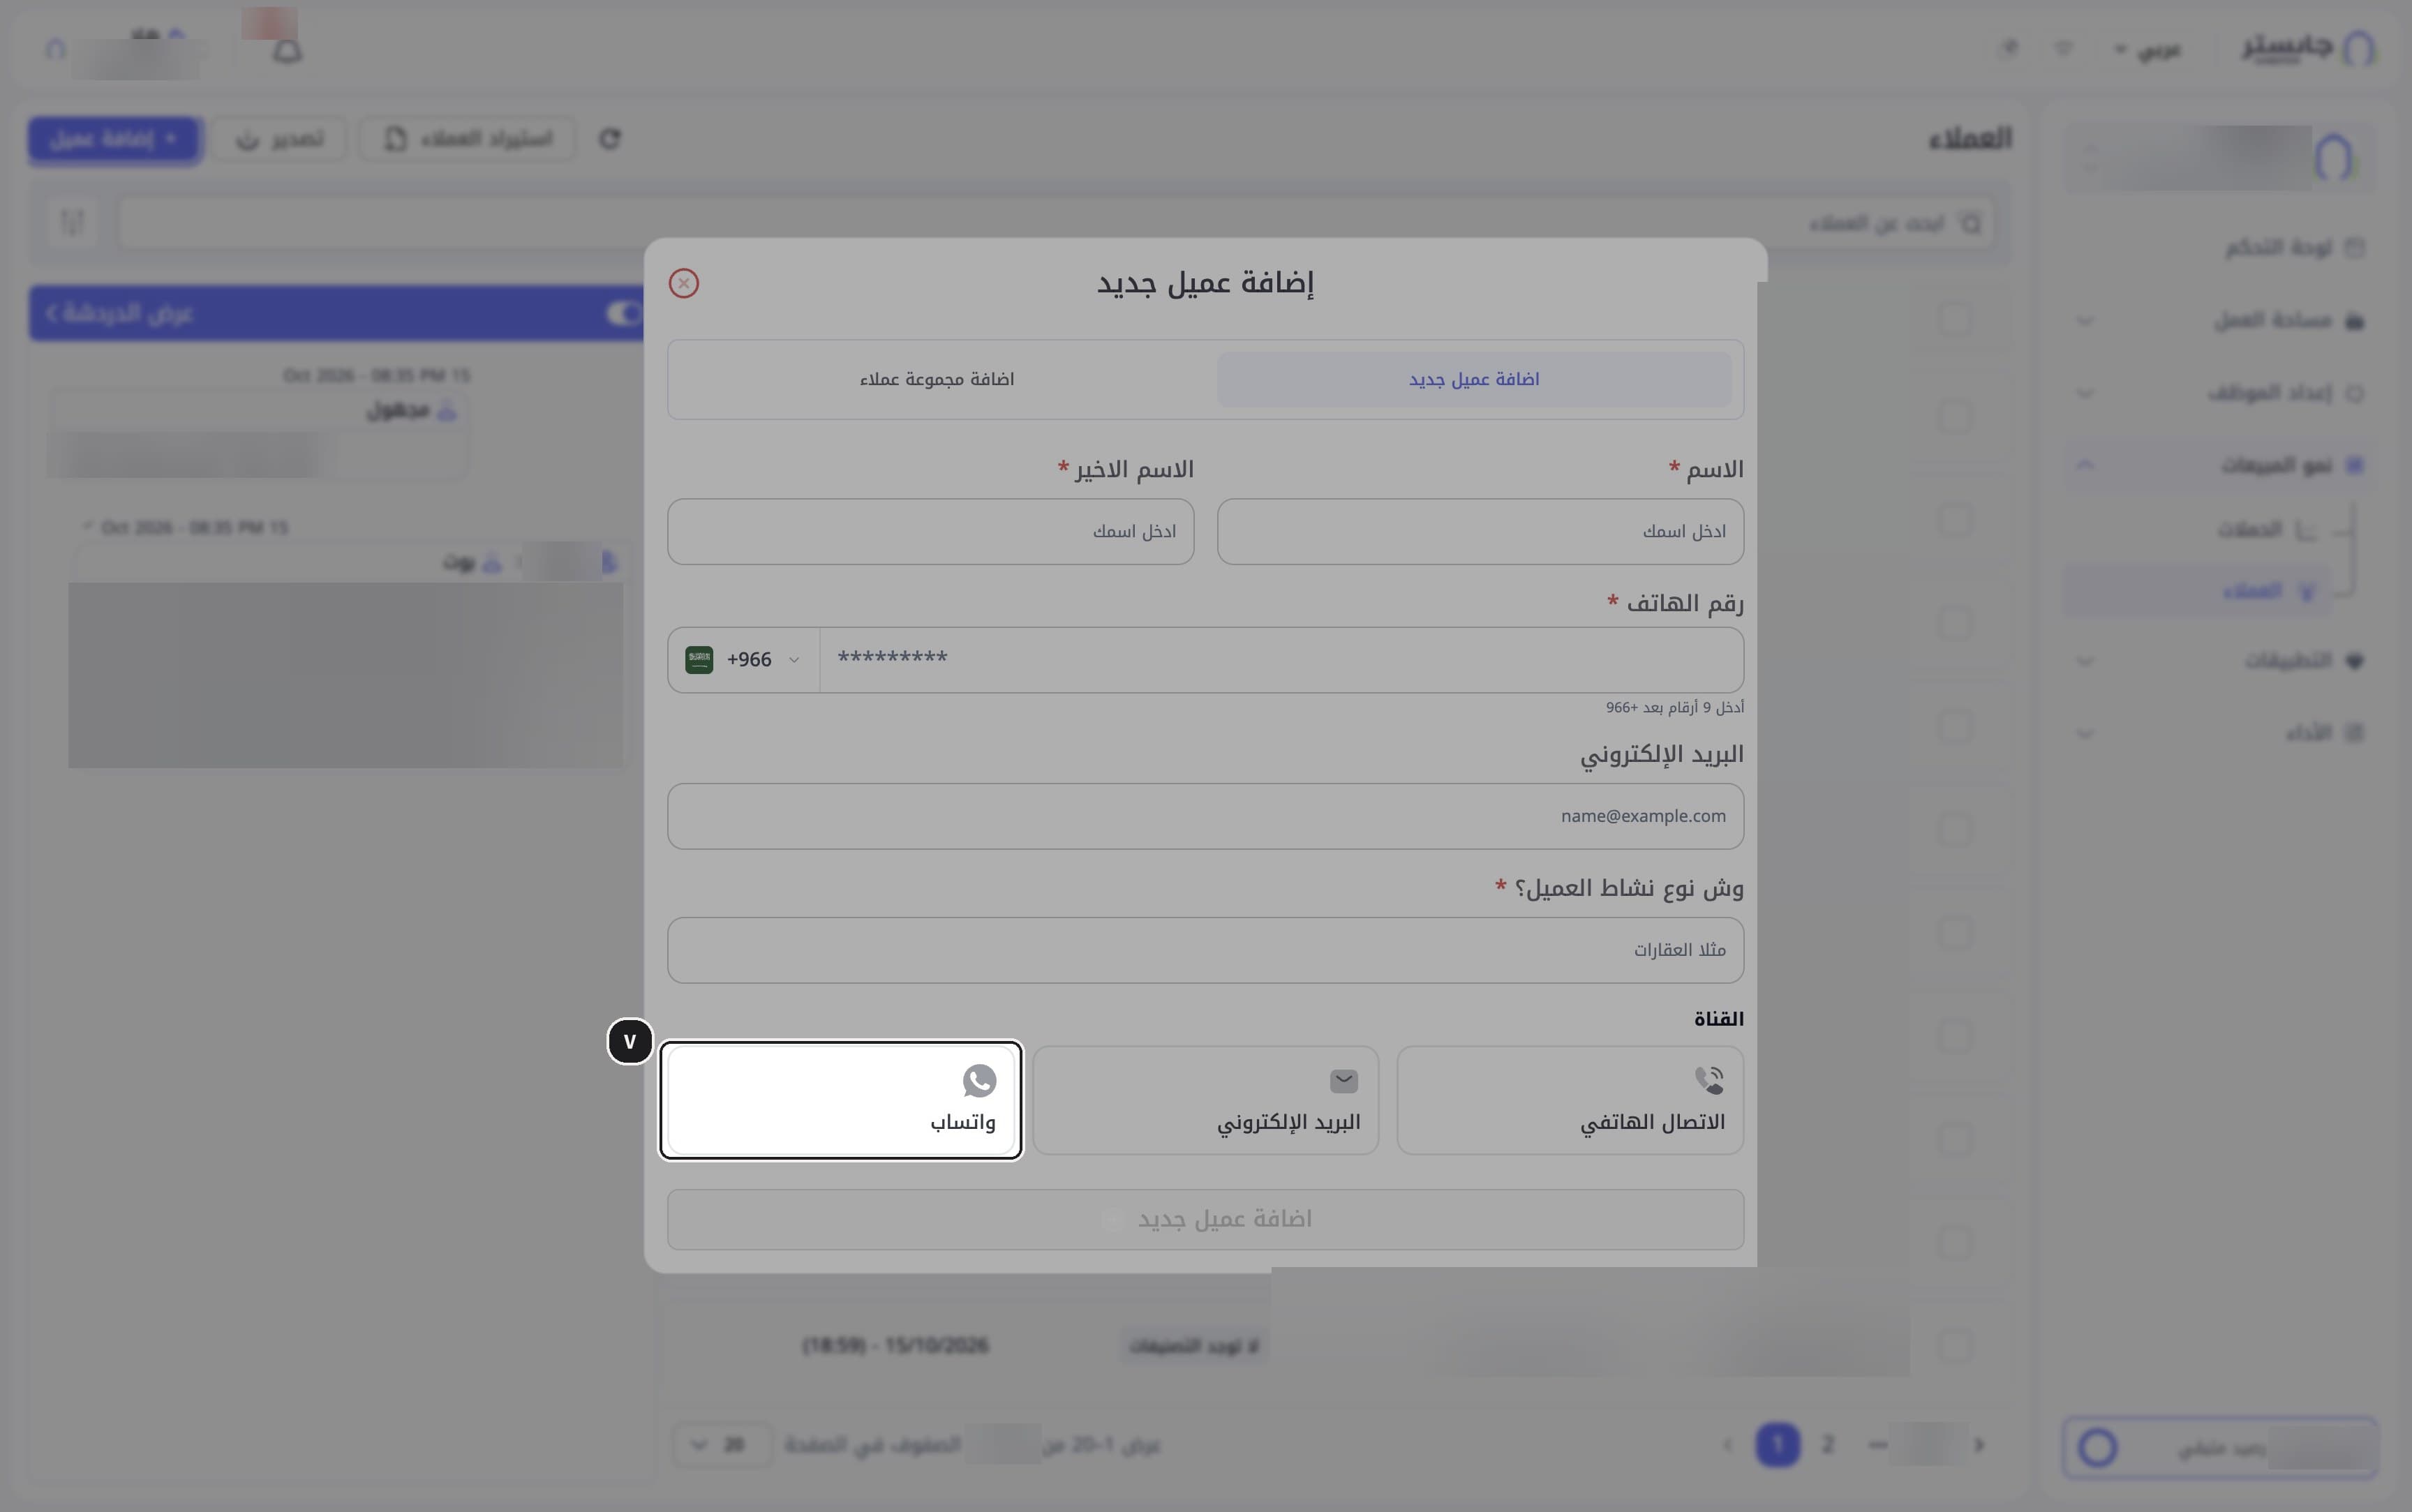
Under Channel (القناة), choose a card: Phone call (الاتصال الهاتفي), Email (البريد الإلكتروني) or WhatsApp (واتساب).
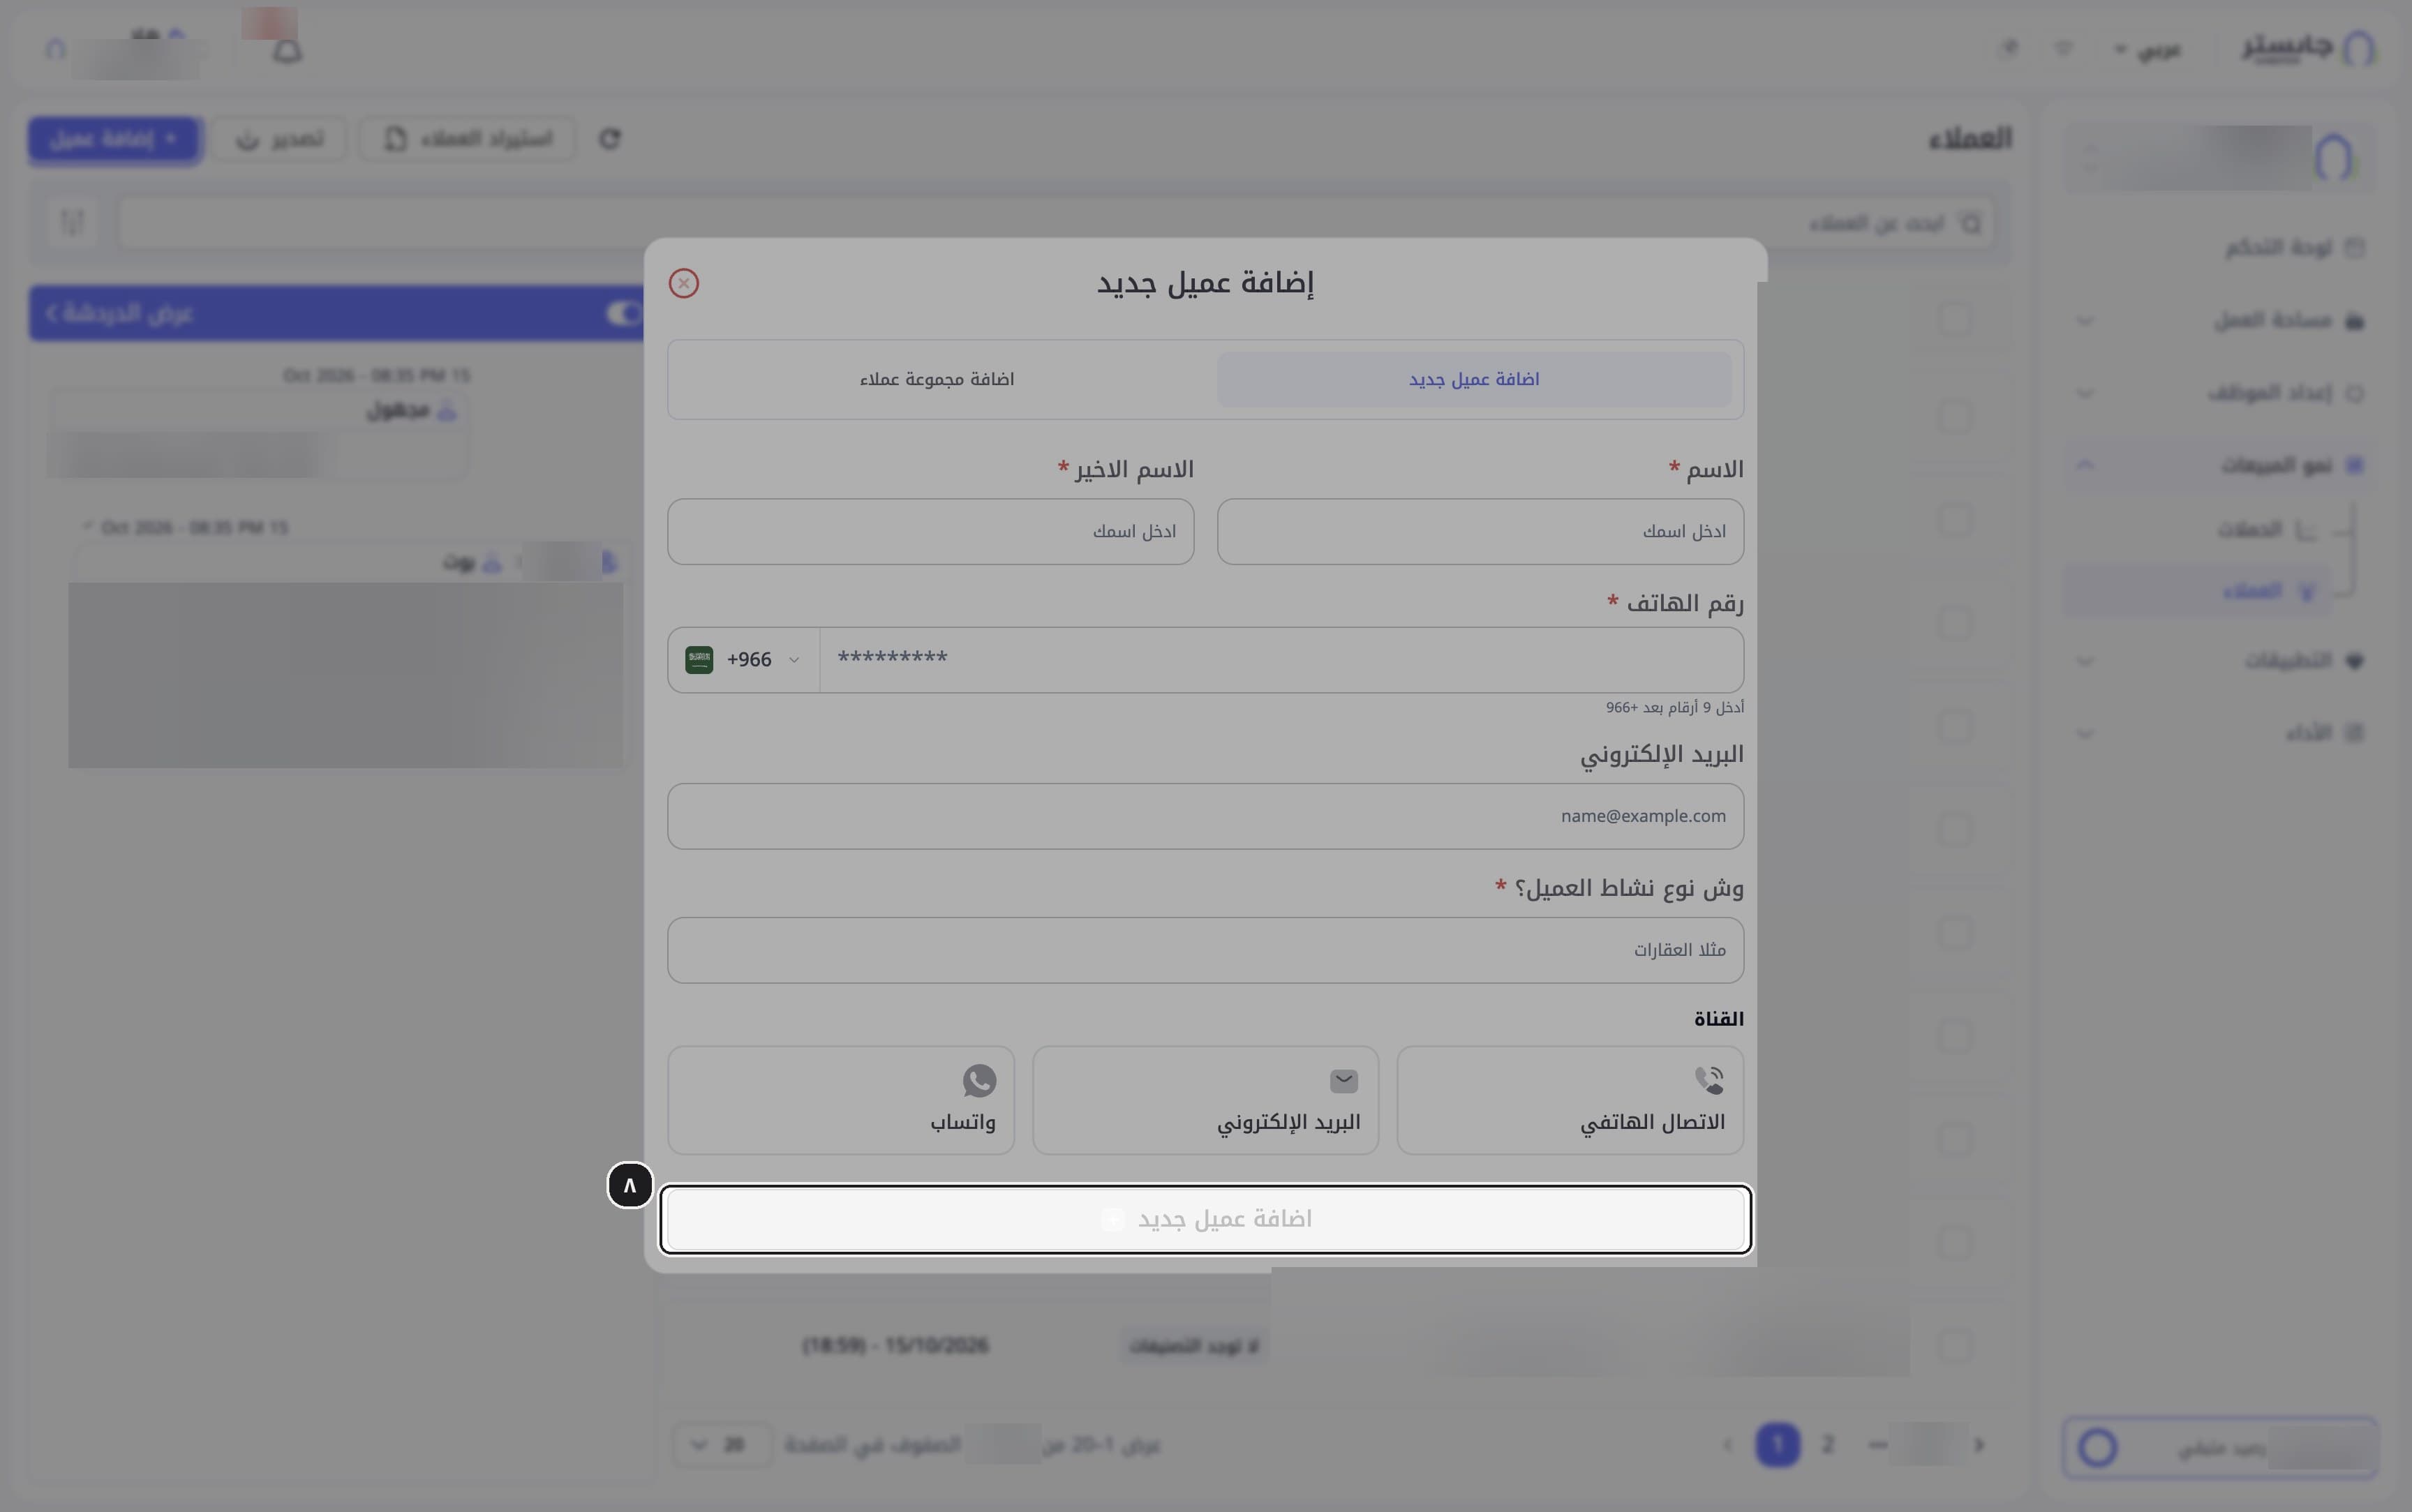
Click Add new customer (اضافة عميل جديد) at the bottom of the window. The button stays disabled while the form is empty.
B. Import a group of customers
On the Customers page, click Import customers (استيراد العملاء).
The same window opens on the Add a group of customers (اضافة مجموعة عملاء) tab.
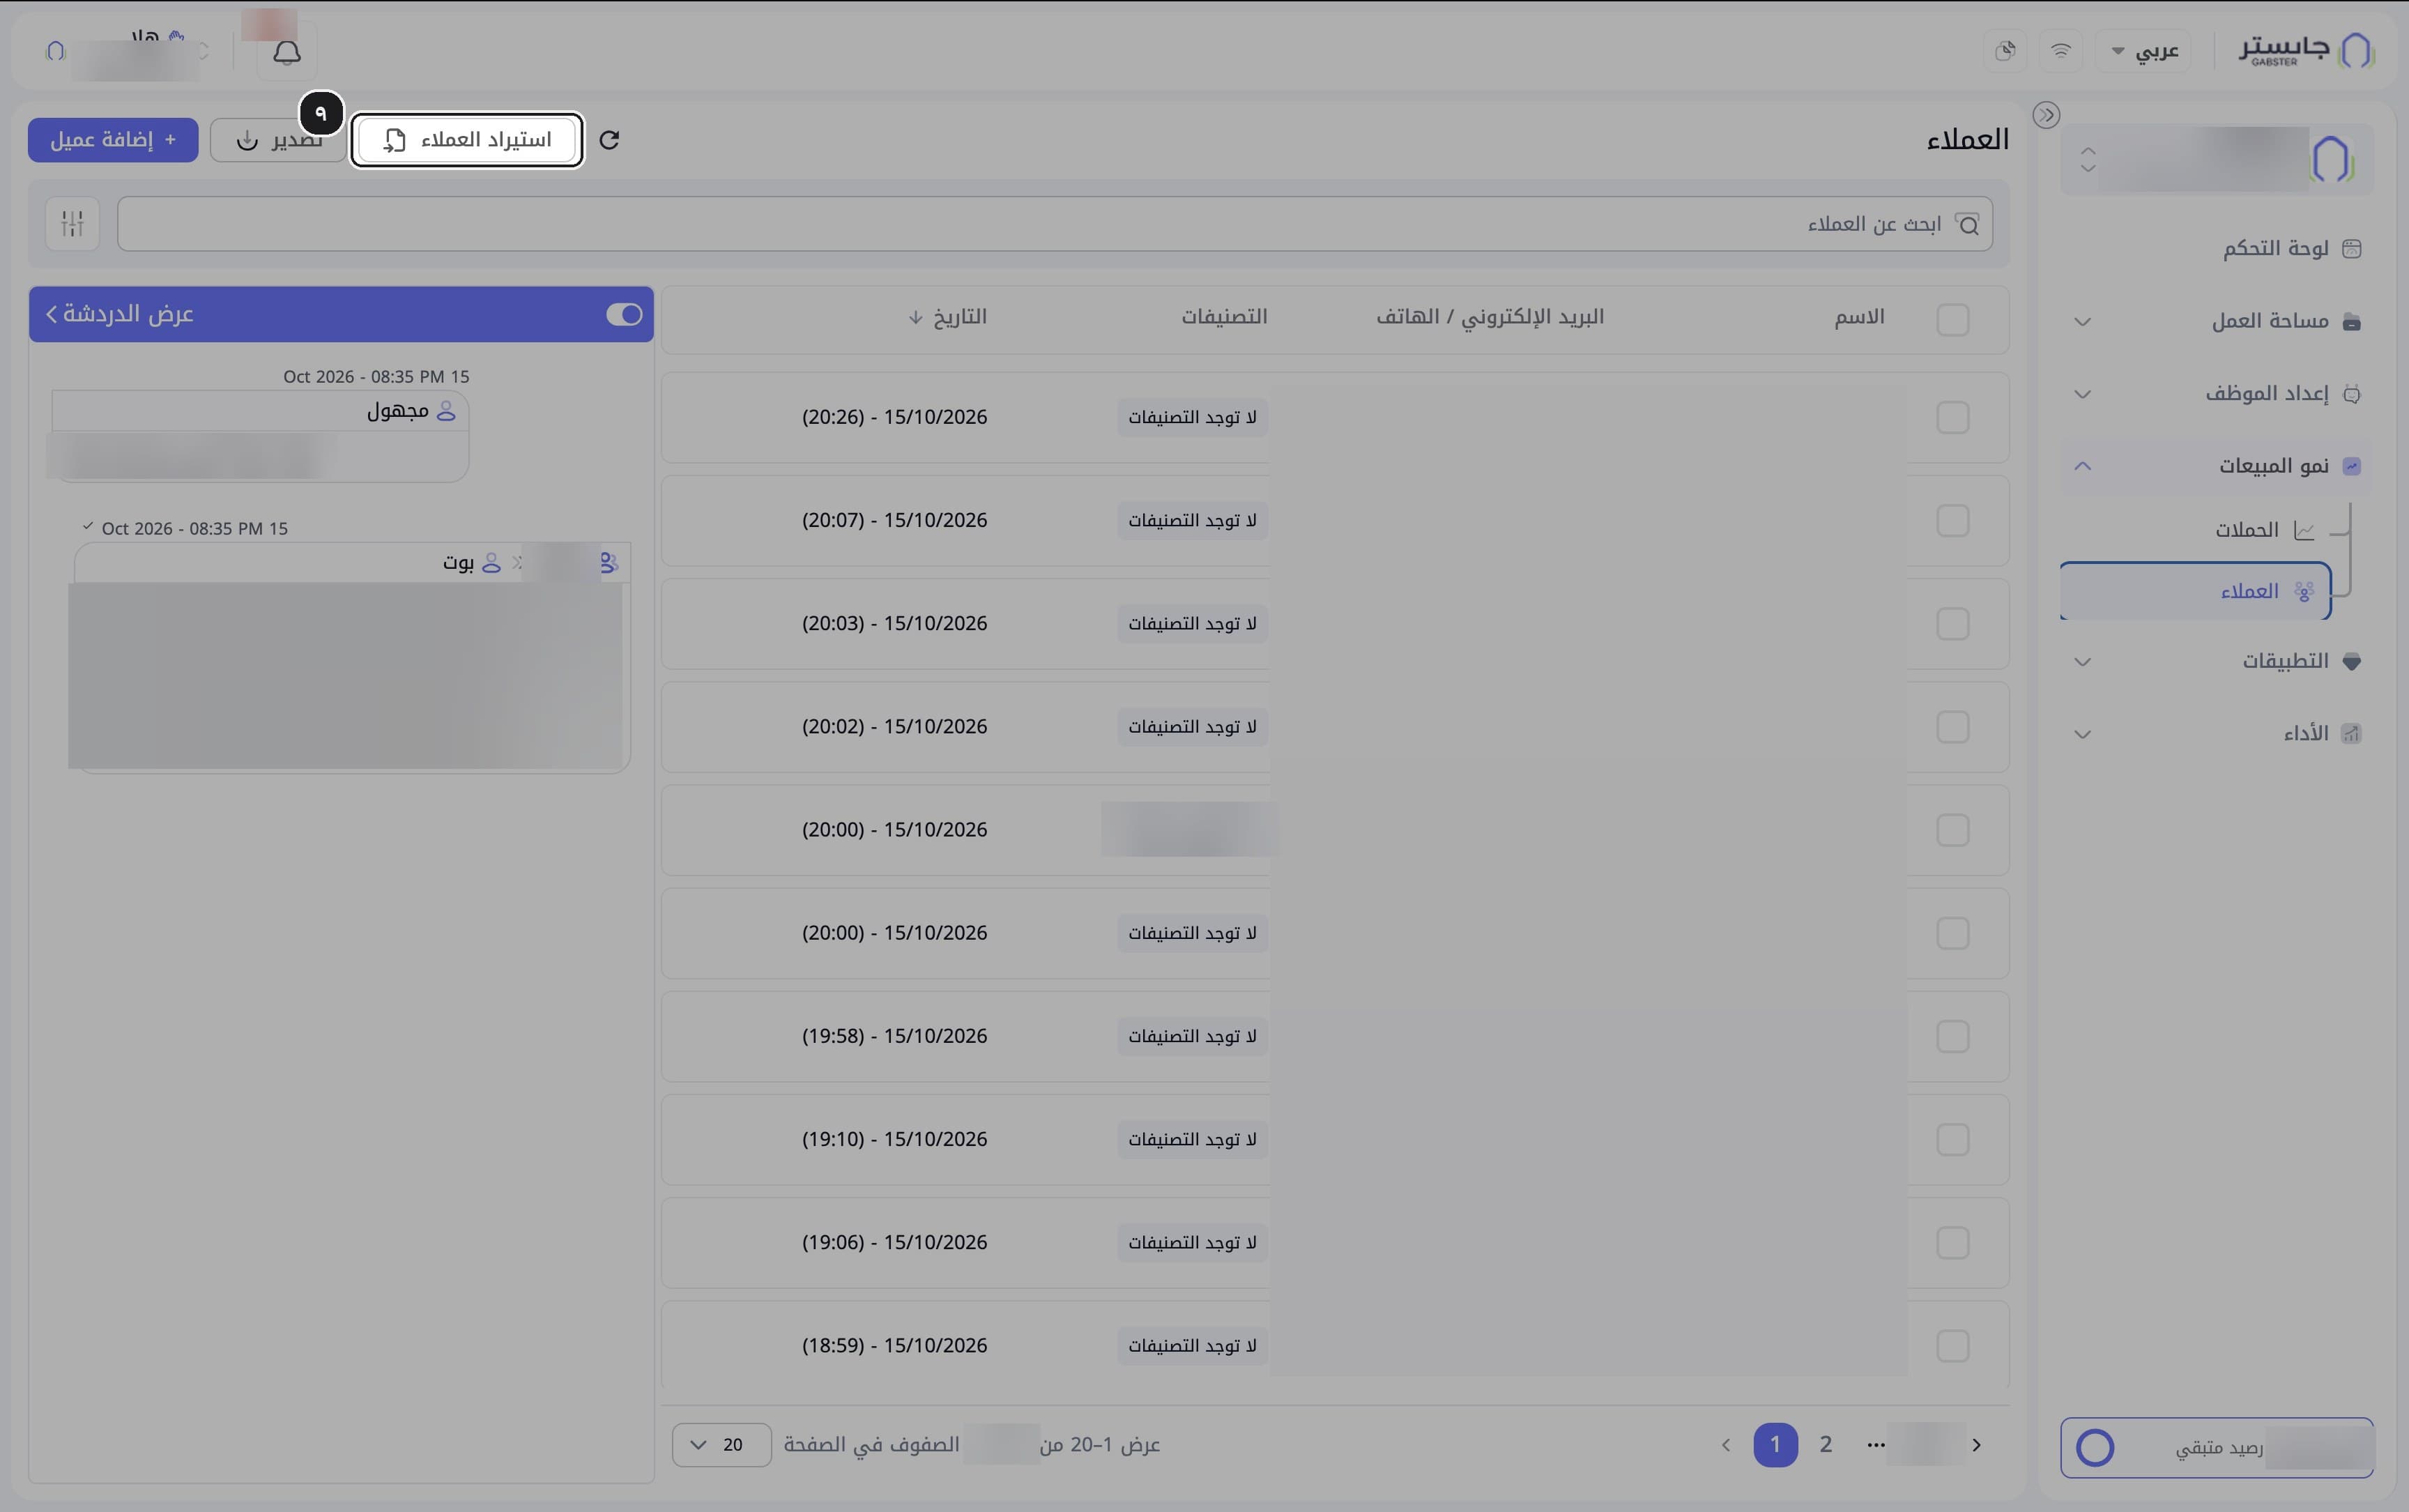
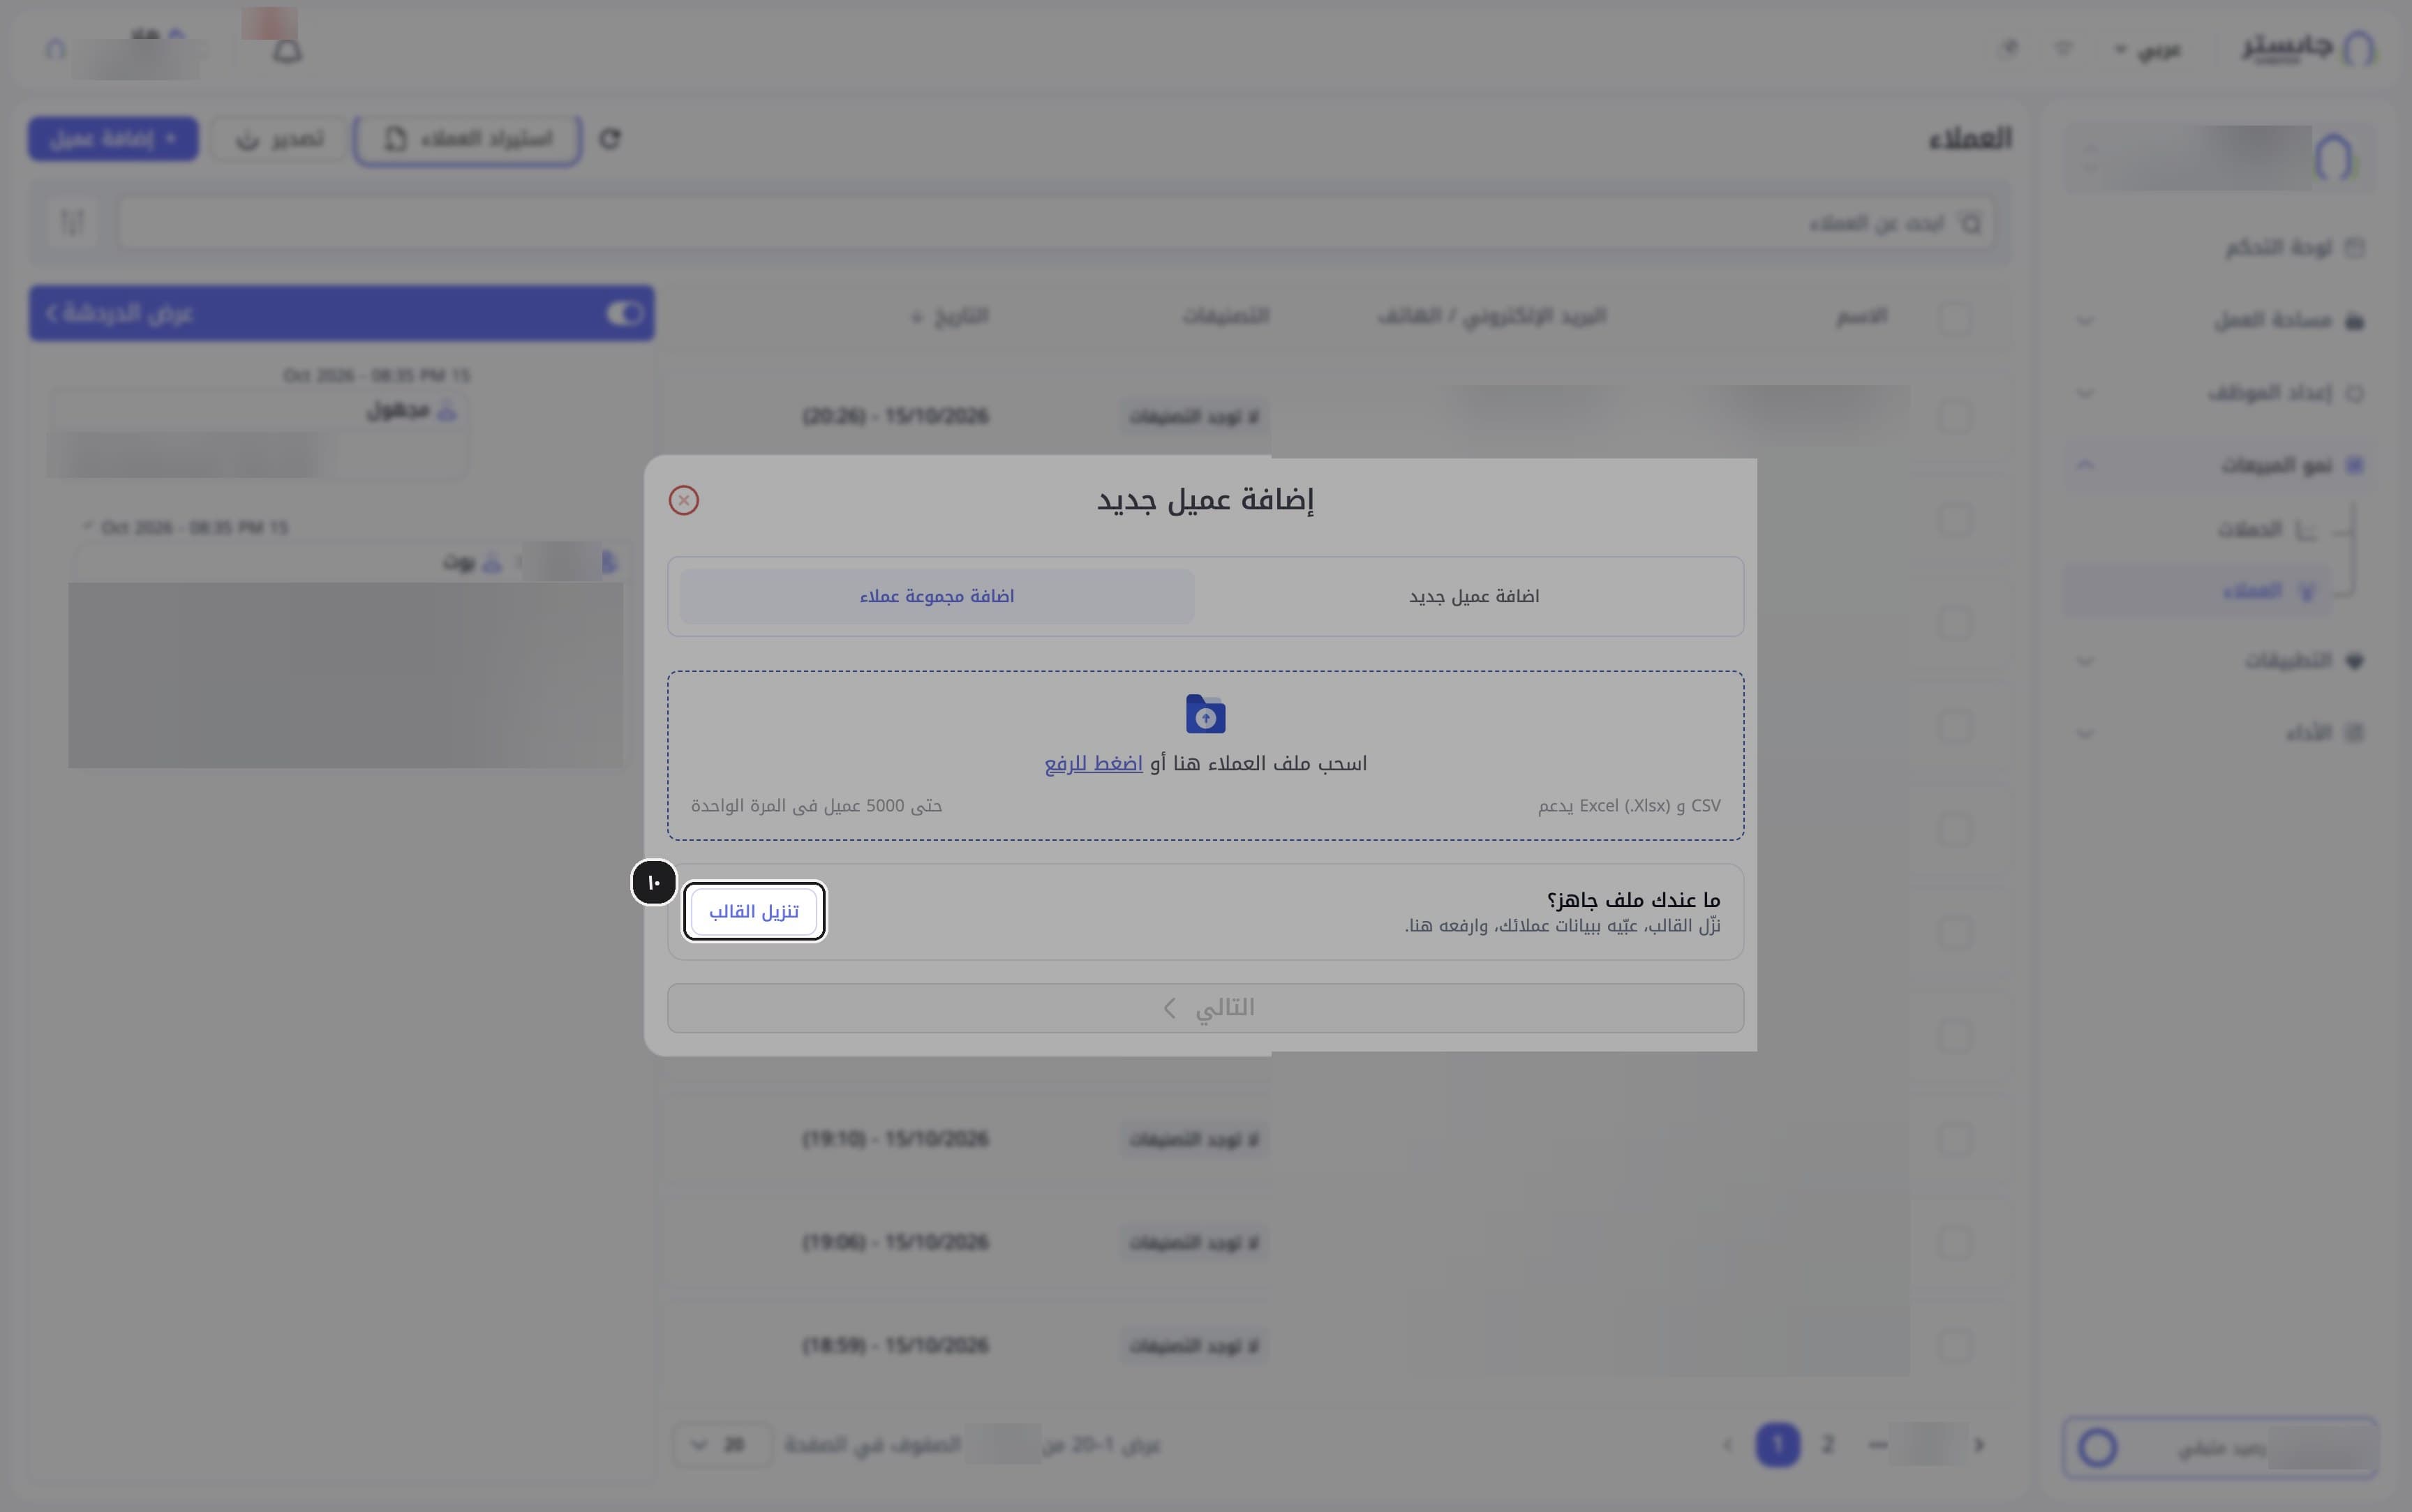
No file ready? Click Download import template (تنزيل القالب) and fill it with your customers' data.
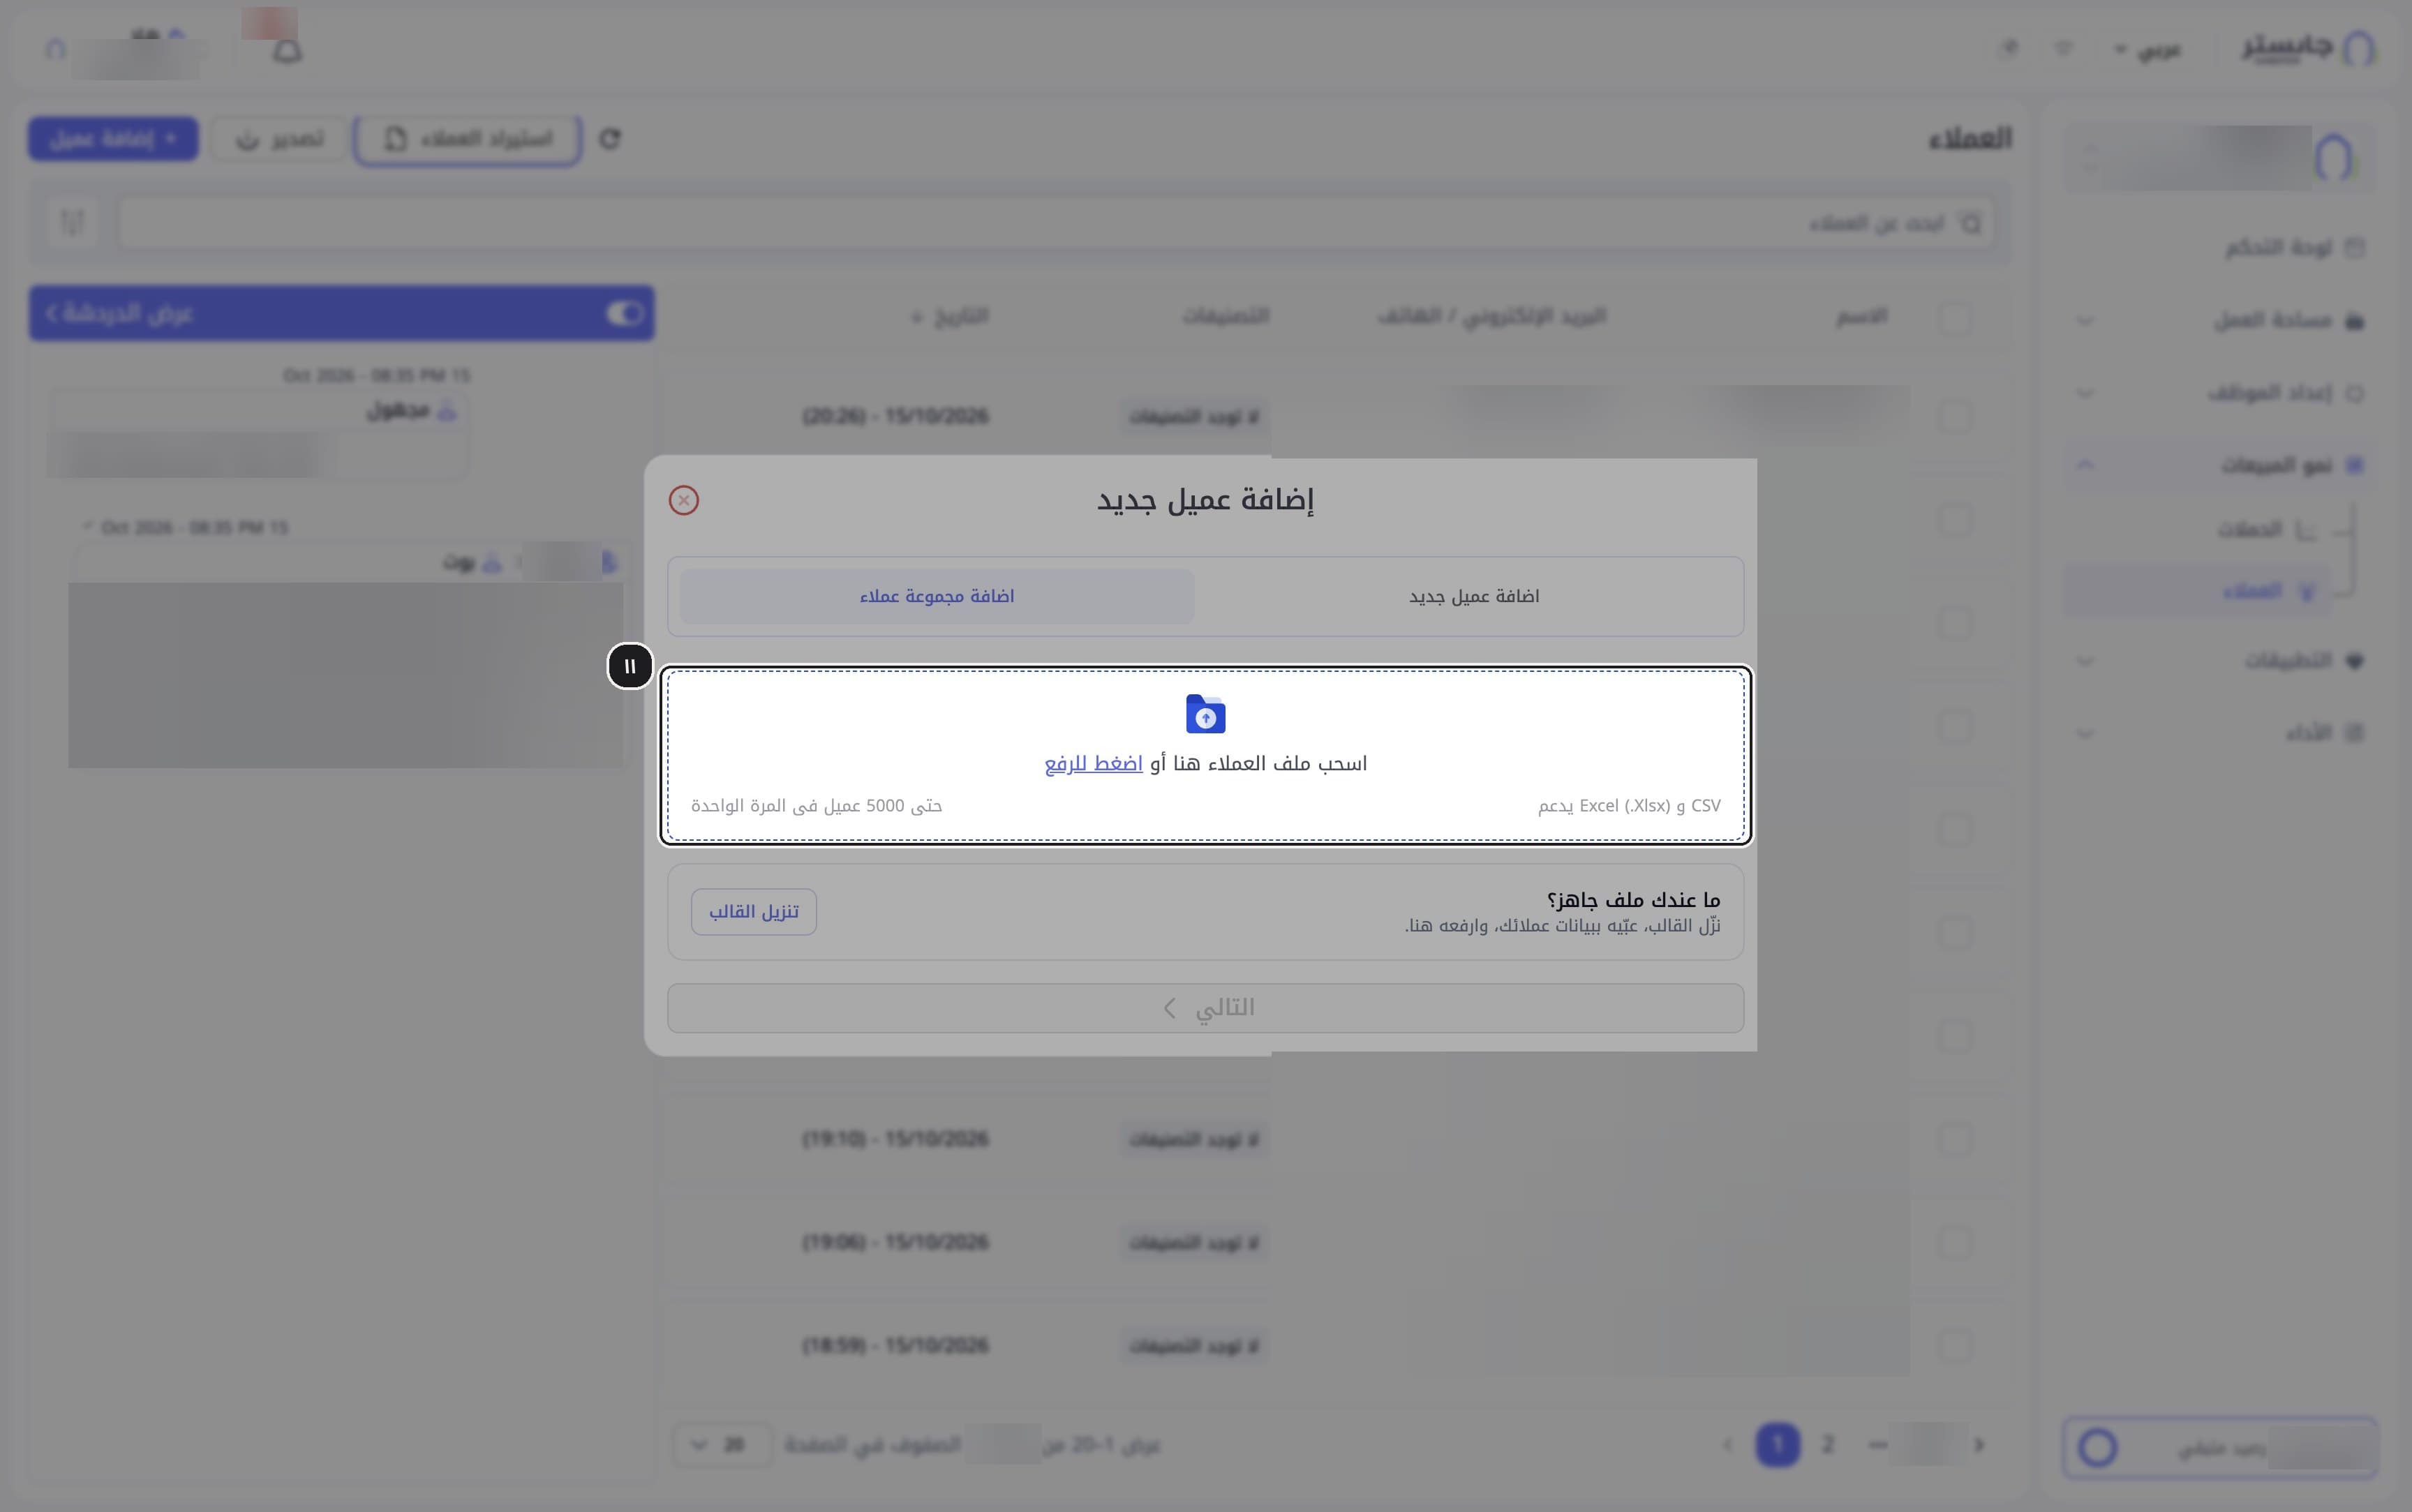
Drag your file into the upload zone, or click Click to upload (اضغط للرفع) to choose it. The zone accepts CSV and Excel (.xlsx), up to 5,000 customers at a time.
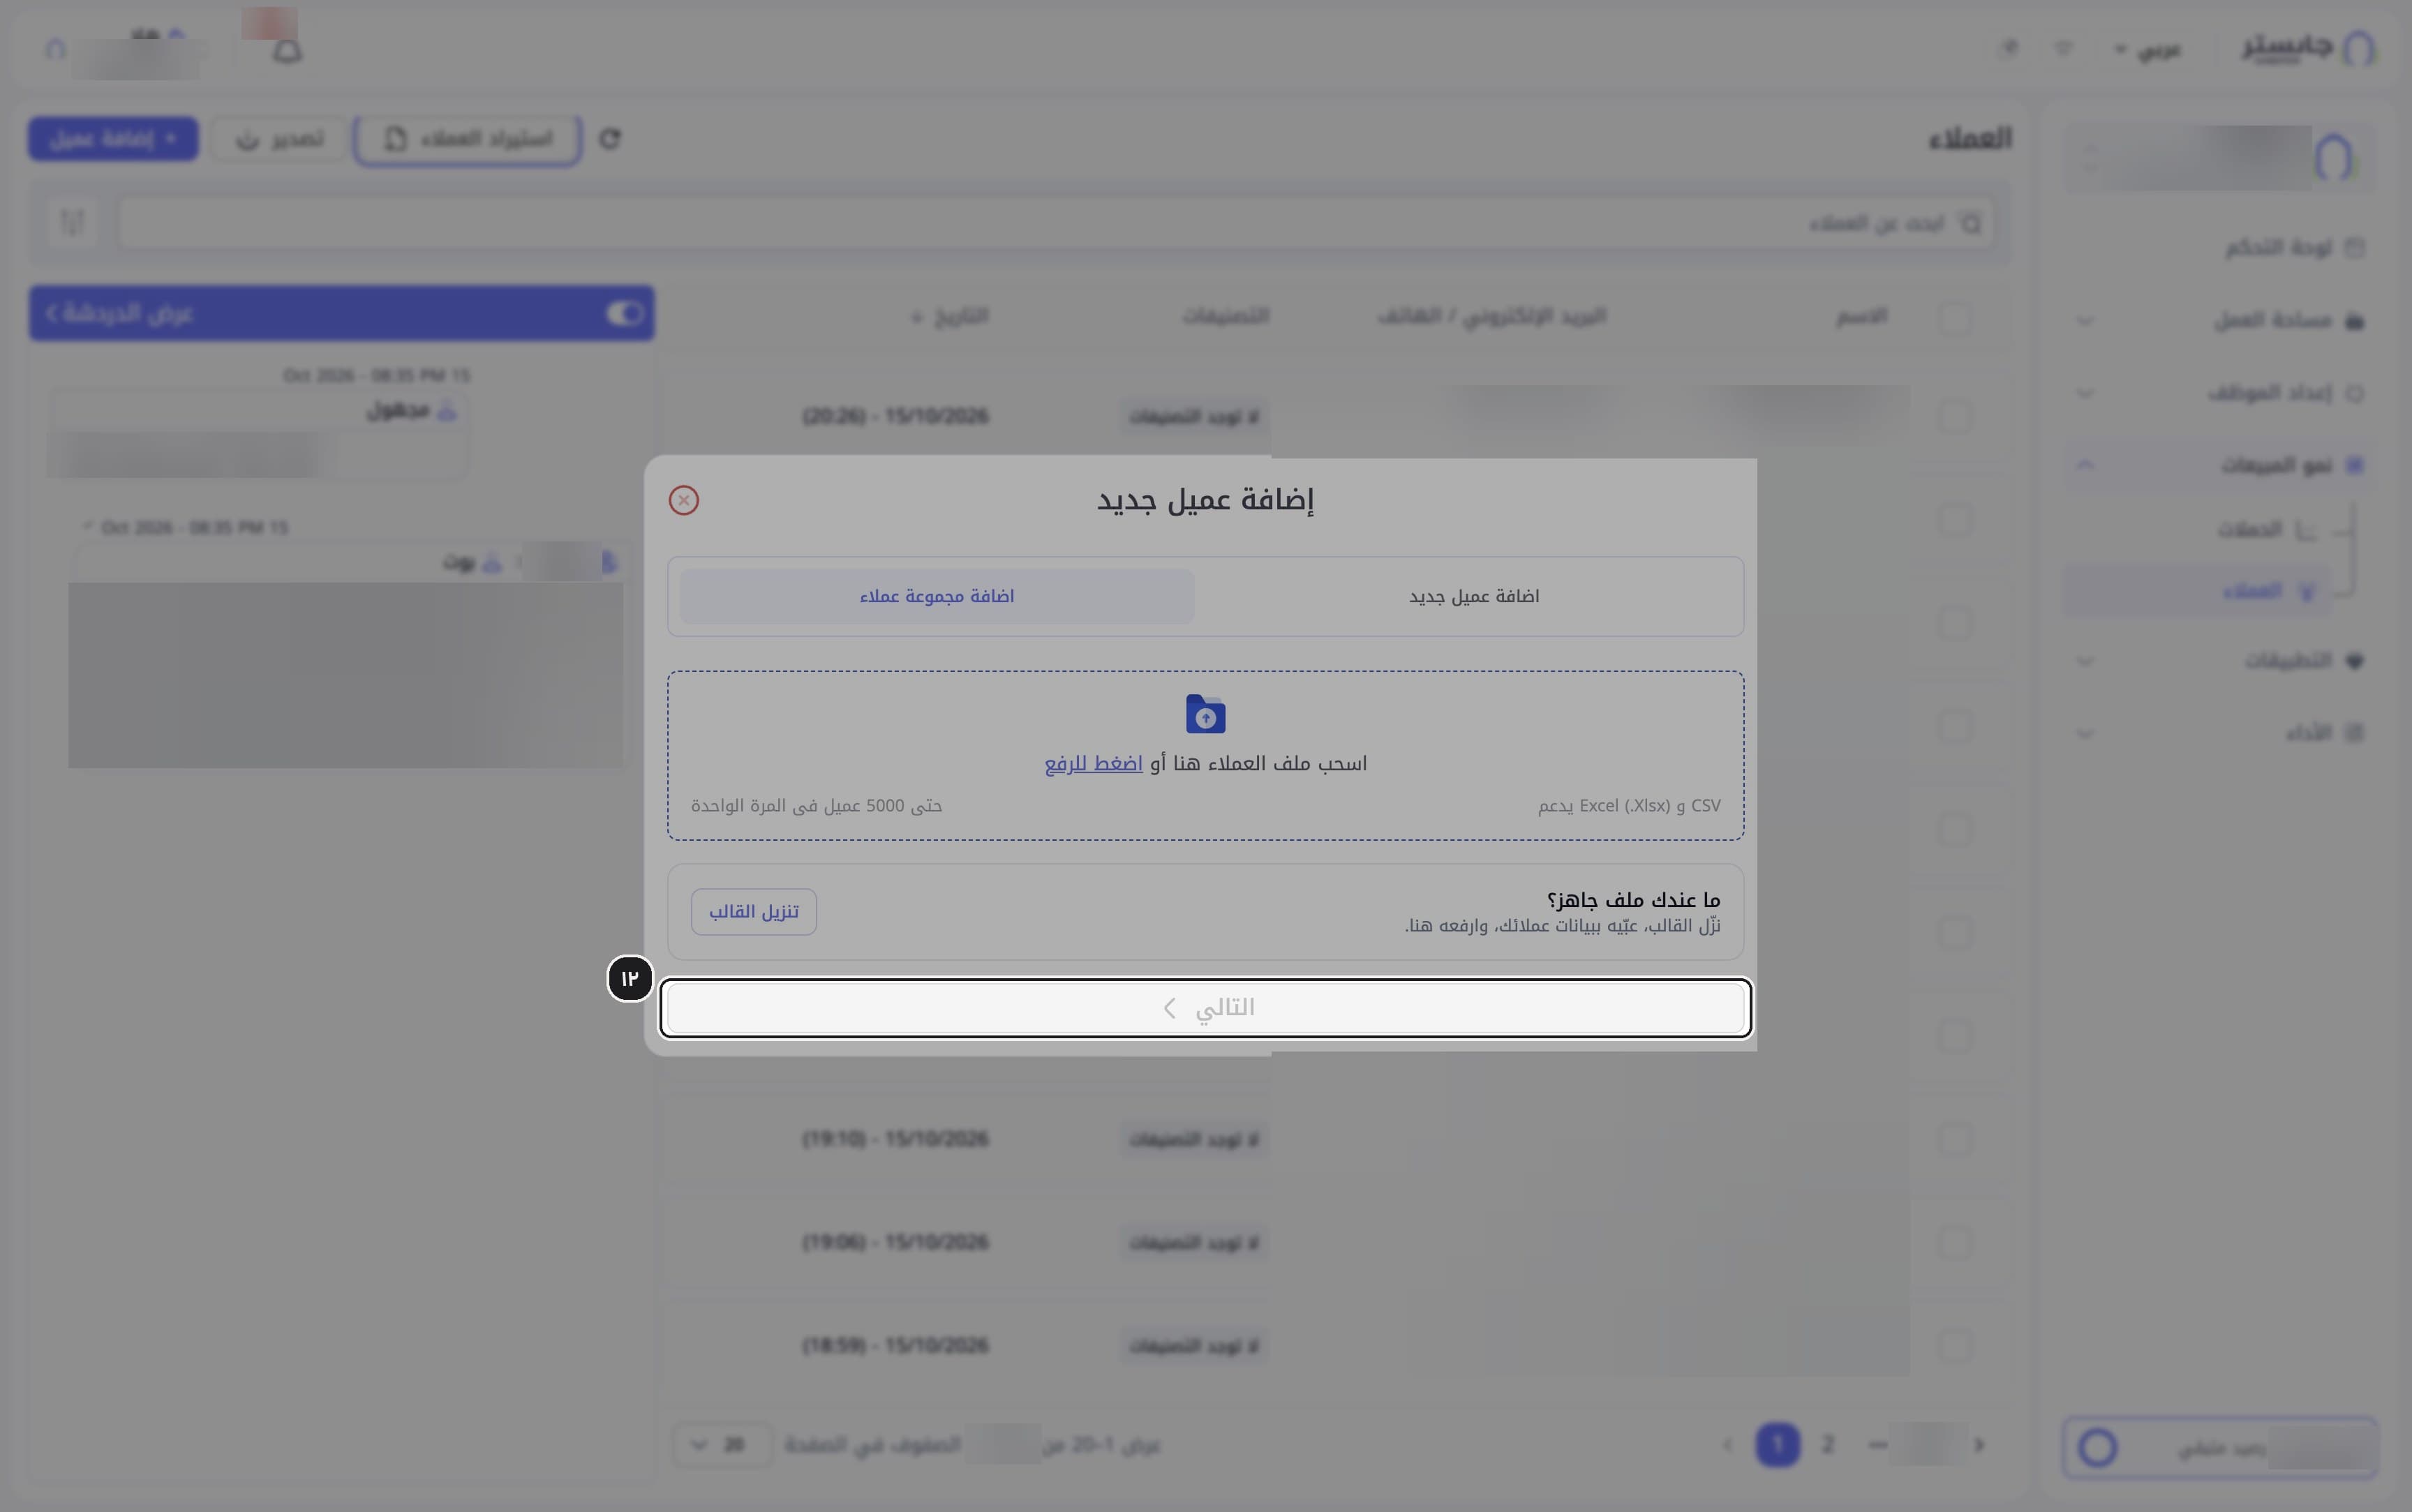
Click Next (التالي). The button stays disabled until you upload a file.
C. Export customers
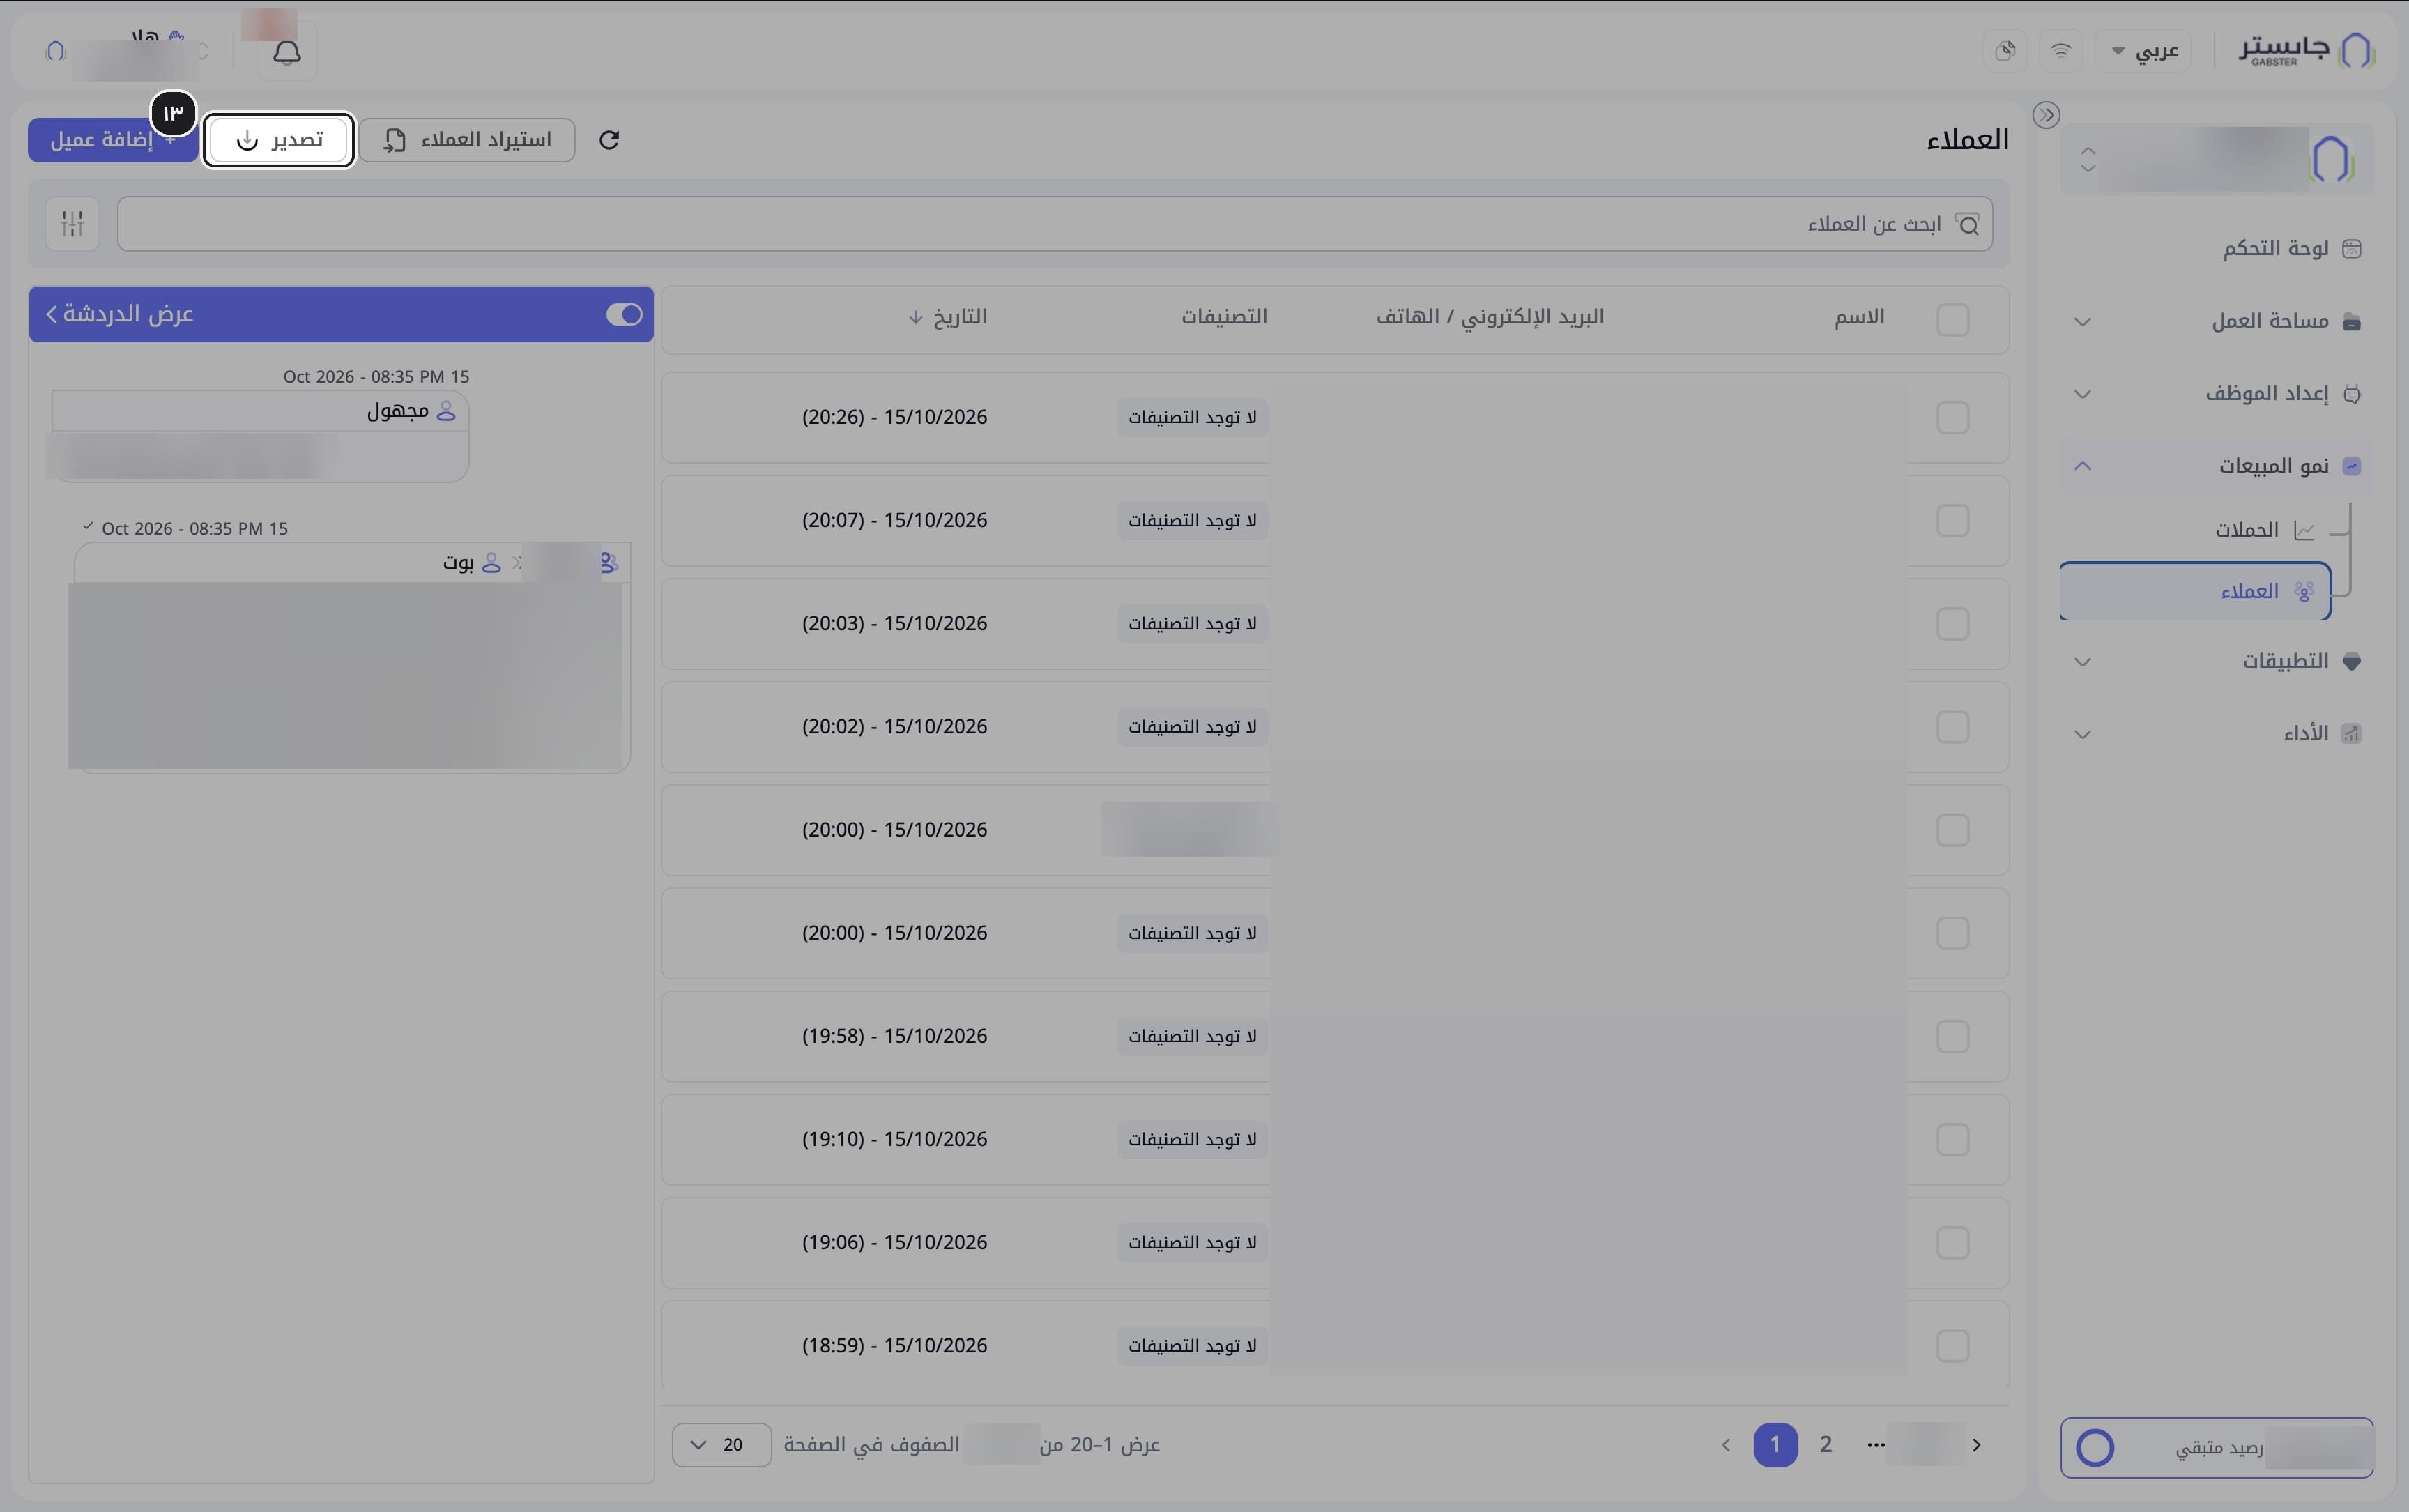
On the Customers page, click Export (تصدير).
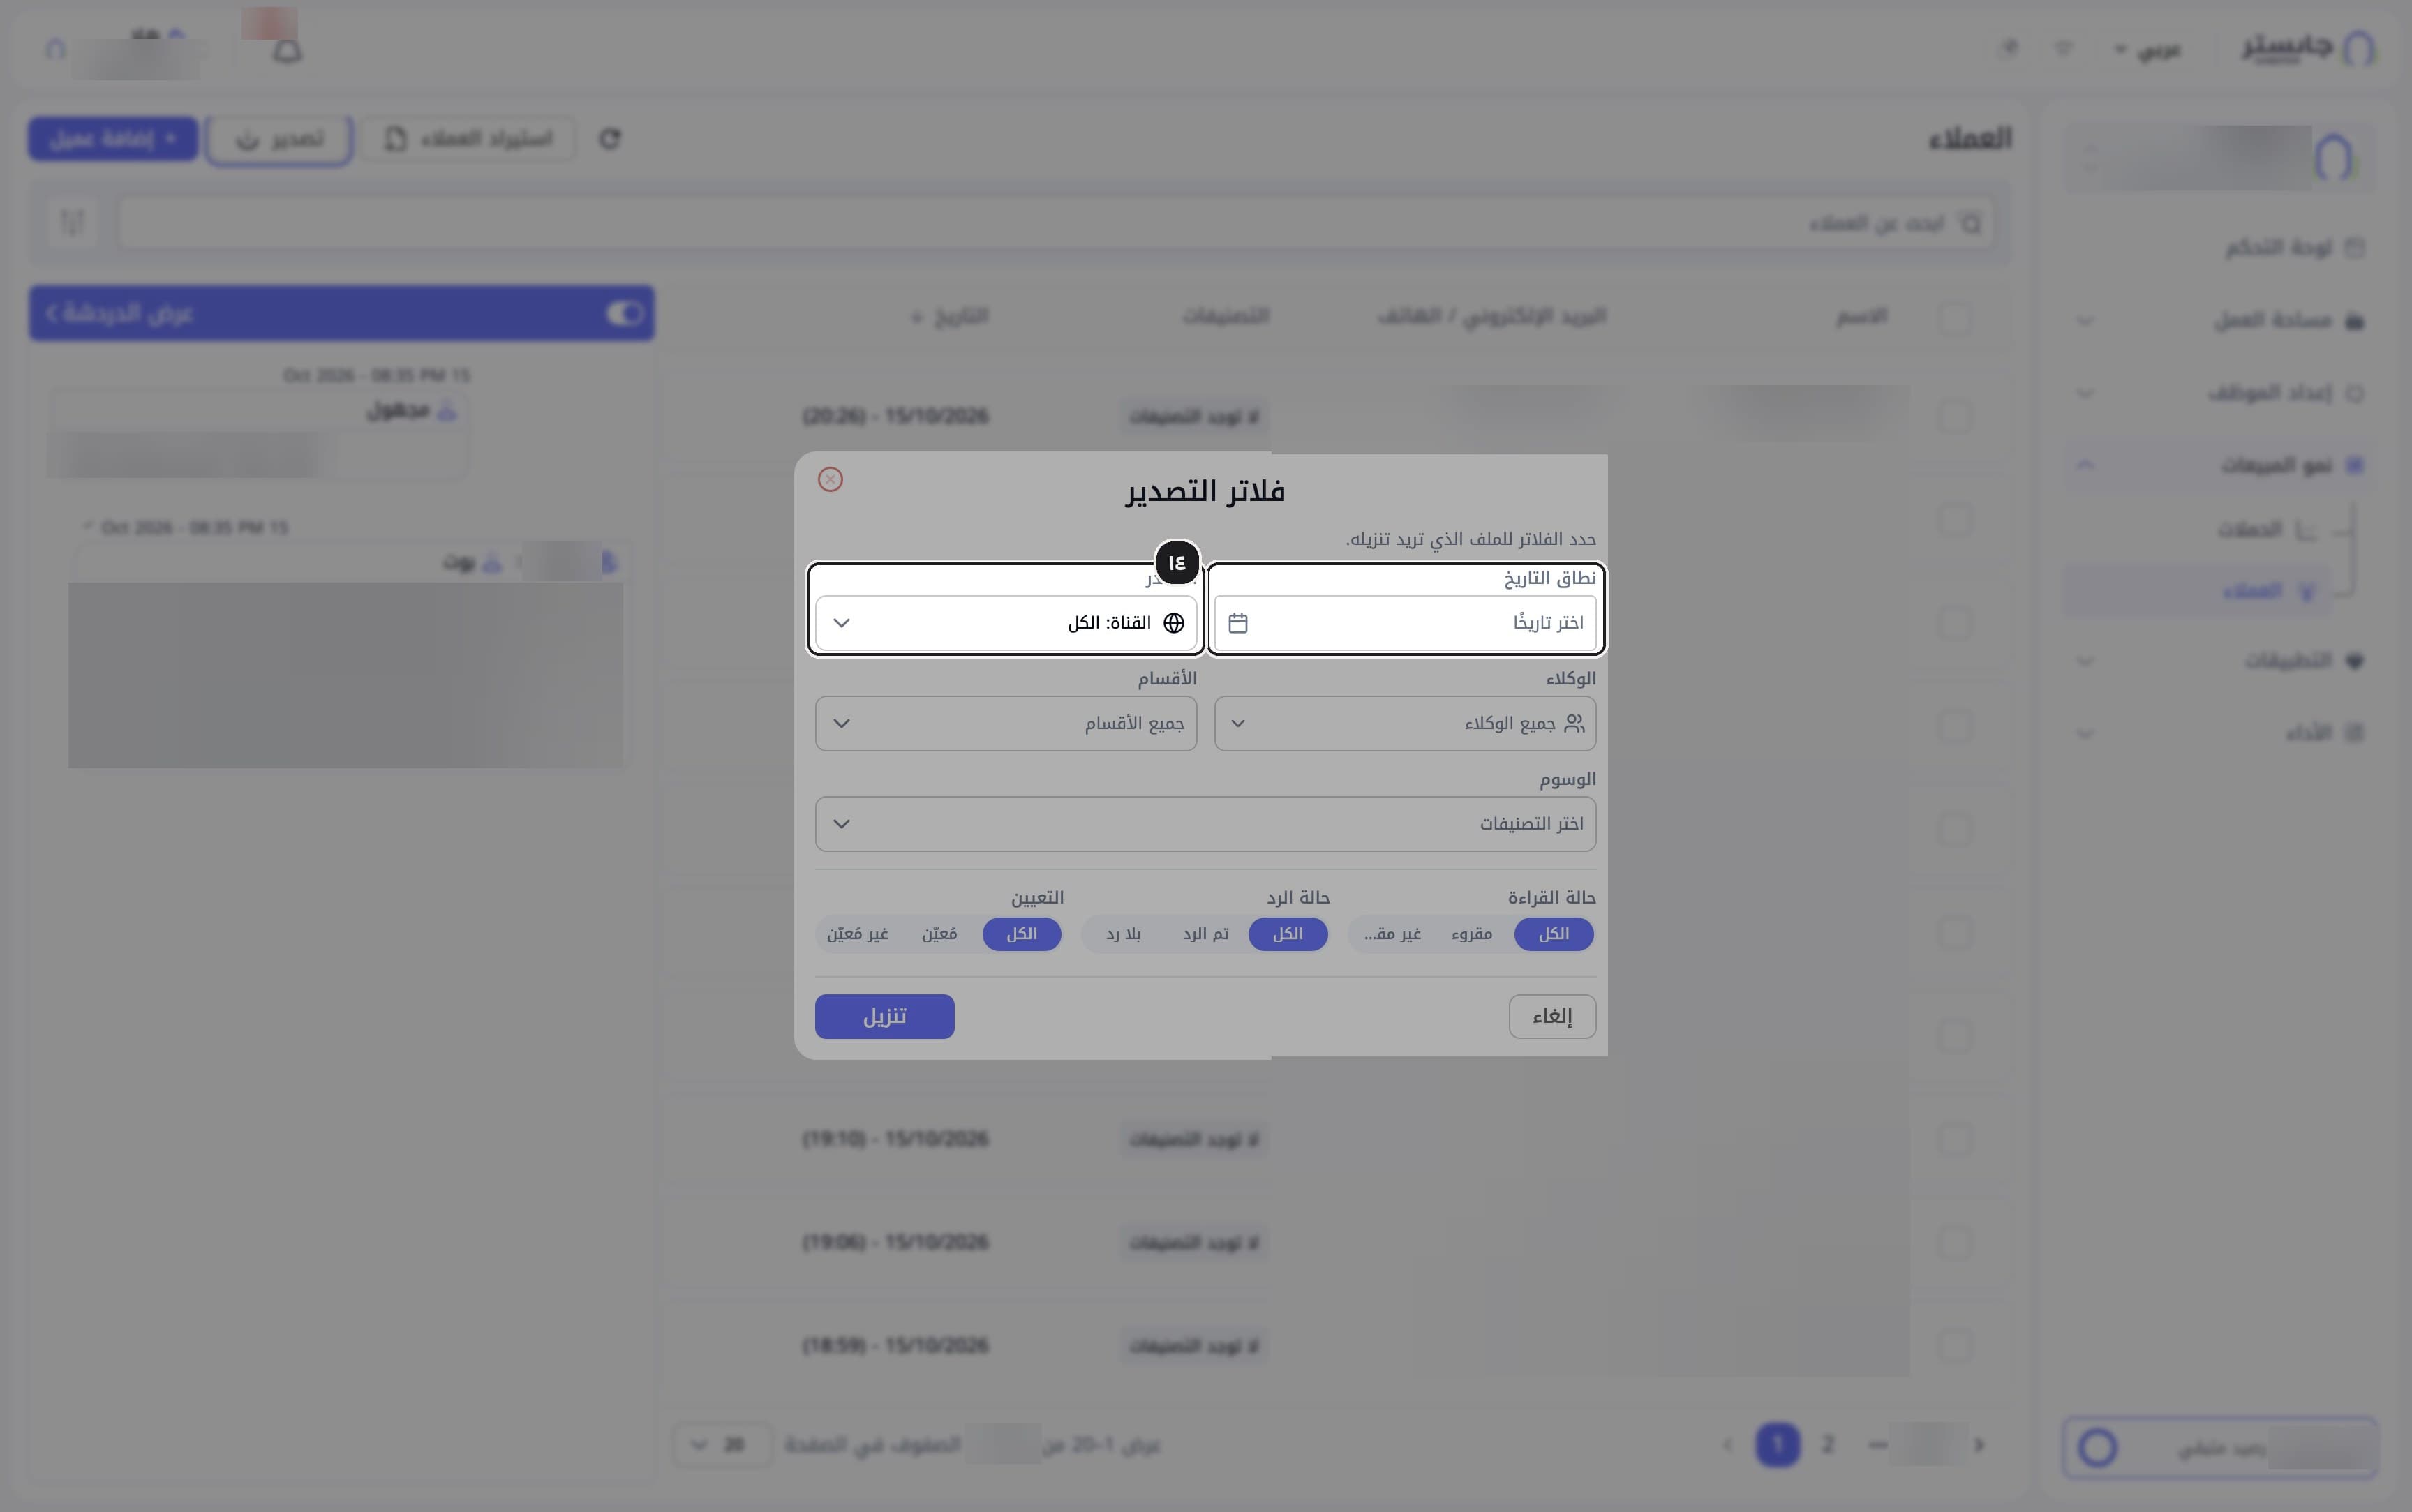
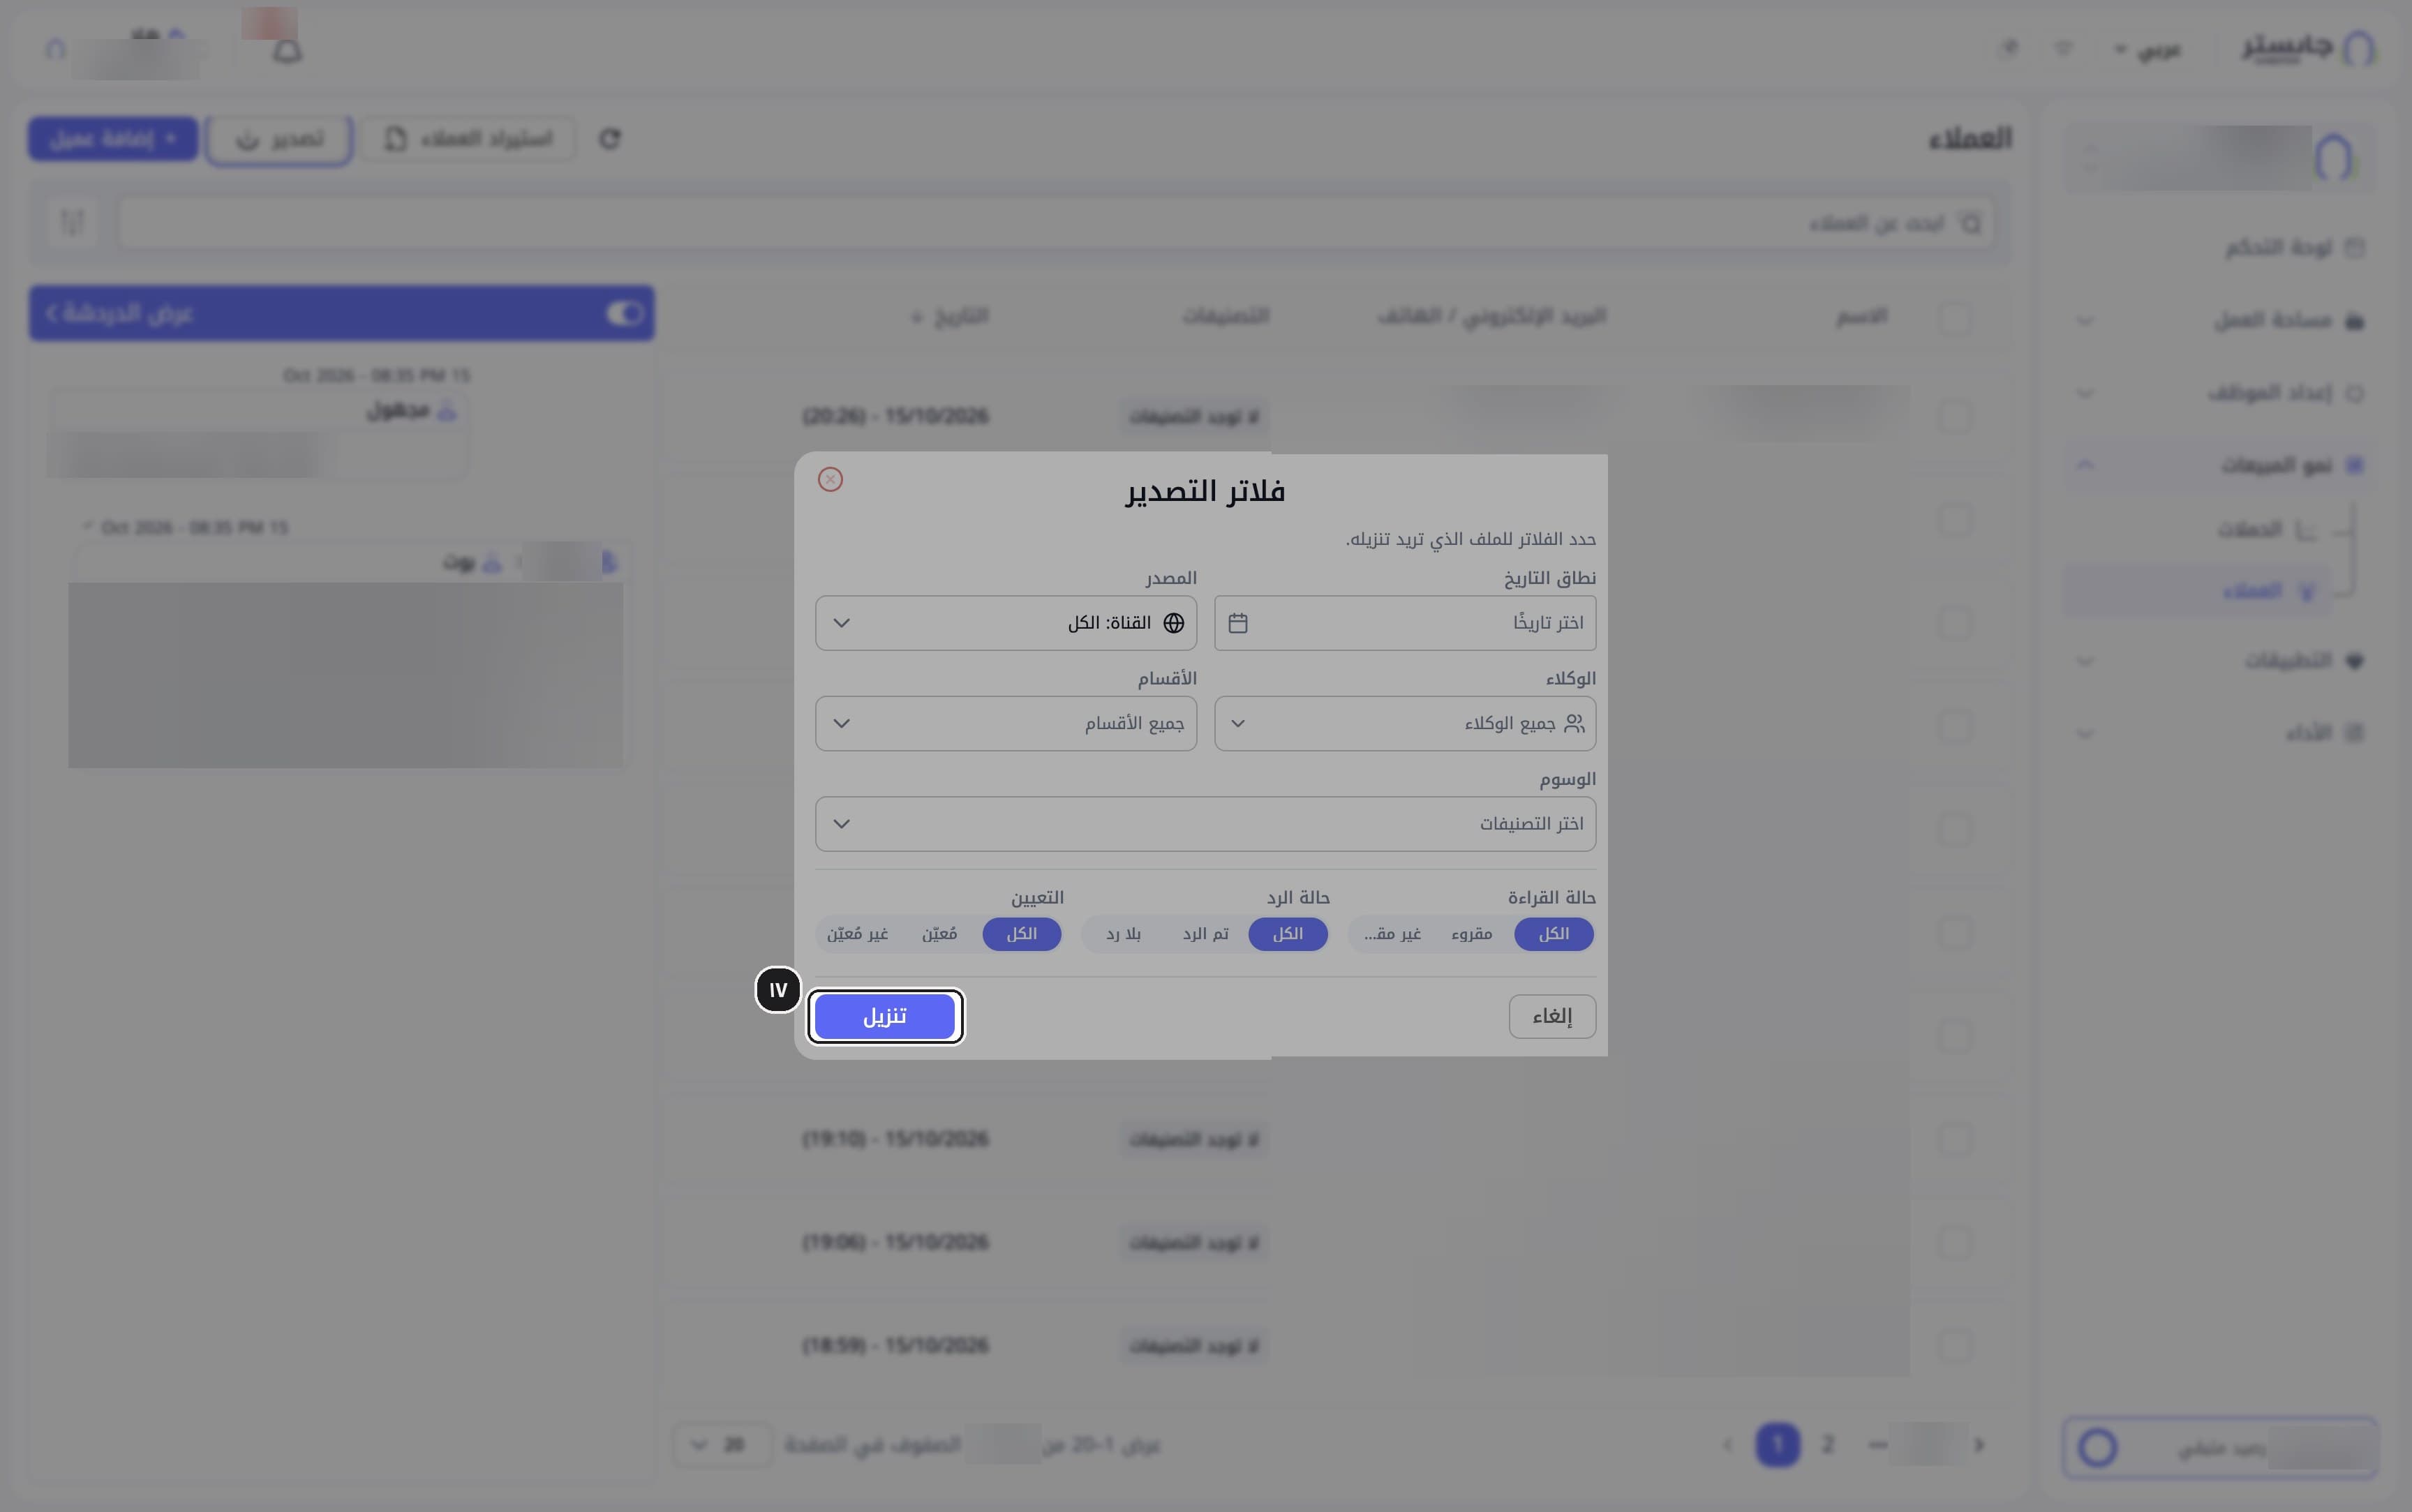
The Export filters (فلاتر التصدير) window opens.
Choose the Date range (نطاق التاريخ), then the channel under Source (المصدر). The default is Channel: All (القناة: الكل).
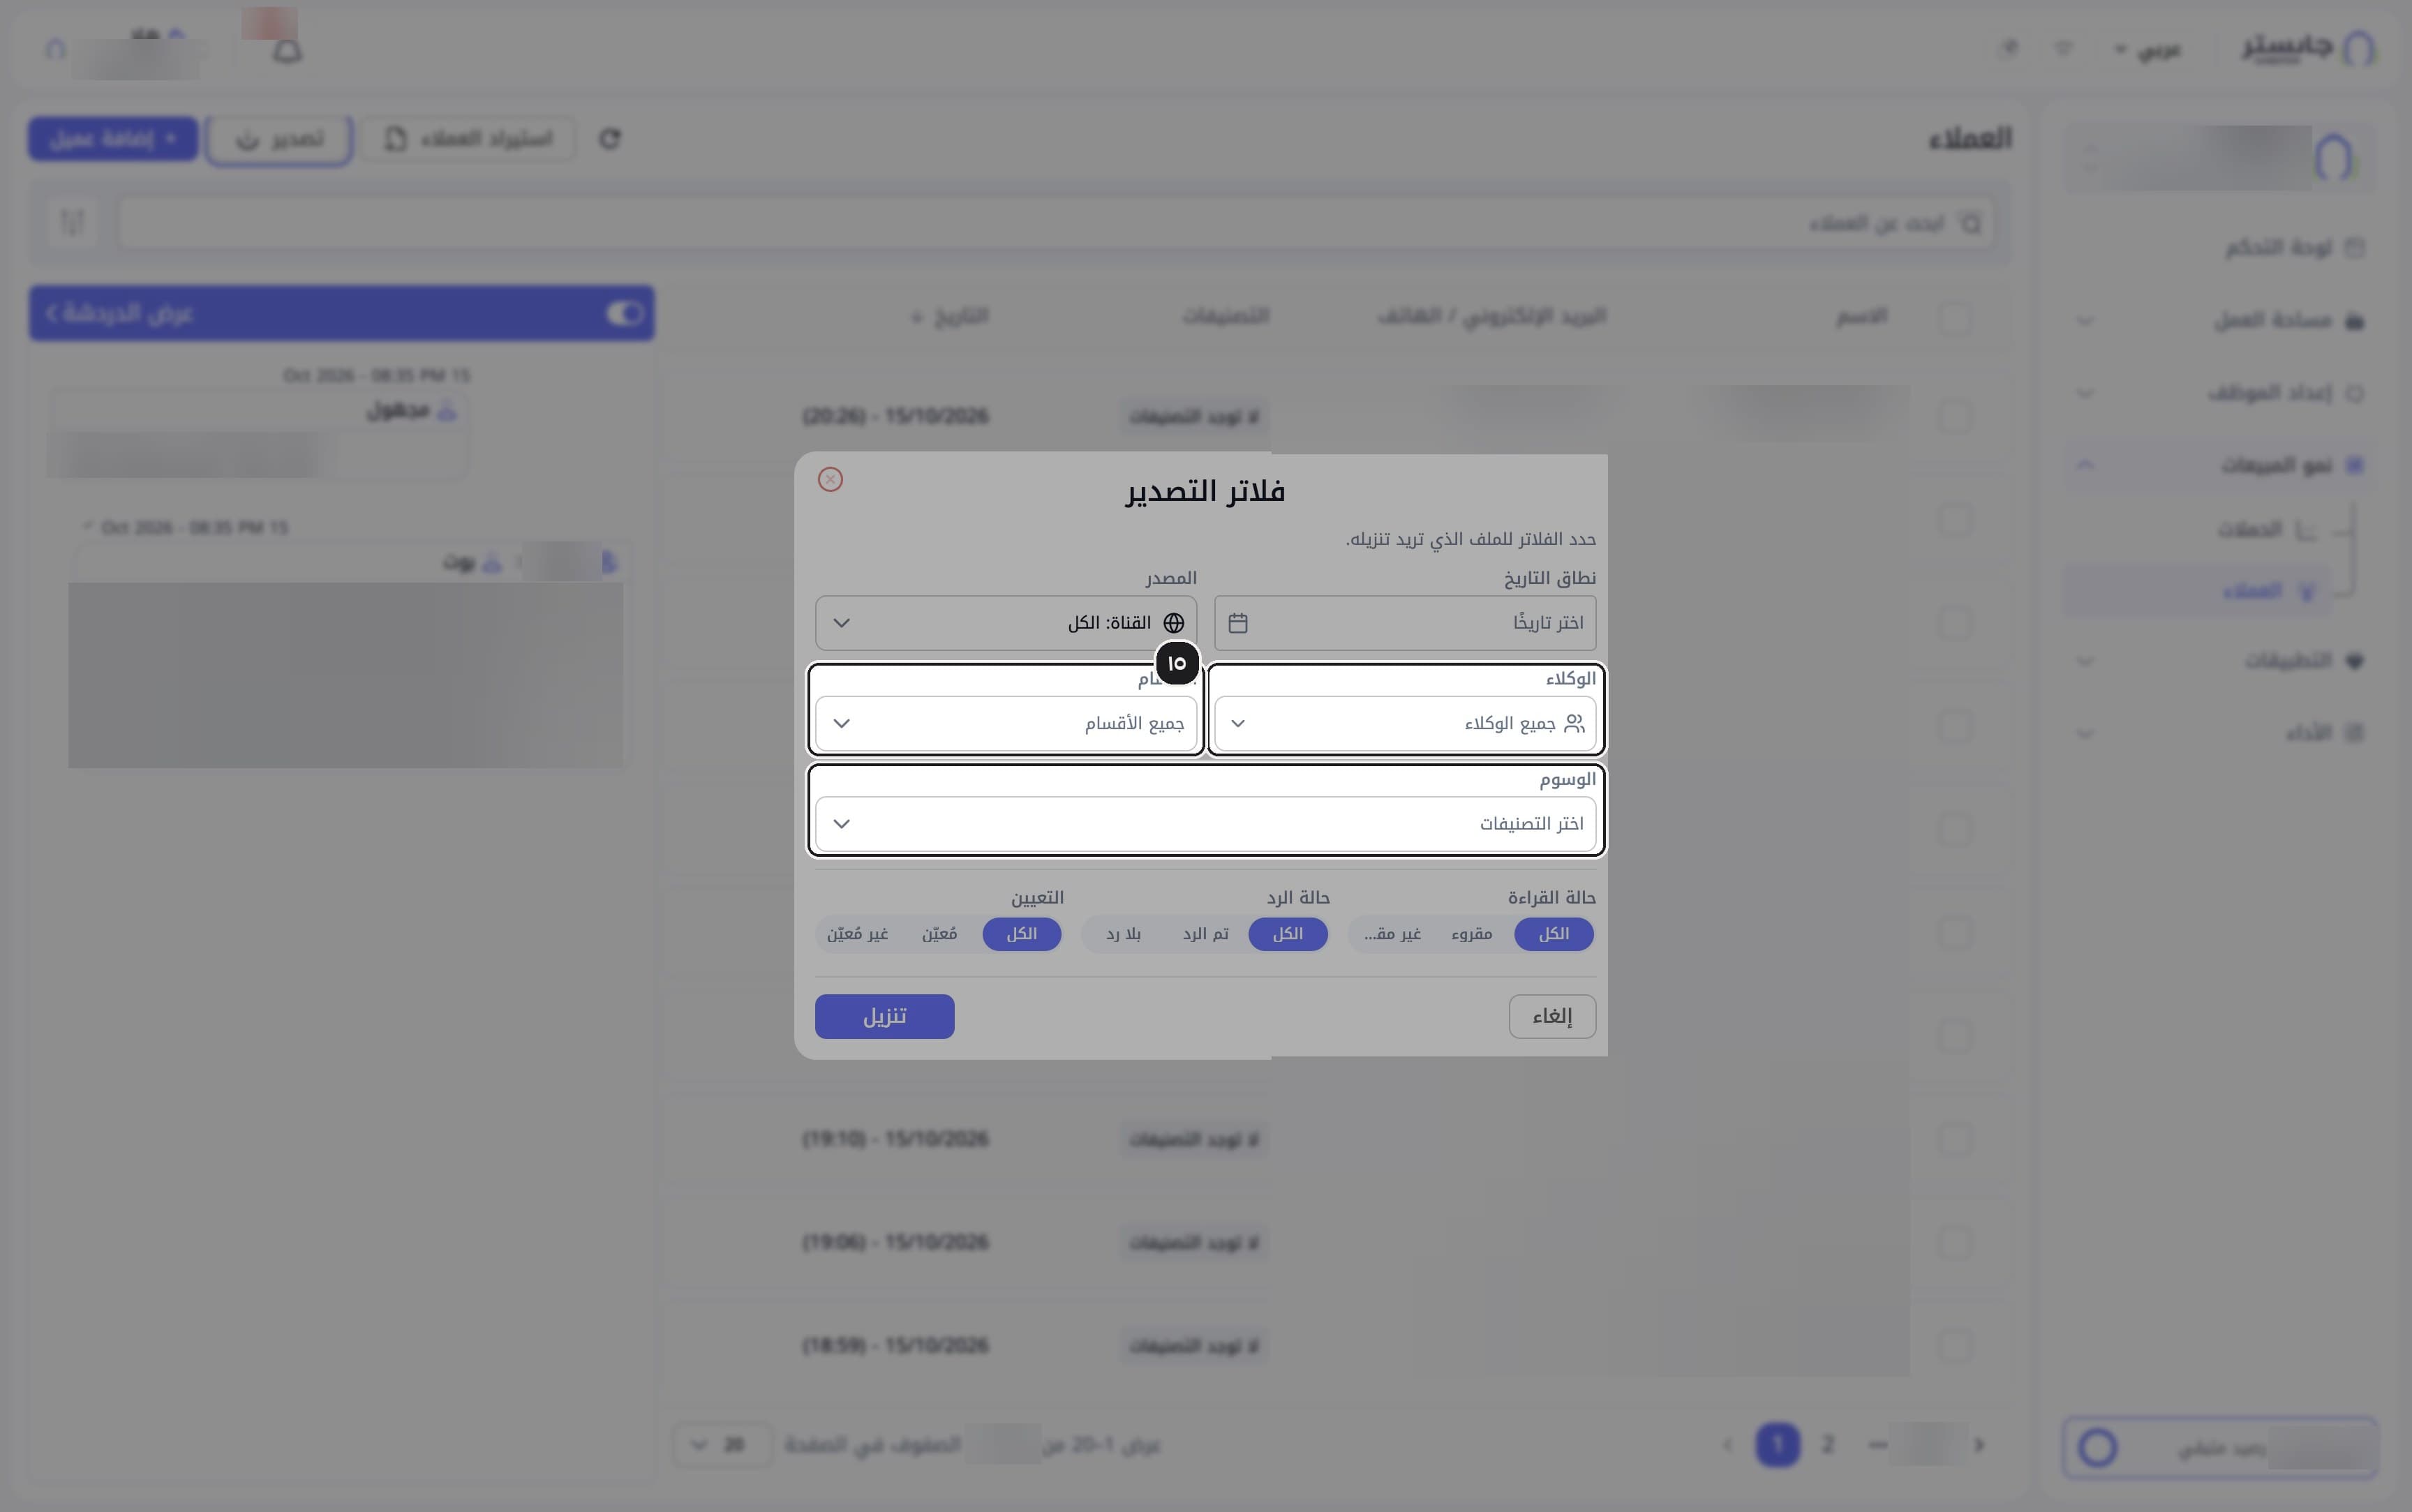
To narrow the list further, choose from Staff (الوكلاء), Departments (الأقسام) and Tags (الوسوم).
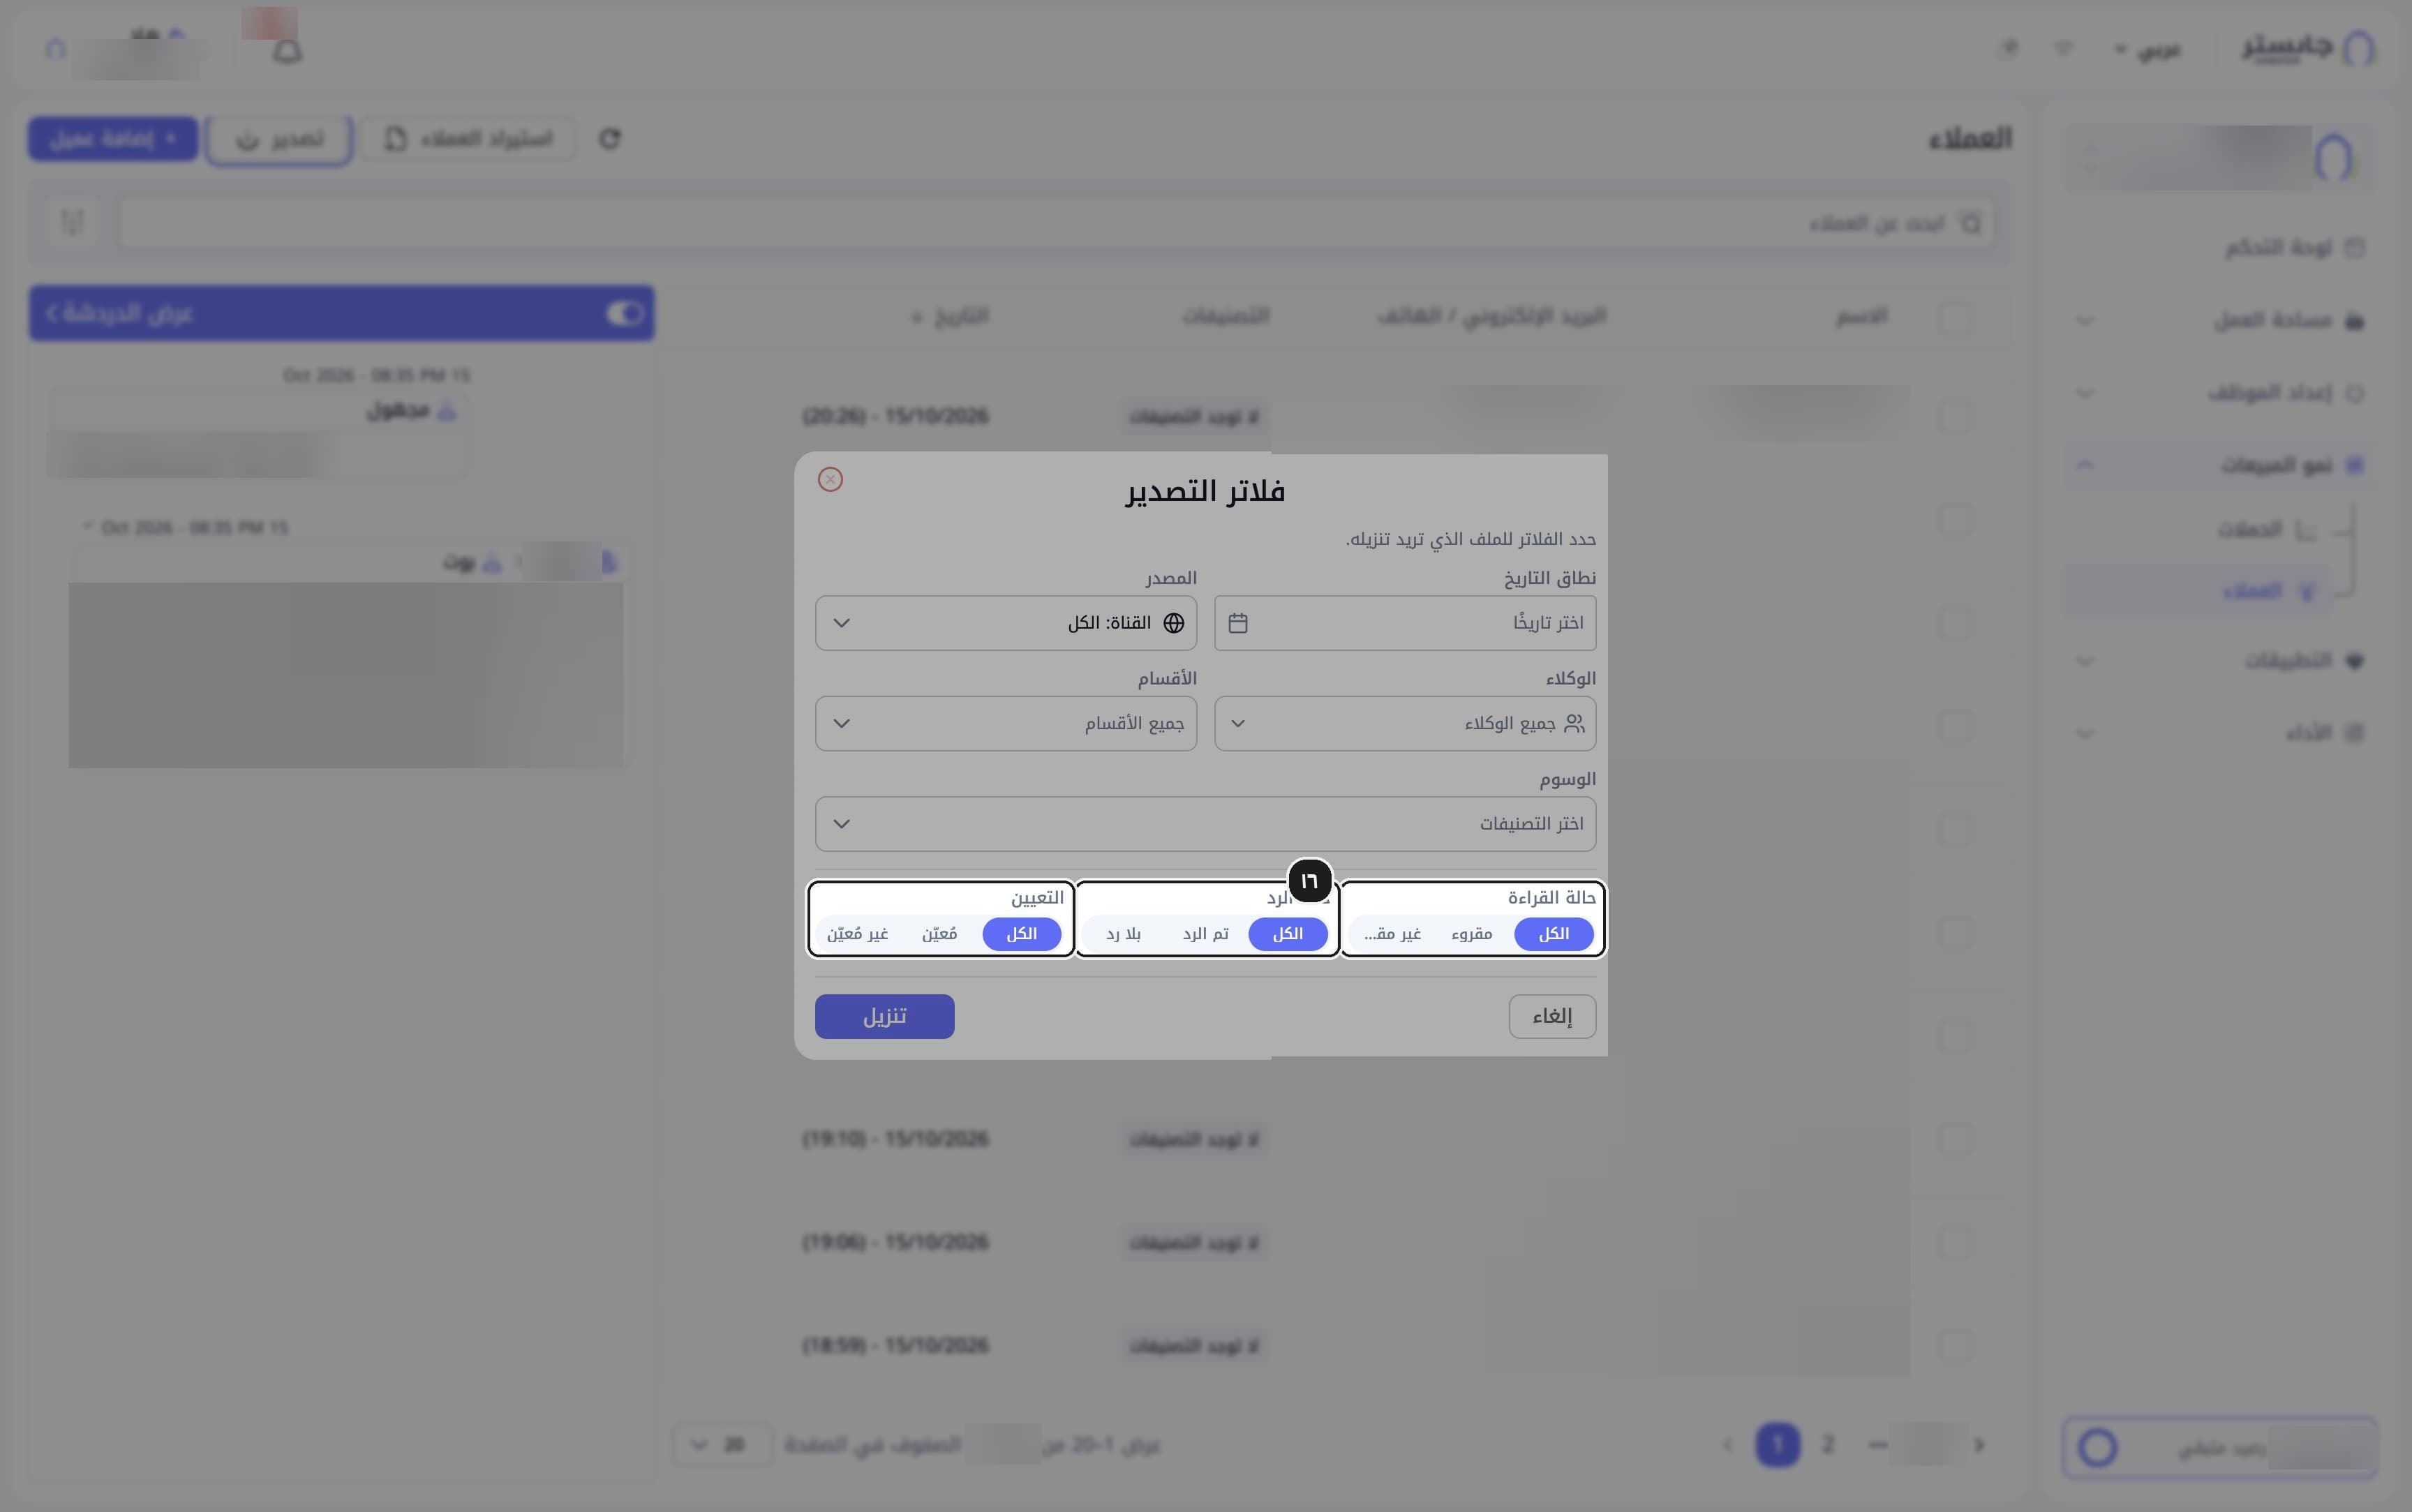
Choose one value in each of Read status (حالة القراءة), Reply status (حالة الرد) and Assignment (التعيين). Each group starts at All (الكل).
Click Download (تنزيل) to export the customers that match your filters.
Result: the file downloads straight away, with each customer's name, email, phone, date added and tags.
Add customer and Import customers open the same window. You can switch between its two tabs at any time.