Settings
General settings
Set your AI Agent's description, name and avatar, the staff assigned to conversations, Gabster Vision and customer data collection.
Settings (الإعدادات) is where you shape your AI Agent's identity and behavior. This page covers the basics: its description, the staff who receive new conversations, image analysis, its name and avatar, and customer data collection, plus the Instructions tab, which now points you to the Instruction Builder.
The Settings tab bar
Settings has eleven tabs in a bar at the top of the page. This guide covers them on four pages:
- General (عام), Info (معلومات), User Data (بيانات المستخدم), Instructions (التعليمات): this page.
- Conversation Modes (أوضاع المحادثة), Translation (الترجمة): Conversations and translation.
- Calls (المكالمات), IVR Menu (قائمة الرد الآلي), Agent Voice (صوت الوكيل), Call Staff (موظفو المكالمات): Calls and voice.
- Dialect (اللهجة): Dialect.
How to open it
In the sidebar, open AI Agent Setup (إعداد الموظف) and choose Settings (الإعدادات). The General (عام) tab opens first; use the bar at the top to switch tabs.
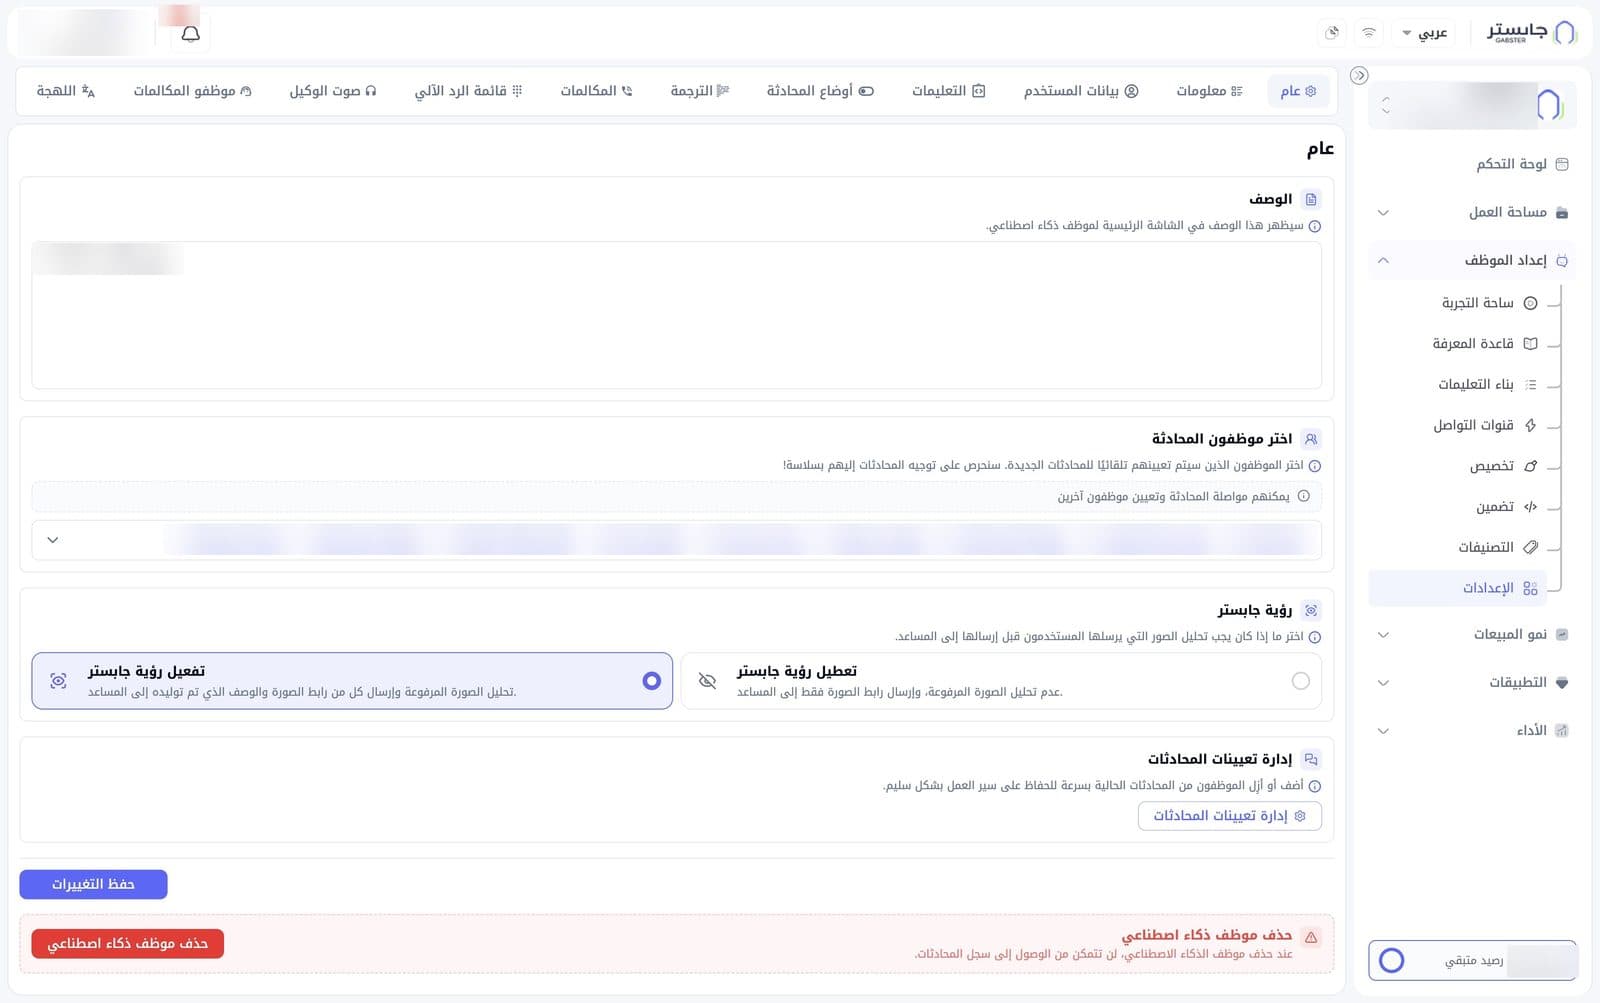
General tab
Description
Write a text in the Description (الوصف) box. It appears on your AI Agent's home screen.
Choose conversation staff
Under Choose conversation staff (اختر موظفون المحادثة), pick the staff members who are automatically assigned to every new conversation. Each selected staff member appears in the field as a chip with their name and an ×.
Every new conversation is assigned to all the staff you select, and all of them are alerted. The first to join takes the conversation.
Assigned staff can continue the conversation and assign other staff to it.
Gabster Vision
Decide what happens to images customers send:
| Option | What happens |
|---|---|
| Enable Gabster Vision (تفعيل رؤية جابستر) | The image is analyzed, and your AI Agent receives its link plus a generated description of its content |
| Disable Gabster Vision (تعطيل رؤية جابستر) | The image is not analyzed; your AI Agent receives only its link |
Manage Conversation Assignments
Use the Manage Conversation Assignments (إدارة تعيينات المحادثات) button to quickly add staff to, or remove them from, current conversations.
Saving
When you are done, click Save changes (حفظ التغييرات) at the bottom of the page.
Delete the AI Agent
At the bottom of the tab, a red zone holds the Delete AI Agent (حذف موظف ذكاء اصطناعي) button.
When you delete the AI Agent, you can no longer access its conversation history.
Deleting an AI Agent also disconnects all its channels and removes its uploaded files and website pages from the Knowledge Base, which frees their place in your plan's limits.
Info tab
This tab is titled AI Agent Details (تفاصيل موظف ذكاء اصطناعي). Use it to edit your AI Agent's profile.
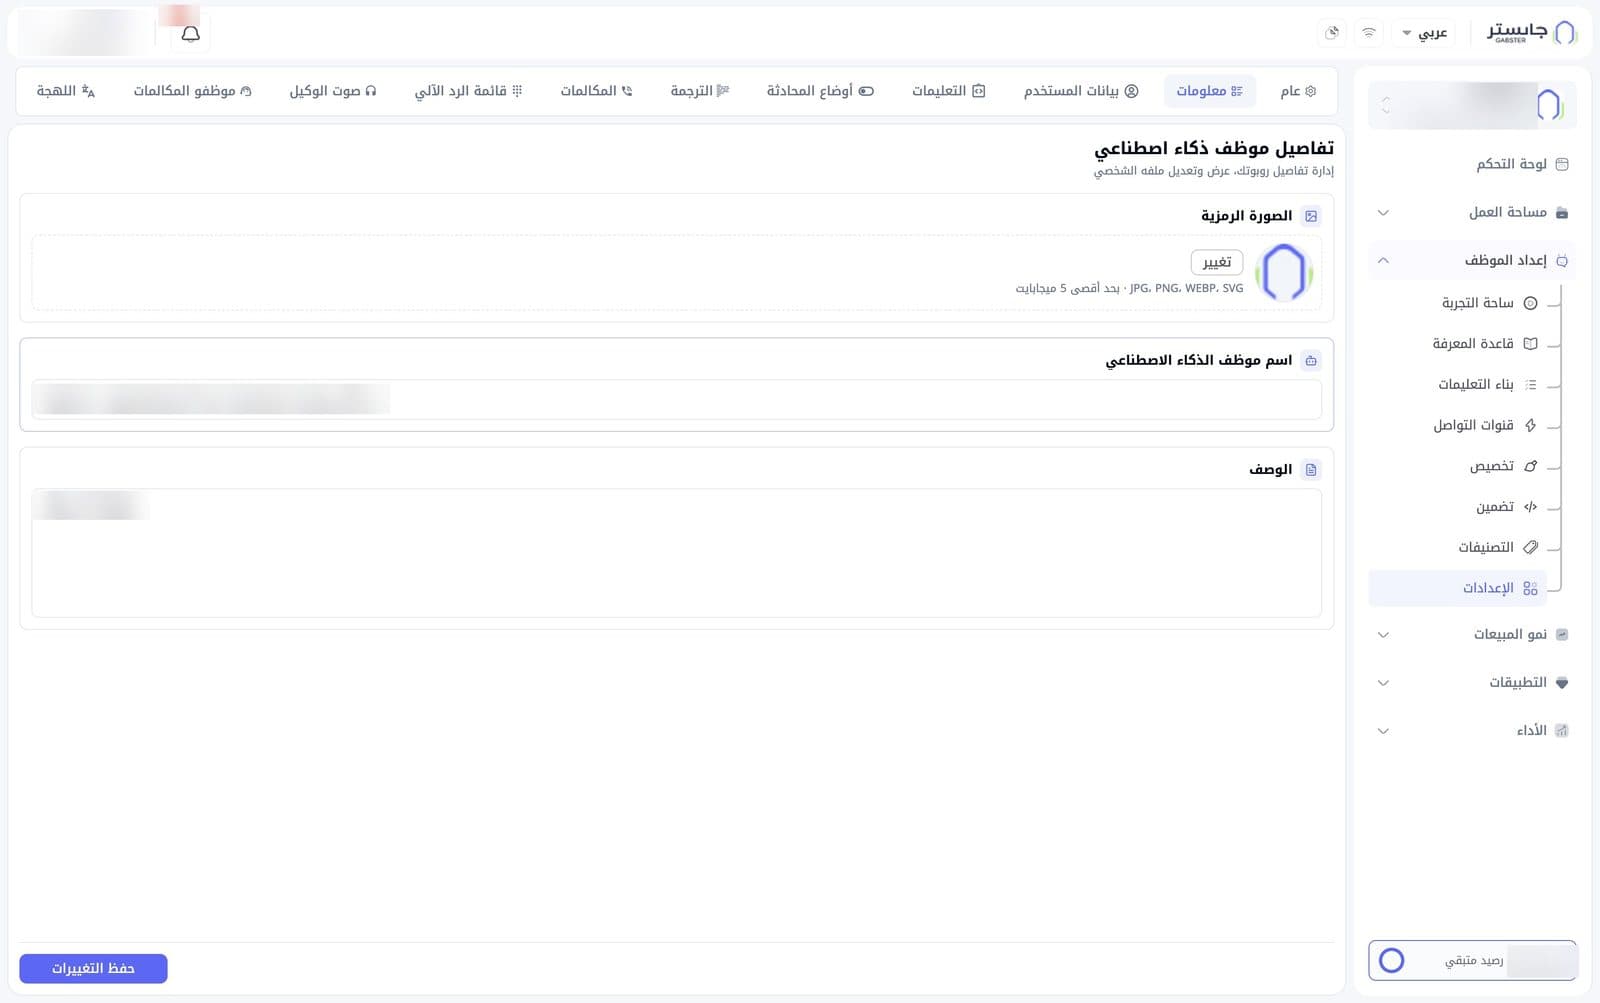
- Avatar (الصورة الرمزية): shows the current image. Click Change (تغيير) to choose a new one. Allowed formats are JPG, PNG, WEBP and SVG, up to 5 MB.
- AI Agent name (اسم موظف الذكاء الاصطناعي): the name you give your AI Agent.
- Description (الوصف): a text describing your AI Agent.
Then click Save changes (حفظ التغييرات).
User Data tab
This tab is titled Collect user data (جمع بيانات المستخدم). Here you choose whether, and how strictly, your AI Agent collects the customer's details during a conversation.
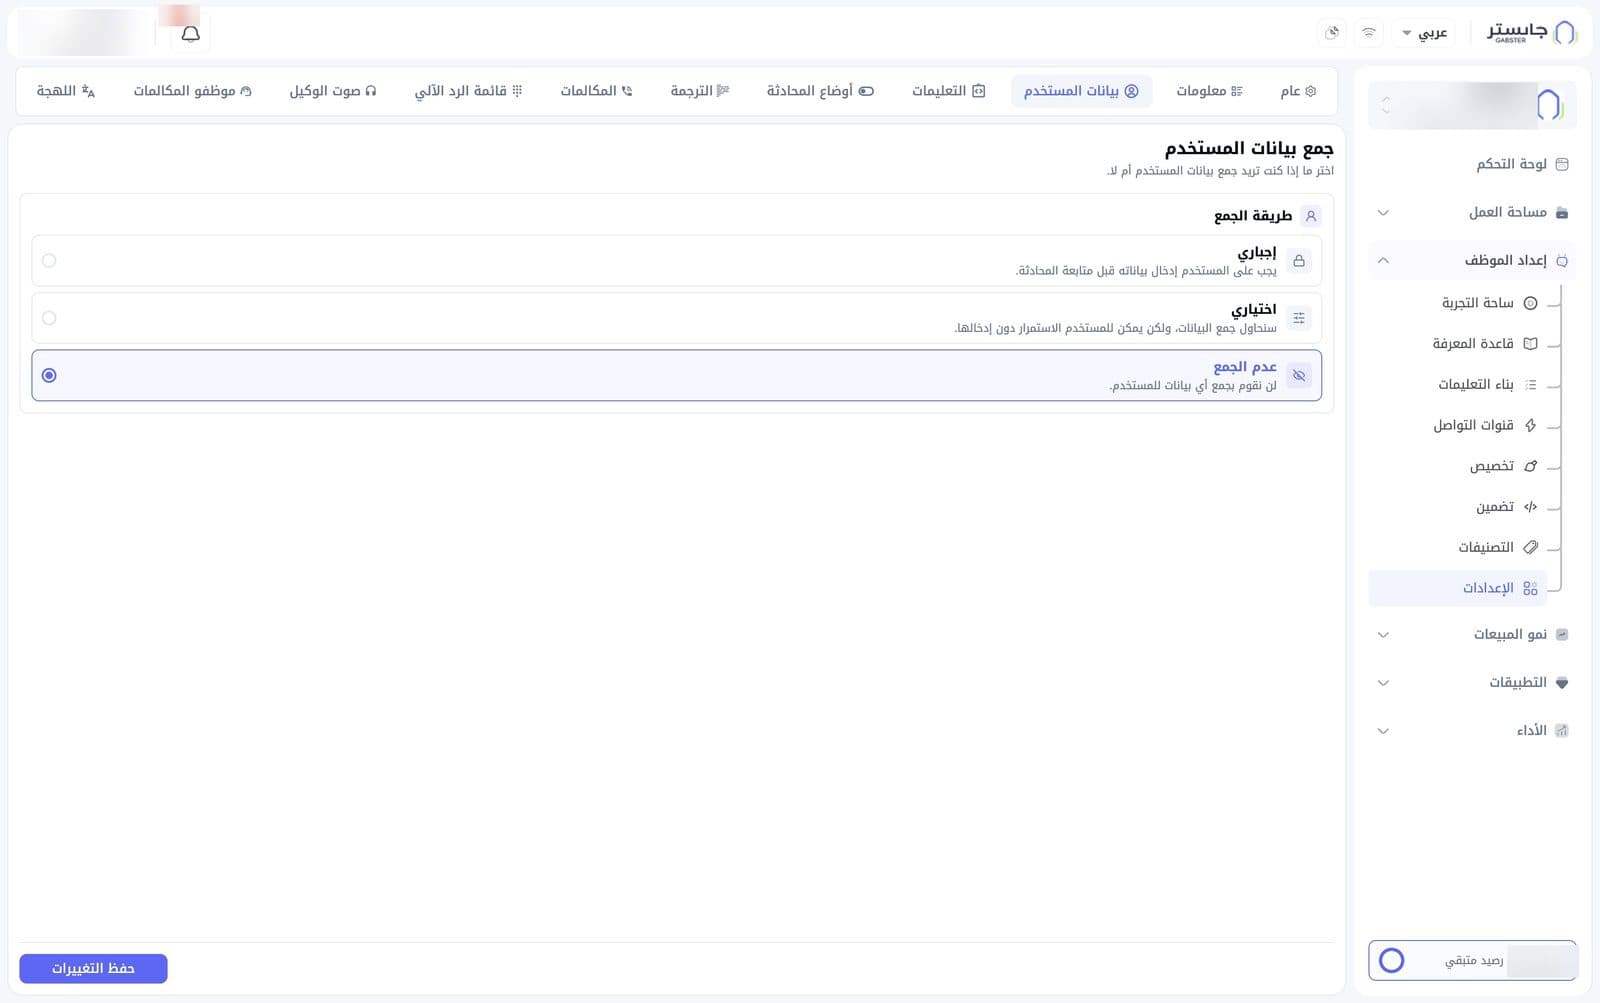
In the Collection method (طريقة الجمع) card, pick one of three options:
| Option | Meaning |
|---|---|
| Required (إجباري) | The customer must enter their details before continuing the conversation |
| Optional (اختياري) | An attempt is made to collect the details, but the customer can continue without them |
| Don't collect (عدم الجمع) | No customer details are collected |
Then click Save changes (حفظ التغييرات).
These details are collected on the website chat only, through a form in the widget: your AI Agent doesn't ask for them in the conversation, and customers on WhatsApp, Instagram and other channels aren't asked. You can collect up to three fields: name, email and phone number. With Required the visitor must fill in the form before continuing; with Optional they can skip it. There is also an option to verify the email with a code.
Instructions tab
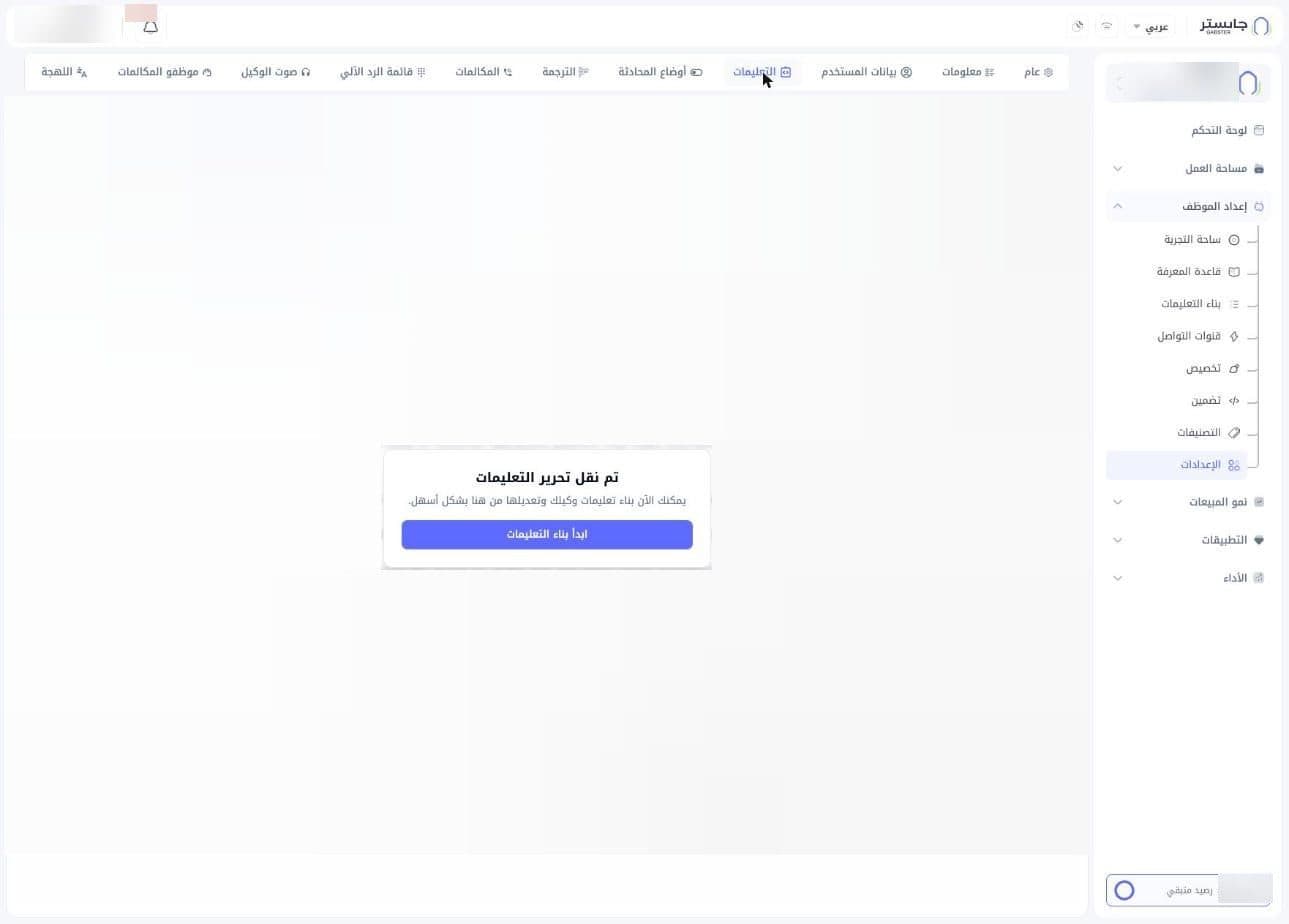
You no longer edit instructions on this tab. The old editor appears faded and disabled behind an Instruction editing has moved (تم نقل تحرير التعليمات) notice. Click Start building instructions (ابدأ بناء التعليمات) to go to the Instruction Builder and write your AI Agent's instructions there.